28
Chapter 3: Network
Configuring the NSS Network Identification
Network Storage System (NSS) Administrator Guide
Chapter
3
Warning:
If you change the hostname, any current CIFS connections to shares on the NSS will
be disconnected.
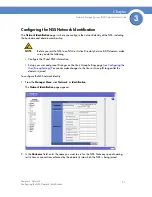
3. To assign the hostname for the NSS using the DHCP server, select
Assign automatically via
DHCP
. If the DHCP server is not available or if it is not configured to supply a hostname, the NSS
hostname is assigned using the information entered in the
Hostname
field.
4. In the
Description
field, enter the textual description for the NSS as you want it to appear in the
file manager window for your users.
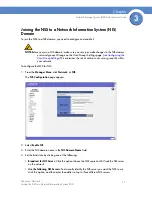
5. Select the type of network into which you are making the NSS a member from the following
options:
•
Workgroup:
Make the NSS part of a peer-to-peer network.
•
NTv4 Domain:
Make the NSS a part of a pre-Windows 2000 domain. If you select this
option, set up the following fields:
-
NTv4 Domain:
Enter the domain name.
-
Domain Controller:
Enter the hostname or IP address of the domain controller.
-
Username:
Enter the username of an account that has administrator privileges for this
domain.
-
Password:
Enter the password for the administrator account.
•
Member of Active Directory domain:
Make the NSS part of an Active Directory (ADS)
domain. If you select this option, set up the following fields:
-
Active Directory Domain:
Enter the domain name.
-
Domain Controller:
Enter the hostname or IP address of the domain controller.
-
Kerberos Realm:
Enter the name of your Kerberos realm. If you are not sure what to enter
here, enter the domain name. In most standard Windows domain installations, this is the
correct value.
-
Username:
Enter the username of an account that has administrator privileges for this
domain.
-
Password:
Enter the password for the administrator account.
6. Click
Update
.
If you configured the NSS to join a domain, when you click
Update
, the domain join occurs. The
NSS configuration interface displays the status of the domain join (i.e., successful or not
successful).


