10
Installation
Business Internet Video Camera with Audio
Chapter 4
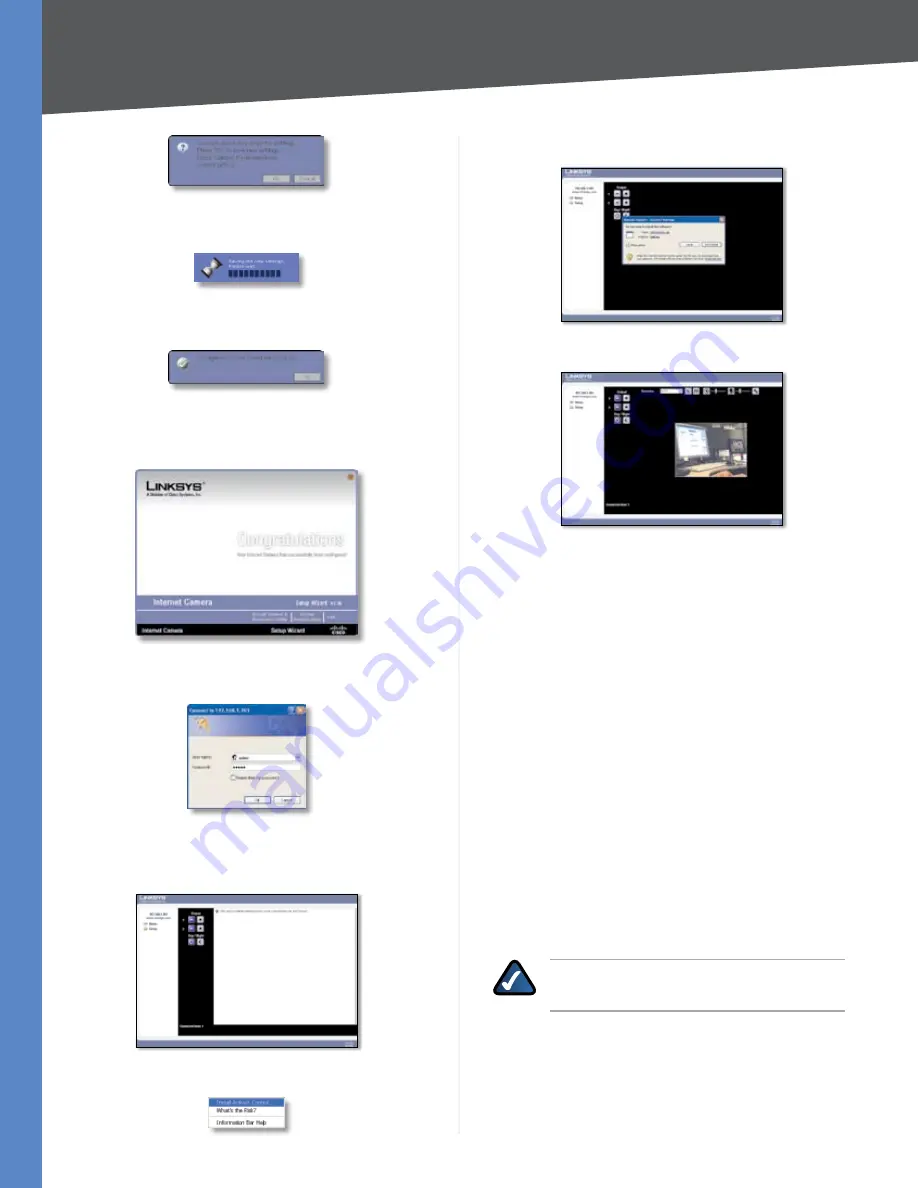
A timer will appear as the settings are saved to the
Camera.
A window will appear indicating that the settings have
10.
been saved successfully. Click
OK
to continue.
The Wizard will now return to the
11.
Welcome
screen. Click
Exit
to automatically launch your default web browser
and proceed to the Home page login screen.
The login prompt will appear, enter admin in both the
12.
User name
and
Password
fields.
Internet Explorer will prompt you to install ActiveX.
13.
In order to view video you must accept the ActiveX
download.
Click
Install ActiveX Control
.
Click the
14.
Install
button.
You should be able to view video on the home page.
Setting Up the Wireless Connection on the
WVC2300 Camera
To configure the Camera for wireless connectivity, you
must still be connected to the home page.
Click on
1.
Setup
to open the
Setup > Basic Setup
screen.
Enter the appropriate Wireless Settings:
2.
SSID
The SSID is the network name shared among all
devices in a wireless network. Enter the network’s SSID or
network name here. The SSID is case sensitive.
Network Type
Select the appropriate network mode:
Infrastructure
•
Use this option if you are connecting
the Camera to an access point or router.
Ad-hoc
•
Use this option if you are connecting the
Camera directly to a PC or notebook.
Channel No
If the Camera is set to ad-hoc mode, select
its channel setting from the drop-down menu.
NOTE:
When using Infrastructure mode, the
channel setting is configured automatically.
Security
Click the
Edit Security Settings
button to
display the
Wireless Security
screen.


