If you are using:
Windows XP
The following instructions assume you are run-
ning Windows XP’s default interface. If you are
using the Classic interface (where the icons and
menus look like previous Windows versions),
please follow the instructions for Windows 2000.
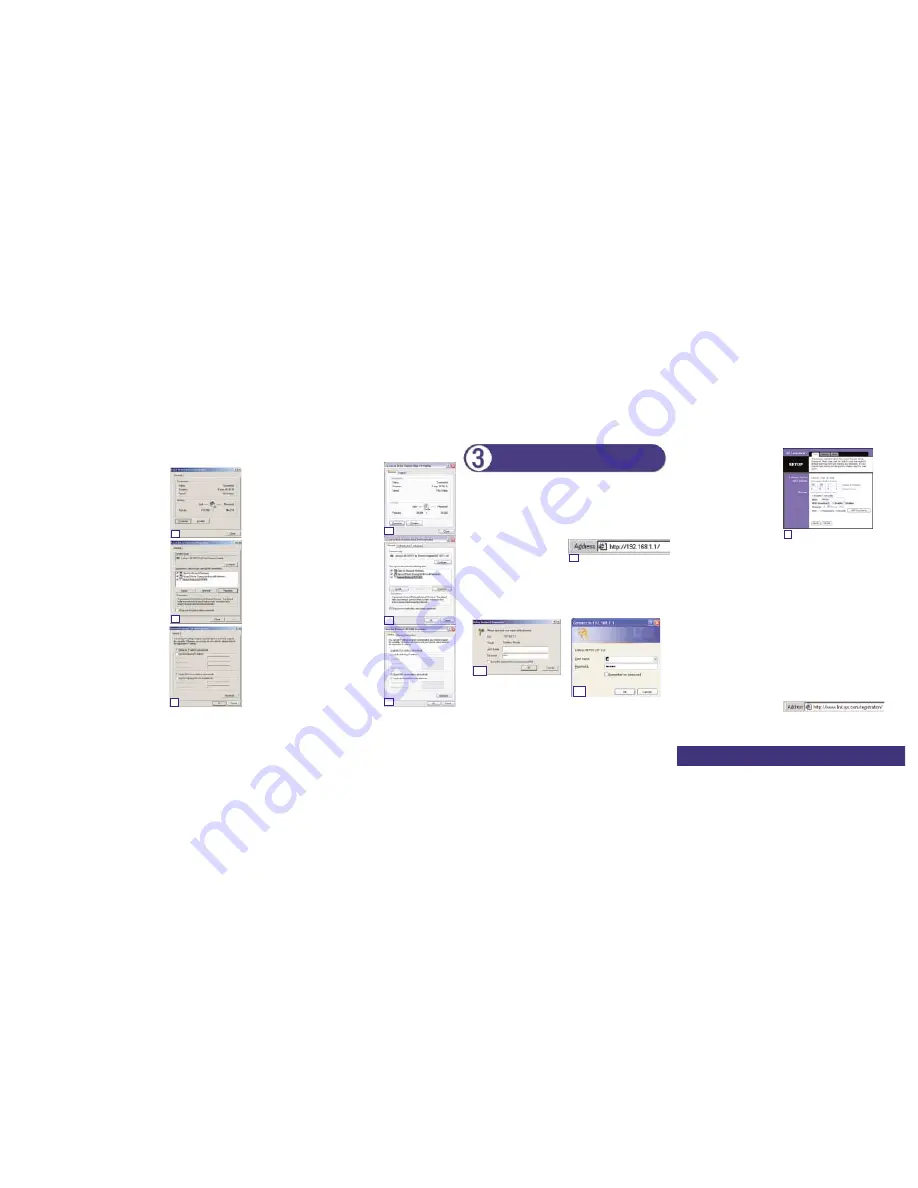
A. Click the Start button, open the Control
Panel. and click the Network and Internet
Connections icon. Then, click the Network
Connections icon to display the Network
screen.
B. Select the Local Area Connection icon for
the applicable Ethernet adapter (usually it is
the first Local Area Connection listed).
Double-click Local Area Connection and
click the Properties button.
C. Select Internet Protocol (TCP/IP) and click
the Properties button.
D. Select Obtain an IP address automatically
and click the OK button on the subsequent
screens to complete the PC’s configuration.
E. Restart your computer.
Go to Step 3: Configuring the Router.
If you are using:
Windows 2000
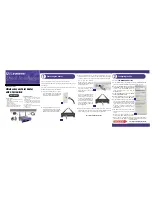
A. Click the Start button, click Settings and
open the Control Panel. From there, double-
click the Network and Dial-up Connections
icon. This will display the Network screen.
B. Select the Local Area Connection icon for
the applicable Ethernet adapter (usually it is
the first Local Area Connection listed).
Double-click Local Area Connection and
click the Properties button.
C. Select Internet Protocol (TCP/IP) and click
the Properties button.
D. Select Obtain an IP address automatically
and click the OK button on the subsequent
screens to complete the PC’s configuration.
E. Restart your computer.
Go to Step 3: Configuring the Router.
W W W . L I N K S Y S . C O M
D
C
B
B
C
D
The Router is pre-configured to work with your AT&T Broadband connec-
tion. This section will provide information to configure the wireless function
of the Router.
A. Open your web browser. (It’s all right if you get an error message at this
point. Continue following these instructions) Enter 192.168.1.1 into the
web browser’s Address field and press the Enter key.
B. An Enter Network Password window, shown in Figure B1, will appear.
(Windows XP users will see a Connect to 192.168.1.1 window, shown in
Figure B2.) Leave the User Name field empty, and enter admin (the
default password) in lowercase letters in the Password field. Then, click
the OK button.
C. To configure the Router for your wireless network, verify that the Setup
tab’s Wireless fields (shown in Figure C) are completed as follows:
A
B
1
B
2
Enable/Disable: Selecting the
Enable radio button will enable the
Router’s wireless feature. Wireless
functions will not be available unless
enabled.
SSID: The SSID (or ESSID) is a
unique name for your wireless net-
work. It is case sensitive and must
not exceed 32 characters. The default
SSID is "linksys " but you should
change this to a personal wireless
network name. All wireless points in
your network must use the same
SSID.
• SSID Broadcast: To increase network security, this feature can prevent the
SSID from being seen on wireless networks. With this enabled, someone could
obtain the SSID Broadcast information with a site survey tool and gain access
to your network. SSID Broadcast is enabled by default. To disable this function,
click the Disable radio button.
•
Channel: Select the appropriate channel from the list provided to correspond
with your network settings, between 1 and 11. All points in your wireless net-
work must use the same channel in order to function correctly. Verify that the
correct channel is selected and click the Apply button to set it.
Do not change the WEP setting from the default, “Disabled”, without first
referring to the Wireless Security sections of the User Guide or Setup Wizard
CD-ROM for advanced features and settings.
D. Reset the power on your cable modem and restart your computers. They will
now obtain the Router's new settings.
Note: You only need to configure the Router from one computer. If you need
advanced setting information, refer to the User Guide on the Setup Wizard CD-
ROM, the Linksys support website at linksys.com/support, or call Technical
Support at 1-800-242-8558.
Congratulations! You have successfully
configured the Router. You can test the
setup by opening your web browser from
any of your computers and entering www.linksys.com/registration.
If you are unable to reach our website, review what you did in this section.
C
Configuring the Router for Wireless
QI-BEFW11S4AT-061202NC-BW


