28
1
2
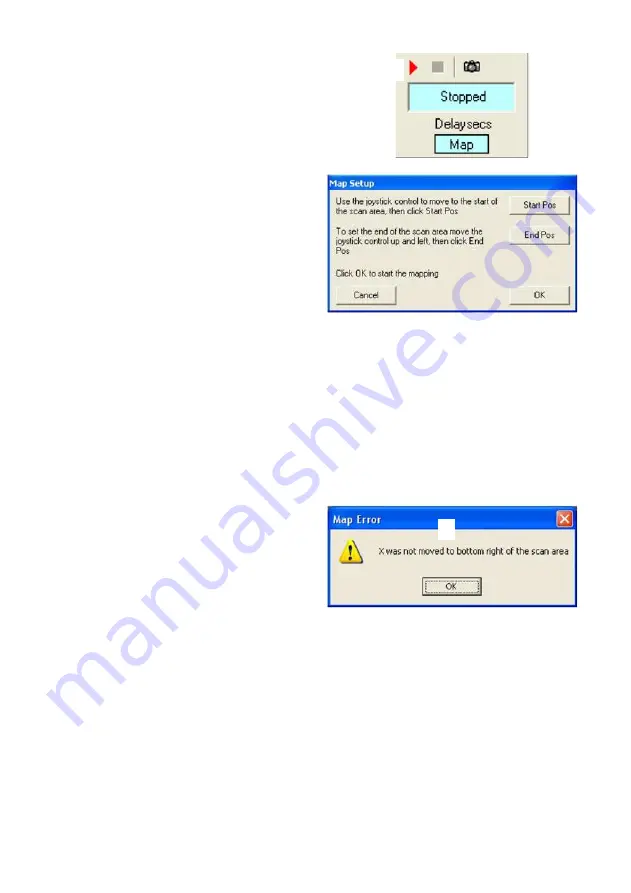
When the Capture Module Record Button (1) has
been pressed, a map setup window will ask you to
setup the area of the sample to be mapped.
Follow the on screen instructions to set the start
and end position of the sample to be mapped.
Start Position
Use the MDS Module joystick control to set the
start of the scan area. This will be the top left of
the area you wish to start scanning. Press Start
Pos.
End Position
Use the MDS Module joystick control to set the
end of the scan area then press End Pos.
When you are happy with the Start Position and
the End Position, press OK. A map of the scan
area will now be built up in the Sample Map
window. When the map is finished, or the Capture
Module Stop Button has been pressed, the .IML
file will be saved as normal, a .MAP file contain-
ing the built up map will also be saved with the
same name.
Note: press ‘
Cancel
’ during setup to exit Map
Setup.
The ‘Map Error’ window message (2) means that
the end position was not selected correctly. It
must be to the bottom right of the start position.


