


35
Advanced Features
2.
Press the
buttons to select the
Enter Password
. Use the
0-9
buttons to input a 4-digit password to enter the
Lock System
menu.
New Password
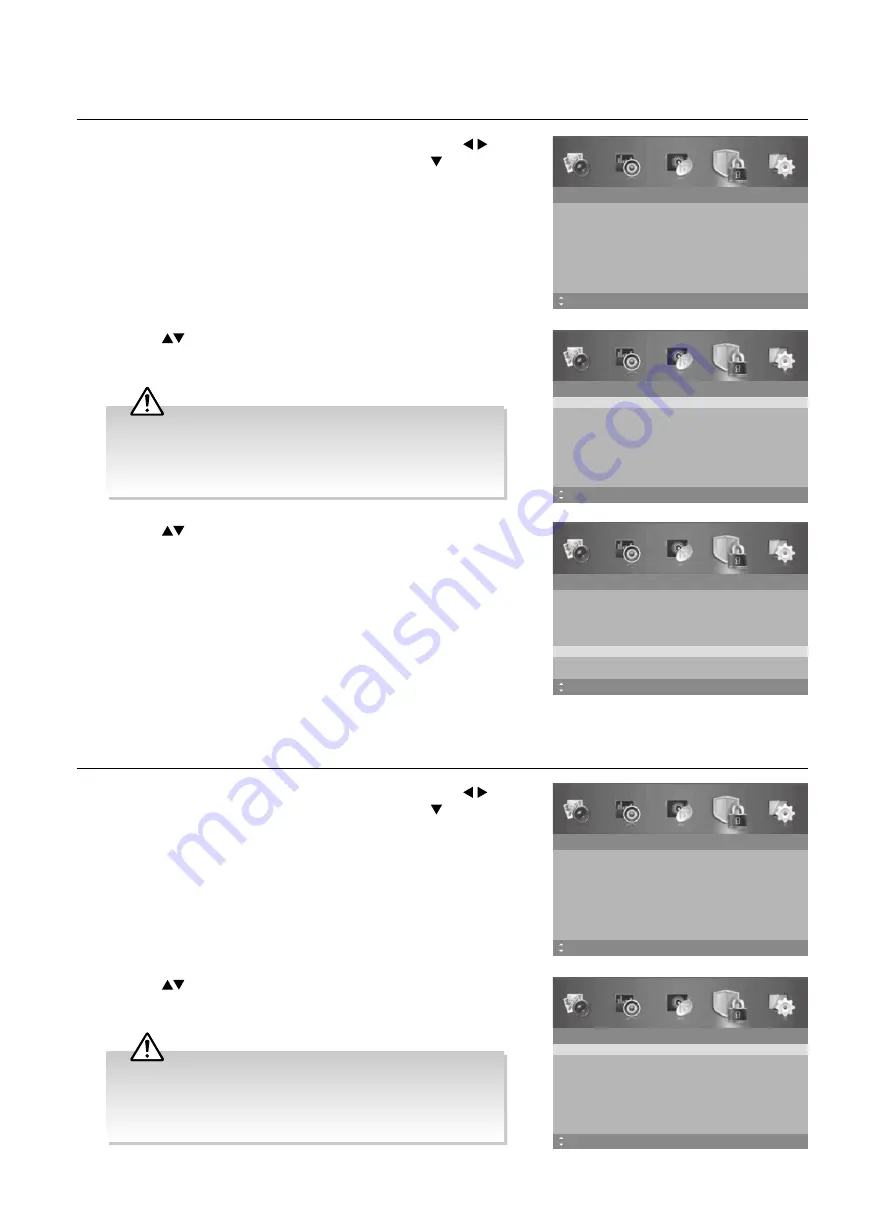
1.
Press the
MENU
button to display the main menu. Press the
buttons to select the
Lock System
and then press the button or
the
OK
button.
Lock System
Enter Password
Off
No Block
Enable
Channel Block
Parental Rating
Lock Keypad
New Password
Clear Lock
Off
MENU: Return EXIT: Exit
Move
– – – –
– – – –
Lock System
Enter Password
– – – –
Off
No Block
Enable
Channel Block
Parental Rating
Lock Keypad
New Password
Clear Lock
Off
– – – –
MENU: Return
0~9: Input
EXIT: Exit
Move
3.
Press the
buttons to select
New Password
and then use
the
0-9
buttons to input the new 4-digit password. Re-enter new
password for confirmation.
4.
Press the
MENU
button to return to the previous menu, press again
to return to the main menu.
5.
Press the
EXIT
button to exit the menu.
Lock System
Enter Password
– – – –
Off
No Block
Enable
Channel Block
Parental Rating
Lock Keypad
New Password
Clear Lock
Off
– – – –
MENU: Return EXIT: Exit
Move
0~9: Input
• The default password is “
0000
”.
• If you change the password, be sure to remember the new
password! If you forget the new password, enter the master
password“
8899
”.
2.
Press the
buttons to select the
Enter Password
. Use the
0-9
buttons to input a 4-digit password to enter the
Lock System
menu.
Clear Lock
Restores all Lock System settings to the factory defaults.
1.
Press the
MENU
button to display the main menu. Press the
buttons to select the
Lock System
and then press the button or
the
OK
button.
Lock System
Enter Password
Off
No Block
Enable
Channel Block
Parental Rating
Lock Keypad
New Password
Clear Lock
Off
MENU: Return EXIT: Exit
Move
– – – –
– – – –
Lock System
Enter Password
– – – –
Off
No Block
Enable
Channel Block
Parental Rating
Lock Keypad
New Password
Clear Lock
Off
– – – –
MENU: Return
0~9: Input
EXIT: Exit
Move
• The default password is “
0000
”.
• If you change the password, be sure to remember the new
password! If you forget the new password, enter the master
password“
8899
”.


