Lincoln Electric POWER WAVE S350CE Operator'S Manual Download Page 5

WELDING AND CUTTING

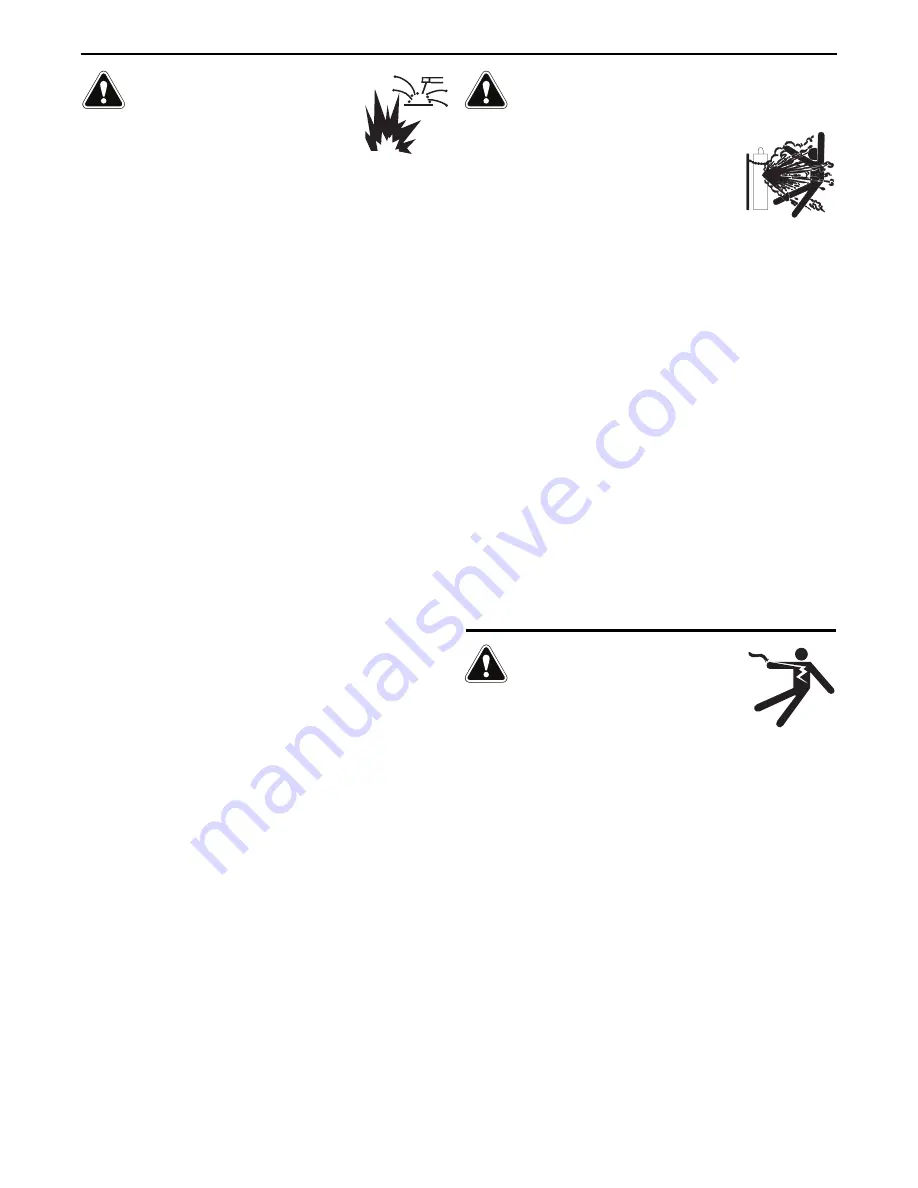
SPARKS CAN CAUSE

FIRE OR EXPLOSION.

   6.a. Remove fire hazards from the welding area. If

this is not possible, cover them to prevent the welding sparks
from starting a fire. Remember that welding sparks and hot
materials from welding can easily go through small cracks and
openings to adjacent areas. Avoid welding near hydraulic lines.
Have a fire extinguisher readily available.

   6.b. Where compressed gases are to be used at the job site, special

precautions should be used to prevent hazardous situations.
Refer to “Safety in Welding and Cutting” (ANSI Standard Z49.1)
and the operating information for the equipment being used.  

     6.c. When not welding, make certain no part of the electrode circuit is

touching the work or ground. Accidental contact can cause
overheating and create a fire hazard.

   6.d. Do not heat, cut or weld tanks, drums or containers until the

proper steps have been taken to insure that such procedures 
will not cause flammable or toxic vapors from substances inside.
They can cause an explosion even though they have been
“cleaned”. For information, purchase “Recommended Safe
Practices for the Preparation for Welding and Cutting of
Containers and Piping That Have Held Hazardous Substances”,
AWS F4.1 from the American Welding Society 
(see address above).

   6.e. Vent hollow castings or containers before heating, cutting or

welding. They may explode.

   6.f. Sparks and spatter are thrown from the welding arc. Wear oil free

protective garments such as leather gloves, heavy shirt, cuffless
trousers, high shoes and a cap over your hair. Wear ear plugs
when welding out of position or in confined places. Always wear
safety glasses with side shields when in a welding area.

   6.g. Connect the work cable to the work as close to the welding area

as practical. Work cables connected to the building framework or
other locations away from the welding area increase the
possibility of the welding current passing through lifting chains,
crane cables or other alternate circuits. This can create fire
hazards or overheat lifting chains or cables until they fail.

   6.h. Also see item 1.c.

   6.I. Read and follow NFPA 51B “Standard for Fire Prevention During

Welding, Cutting and Other Hot Work”, available from NFPA, 1
Batterymarch Park, PO box 9101, Quincy, MA 022690-9101.

   6.j. Do not use a welding power source for pipe thawing.

CYLINDER MAY EXPLODE IF

DAMAGED.

   7.a. Use only compressed gas cylinders containing

the correct shielding gas for the process used
and properly operating regulators designed for
the gas and pressure used. All hoses, fittings,
etc. should be suitable for the application and
maintained in good condition.

   7.b. Always keep cylinders in an upright position securely chained to

an undercarriage or fixed support.

   7.c. Cylinders should be located:

Away from areas where they may be struck or subjected
to physical damage.

A safe distance from arc welding or cutting operations
and any other source of heat, sparks, or flame.

   7.d. Never allow the electrode, electrode holder or any other

electrically “hot” parts to touch a cylinder.

   7.e. Keep your head and face away from the cylinder valve outlet

when opening the cylinder valve.

   7.f. Valve protection caps should always be in place and hand tight

except when the cylinder is in use or connected for use.

   7.g. Read and follow the instructions on compressed gas cylinders,

associated equipment, and CGA publication P-l, “Precautions for
Safe Handling of Compressed Gases in Cylinders,” available from
the Compressed Gas Association,  14501 George Carter Way
Chantilly, VA 20151.

FOR ELECTRICALLY

POWERED EQUIPMENT.

   8.a. Turn off input power using the disconnect

switch at the fuse box before working on 
the equipment.

   8.b. Install equipment in accordance with the U.S. National Electrical

Code, all local codes and the manufacturer’s recommendations.

   8.c. Ground the equipment in accordance with the U.S. National

Electrical Code and the manufacturer’s recommendations.

Refer to

http://www.lincolnelectric.com/safety

for additional safety information.

SAFETY

Safety 04 of 04 - 5/16/2018

Summary of Contents for POWER WAVE S350CE

Page 1: ...es having Code Numbers 11625 11783 12795 Need Help Call 1 888 935 3877 to talk to a Service Representative Hours of Operation 8 00 AM to 6 00 PM ET Mon thru Fri After hours Use Ask the Experts at linc...

Page 2: ...A LARGE ROOM OR OUTDOORS natural ventilation may be adequate if you keep your head out of the fumes See below USE NATURAL DRAFTS or fans to keep the fumes away from your face If you develop unusual s...

Page 3: ...hot engine parts and igniting Do not spill fuel when filling tank If fuel is spilled wipe it up and do not start engine until fumes have been eliminated 1 d Keep all equipment safety guards covers and...

Page 4: ...m to ANSI Z87 I standards 4 b Use suitable clothing made from durable flame resistant material to protect your skin and that of your helpers from the arc rays 4 c Protect other nearby personnel with s...

Page 5: ...nt passing through lifting chains crane cables or other alternate circuits This can create fire hazards or overheat lifting chains or cables until they fail 6 h Also see item 1 c 6 I Read and follow N...

Page 6: ...he situation with the technical assistance of the manufacturer In some cases this remedial action may be as simple as earthing grounding the welding circuit see Note In other cases it could involve co...

Page 7: ...ns Welding Cables The welding cables should be kept as short as possible and should be positioned close together running at or close to floor level Equipotential Bonding Bonding of all metallic compon...

Page 8: ...4 NOTES POWER WAVE S350CE 4...

Page 9: ...2 Design Features B 3 Case Front Controls B 3 Case Back Controls B 4 Common Welding Procedures B 5 thru B 7 ________________________________________________________________________________ Accessorie...

Page 10: ...olts 350 Amps 31 5 Volts 320 Amps 30 Volts INPUT VOLTAGE PHASE FREQUENCY 230 3 50 60 380 415 3 50 60 460 3 50 60 575 3 50 60 Input Amperes 35 20 17 14 28 16 14 11 Idle Power 300 Watts Max fan on Power...

Page 11: ...DEPTH 24 80in 630mm WEIGHT 85 lbs 39 kg OPERATING TEMPERATURE RANGE 4 F to 104 F 20C to 40C STORAGE TEMPERATURE RANGE 40 F to 185 F 40C to 85C PROCESS GMAW GMAW Pulse FCAW GTAW DC SMAW OUTPUT RANGE AM...

Page 12: ...red with a steel plate at least 060 1 6mm thick which shall extend not less than 5 90 150mm beyond the equipment on all sides WARNING LIftING Both handles should be used when lifting POWER WAVE S350CE...

Page 13: ...not being used at high currents INPUT VOLTAGE SELECTION The POWER WAVE S350CE automatically adjusts to work with different input voltages No reconnect switches settings are required The POWER WAVE S3...

Page 14: ...rcLink ArcLink POSITIVE WORK CLAMP BACK CONNECTIONS ON LF 45 LF 45 GUN K470 XX WORK POWER WAVE S350 CE POSITIVE GMAW K940 XX WORK SENSE REGULATOR FLOWMETER GAS HOSE ArcLink ArcLink FIGURE A 2 FIGURE A...

Page 15: ...ten result in unsatisfactory welding perfor mance Always use the largest welding cables elec trode and work that are practical and be sure all connections are clean and tight Note Excessive heat in th...

Page 16: ...supplied to the control pc board Sense Lead Kits K940 xx are available for this pur pose The Power Wave S350CE has the ability to auto matically sense when remote sense leads are con nected With this...

Page 17: ...ve electrode polarity This feature can be disabled through the Weld Manager Utility avail able at www powerwavesoftware com or through the set up menu if a user interface is installed into the power s...

Page 18: ...sult in arc interference If Sense Leads ARE Used Position the sense leads out of the path of the weld current Especially any current paths common to adjacent arcs Current from adjacent arcs can induce...

Page 19: ...t all work leads on one side of the weld joint and all of the work voltage sense leads on the opposite side such that they are out of the current path See Figure 8 A PO POWER WER SOURCE 2 POWER SOURCE...

Page 20: ...5 pin ArcLink control cable connects the power source to the wire feeder The control cable consists of two power leads one twisted pair for digital com munication and one lead for voltage sensing The...

Page 21: ...THE FRONT OF THIS OPERATING MAN UAL WARNING SAFETY PRECAUTIONS READ AND UNDERSTAND ENTIRE SECTION BEFORE OPERATING MACHINE POSITIVE OUTPUT NEGATIVE OUTPUT STATUS PROTECTIVE GROUND EXPLOSION WARNING OR...

Page 22: ...commended for semiautomatic welding and may also be suitable for basic hard automation applications The POWER WAVE S350CE can be set up in a number of config urations some requiring optional equipment...

Page 23: ...atform State of the art power electronics technology yields superior welding capability Electronic over current protection Input over voltage protection F A N fan as needed Cooling fan only runs when...

Page 24: ...VICENET KIT OPTIONAL 7 INPUT POWER CORD 8 RESERVED FOR FUTURE DEVELOPMENT 9 COOLER OUTPUT POWER PANEL OPTIONAL POWER WAVE S350CE 1 2 8 9 3 4 5 6 7 FIGURE B 2a CASE BACK CONTROLS See Figure B 2 for Cod...

Page 25: ...elding mode offers the simplicity of sin gle knob control The machine will select the correct voltage and amperage based on the Wire Feed Speed WFS set by the operator Basic Welding Controls Weld Mode...

Page 26: ...wire feed speed a corresponding voltage is preprogrammed into the machine through special soft ware at the factory The nominal preprogrammed voltage is the best aver age voltage for a given wire feed...

Page 27: ...stick outs from 0 50 to 1 25 At very low or high wire feed speeds the adaptive range may be less due to reaching physical limitations of the welding process UltimArc Control adjusts the focus or shape...

Page 28: ...ble Twist Mate to Lug Adapter For connection of lugged cable to Twist Mate con nectors 18 457 mm long Order K2176 1 Dual Cylinder Kit Permits side by side mounting of two full size gas cylinders with...

Page 29: ...length ORDER K2374 1 STICK ELECTRODE HOLDER CABLE AND WORK CABLE ASSEMBLY Includes 200A stick electrode holder welding cable work clamp and Twist Mate adapter ORDER K2394 1 TIG OPTIONS Pro Torch TIG T...

Page 30: ...king the calibration will not need adjustment However neglected or improp erly calibrated machines may not yield satisfactory weld performance To ensure optimal performance the calibration of output V...

Page 31: ...and or are unable to perform the Recommended Course of Action safely contact your local Lincoln Authorized Field Service Facility HOW TO USE TROUBLESHOOTING GUIDE Service and Repair should only be per...

Page 32: ...ns are indicated in the following chart Table E 1 Light Condition Steady Green Blinking Green Fast Blinking Green Alternating Green and Red Steady Red Blinking Red Status LED off Input control board N...

Page 33: ...ck fan operation Be sure process does not exceed duty cycle limit of the machine The long term average secondary weld current limit has been exceeded NOTE The long term average secondary current limit...

Page 34: ...charge timeout 346 Transformer primary over current Other Indication Input current limit has been exceeded Typically indicates short term power overload If problem persists contact Service Department...

Page 35: ...1 No Input Power 2 Input voltage is too low or too high 1 Input voltage is too low or too high 2 Thermal Error 3 Secondary current limit has been exceeded see error 54 3a Input control board fault see...

Page 36: ...ne calibration 6 Wire feed problem 1 Check for proper fan operation Fan should run in a low speed setting when the machine is idle and in a high speed when the output is triggered Check for material b...

Page 37: ...own to protect itself 2 System Fault 1 Input voltage may be too low lim iting output capability of the power source 2 Machine calibration 1 Wire feed problem 2 Loss of or improper Shielding Gas 3 Mach...

Page 38: ...tion 1 Verify that the correct patch cable or cross over cable is being used refer to local IT department for assistance 1a Verify the cables are fully insert ed into the bulk head connector 1b The LE...

Page 39: ...It may not be accurate for all machines covered by this manual The specific diagram for a particular code is pasted inside the machine on one of the enclosure panels If the diagram is illegible write...

Page 40: ...F 2 DIMENSION PRINT F 2 POWER WAVE S350CE L L1 15 51 10 05 5 1 1 A A 0 02 2 13 13 9 91 1 18 18 8 81 1 6 6 0 00 0 27 27 4 43 3 22 22 2 25 5 18 18 3 35 5...

Page 41: ...This page intentionally left blank...

Page 42: ...parts or electrode with skin or wet clothing l Insulate yourself from work and ground l No toque las partes o los electrodos bajo carga con la piel o ropa moja da l Aislese del trabajo y de la tierra...

Page 43: ...d Entl ftung des Arbeitsplatzes l Mantenha seu rosto da fuma a l Use ventila o e exhaust o para remover fumo da zona respirat ria l Turn power off before servicing l Desconectar el cable de ali mentac...

Page 44: ...tomer s particular purpose with respect to such information or advice As a matter of practical consideration we also cannot assume any responsibility for updating or correcting any such information or...

Reviews: