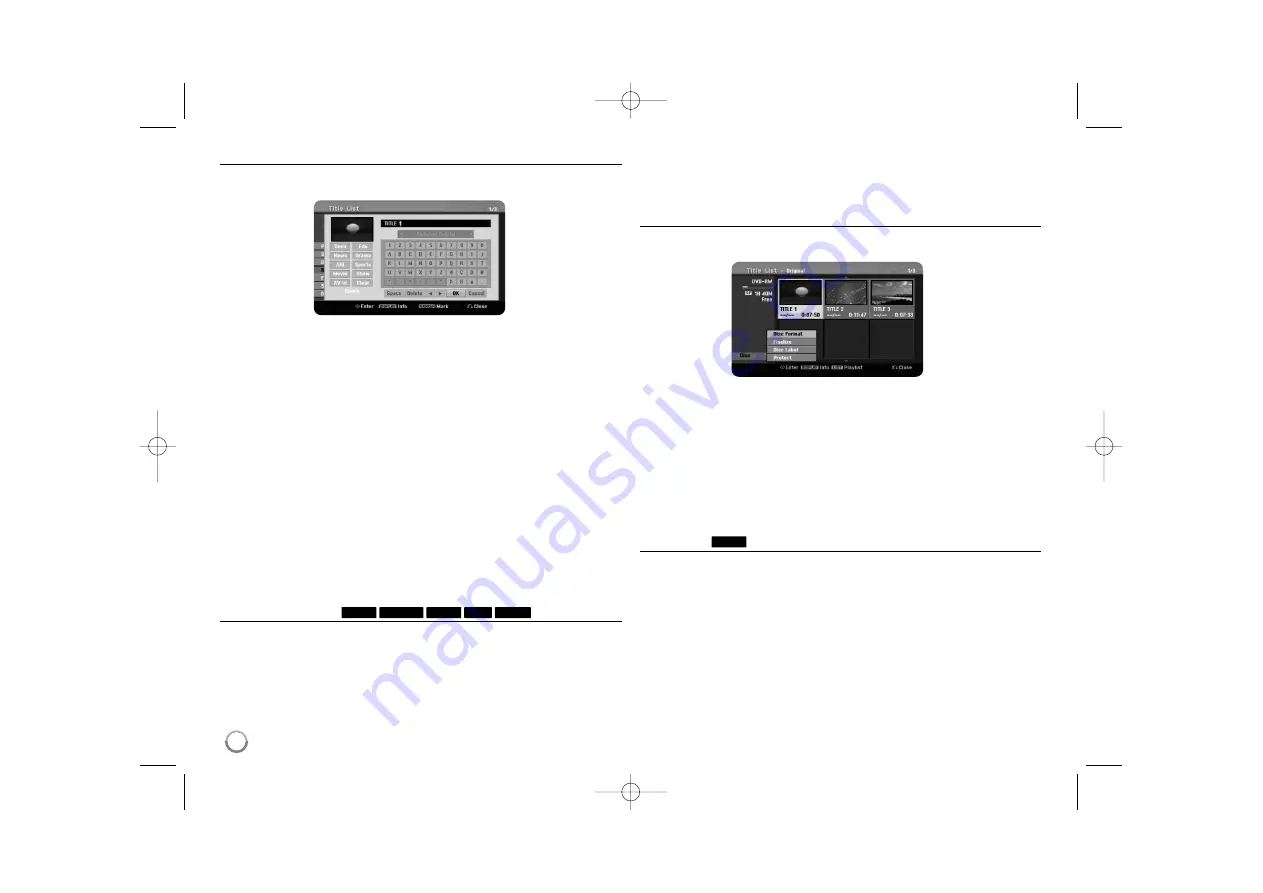
Naming a title
When a title is recorded by this unit, the title name will be named by a number.
You can change a title name by using this function.
Select a title that you want to change the name of and press ENTER. Select
[Rename] or [Title Name] option from the menu on the left of the screen and
press ENTER to display the keyboard menu. Use
v
v V
V b
b B
B
to select a character
then press ENTER to confirm your selection on the keyboard menu.
[OK]: Finish the naming.
[Cancel]: Cancels all entered characters.
[Space]: Inserts a space at the cursor position.
[Delete]: Deletes the previous character at the cursor position.
You can use remote control buttons for entering a name
PLAY (
N
): Inserts a space at the cursor position.
X
(PAUSE/STEP): Deletes the character after the cursor position.
x
(STOP), CLEAR: Deletes the character before the cursor position.
.
/
>
: Moves cursor to left or right.
MENU/LIST, DISPLAY: Changes the character set on the keyboard menu.
Numbers (0-9): Enters the corresponding character at the cursor position.
You can apply a genre for a selected title on HDD. When a character is high-
lighted on the keyboard menu, keep pressing
b
b
until the curser jumps across to
the Genre field. Choose desired genre and press ENTER to select it.
The chosen genre name will appear at the lower right corner of the title thumbnail.
Combining chapters
Use this function to merge the selected chapter with adjacent chapter. Select a
chapter and press ENTER. Select [Combine] option to view combine indicator
between chapter thumbnails. Press ENTER to combine indicated two chapters.
This function is not available in conditions as listed below.
There is only one chapter within the title.
The first chapter is selected.
The chapters that you want to combine are created by deleting a part from
an Original title.
The chapters that you want to combine are created from different titles.
One of the playlist chapters that you want to combine has been moved.
Using the Disc menu
Using the title list menu in DVD mode, you can use the disc setting functions
without entering the SETUP menu.
Use
v
v V
V b
b B
B
to select the [Disc] option on the DVD title list menu and then
press ENTER to show further options.
[Disc Format]: Format the inserted disc. (page 17)
[Finalize]: Finalize the inserted disc. (page 17)
[Unfinalize]: Unfinalize the inserted disc. (page 17)
[Disc Label]: Use this to enter a name for the disc. This name appears when
you load the disc and disc information on-screen. (page 18)
[Protect]: Use this to prevent accidental recording, editing, deleting of the
inserted disc. (page 18)
[Unprotect]: Release the protect function.
Overwriting
You can overwrite a new video recording on a recorded title that is not protect-
ed. Select the TV channel or input source you want to record. Press
MENU/LIST to display the Title List menu. Use
v V b B
to highlights a title you
want to overwrite and then press REC to start overwrite. To stop the recording,
press STOP.
If you overwrite a longer recording than the current title on the fully recorded
disc, the next title is overwritten. If the next title is protected, the overwriting
stops at the starting point of the title.
+RW
RAM
+R
+RW
-RW
VR
HDD
30
RH388H-W-BIDNLLK-ENG 1/12/12 10:12 AM Page 30


