


PICTURE SIZE (ASPECT RATIO) CONTROL
You can watch the screen in various picture formats;
16:9, 4:3, Zoom1, Zoom2
and
Just Scan
.
If a fixed image is displayed on the screen for a long time, that fixed image may become imprinted on
the screen and remain visible.
You can adjust the enlarge proportion using ▲ / ▼ button.
This function works in the following signal.
You can adjust
Aspect Ratio
in the
Picture menu.
1
PICTURE CONTROL
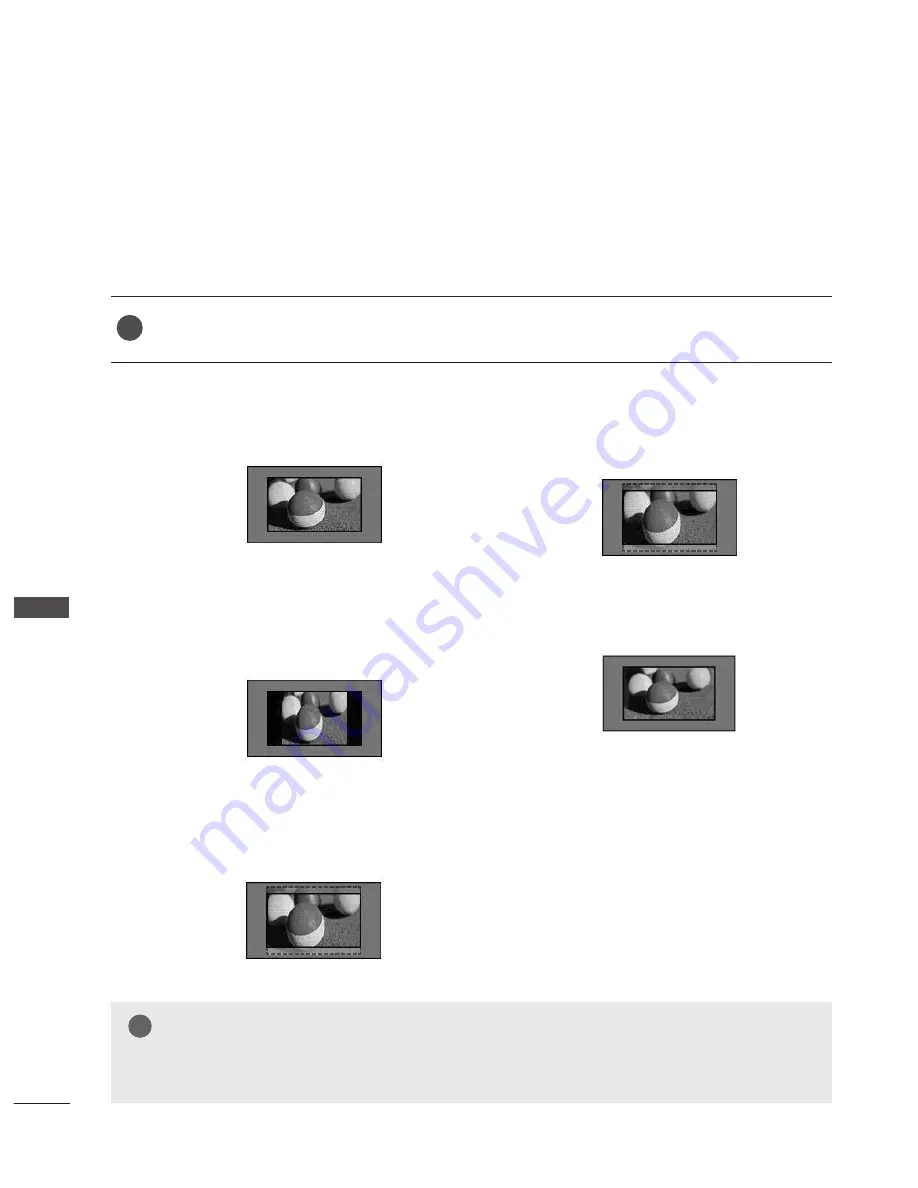
• 16:9
The following selection will allow you to
adjust the picture horizontally, in linear pro-
portion, to fill the entire screen(useful for
viewing 4:3 formatted DVDs).
• 4:3
The following selection will allow you to
view a picture with an original 4:3 aspect
ration, black bars will appear on both the
left and right of the screen.
• Zoom 1
The following selection will allow you to
view the picture without any alteration,
while filling the entire screen. However, the
top and bot tom of the picture will be
cropped.
• Zoom 2
Choose Zoom 2 when you wish the picture
to be altered, both horizontally extended
and vertically cropped. The picture adopting
a compromise between alteration and
screen converage.
• Just Scan
Following Selection will lead to you view the
picture of best quality without loss of origi-
nal picture in high resolution image.
16:9
Zoom 1 ▲▼
Zoom 2 ▲▼
Just Scan
4 : 3
NOTE
!
?
!
?
►
You can only select 4:3,16:9 (Wide) in Component, HDMI mode.
►
In HDMI/Component (over 720p)mode, Just Scan is available.
30
PIC
TU
R
E C
O
N
TR
O
L


