11
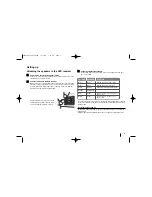
Adjust the settings - more you can do
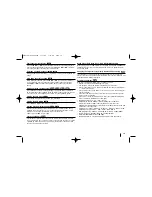
Adjust the language settings
OSD –
Select a language for the Setup menu and on-screen display.
There is displayed as “-” or other error mark on display when you
change OSD.
- Restart the unit
- Change function
- Disconnect and connect USB device.
Disc Menu/Audio/Subtitle –
Select a language for the Menu/Audio/Subtitle.
[Original]: Refers to the original language in which the disc was recorded.
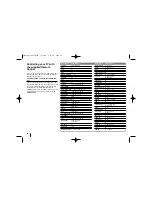
[Others]: To select another language, press number buttons then ENTER to
enter the corresponding 4-digit number according to the language code list in
the reference chapter (see page 21). If you make a mistake before pressing
ENTER, press CLEAR
[OFF] (for Disc Subtitle): Turn off Subtitle.
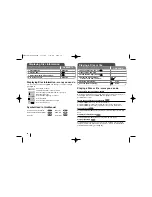
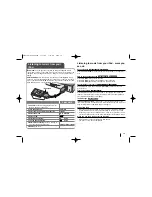
Adjust the settings
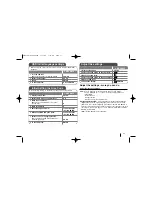
ON REMOTE
1 Display setup menu :
SETUP
2 Select a desired option on the first level:
v
v V
V
3 Move to second level:
B
B
4 Select a desired option on the second level:
v
v V
V
5 Move to third level:
B
B
6 Change the setting:
v
v V
V
, ENTER
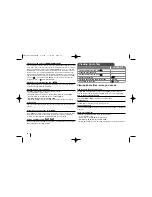
OSD Initial language settings
1 Turn the power on:
Appear the language list display window
POWER
2 Select the language:
vV b B
3 Press:
ENTER
4 To confirm press:
b B
and ENTER
Before using the unit for the first time, you have to adjust OSD initial
language
ON REMOTE
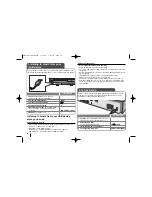
Initial Setting the Area Code
1 Display setup menu:
SETUP
2 Select LOCK menu on the first level:
v V
3 Move to second level:
Appears the activated Area code on the
second level.:
B
4 Move to thirdlevel:
B
5 Enter the new pass word:
numerical buttons
(0-9)
and ENTER
6 Recheck entered new pass word:
numerical buttons
(0-9)
and ENTER
7 Select a code for a geographic area:
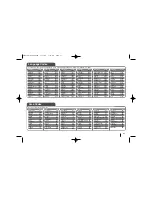
After select,Rating and Passward will be
activated.(page 21)
vV b B
8 To confirm press:
ENTER
After factory setting ,To set the Area code you have to as below.
ON REMOTE
HT963SA-AP_DUSALLK 1/31/08 1:16 PM Page 11

