5
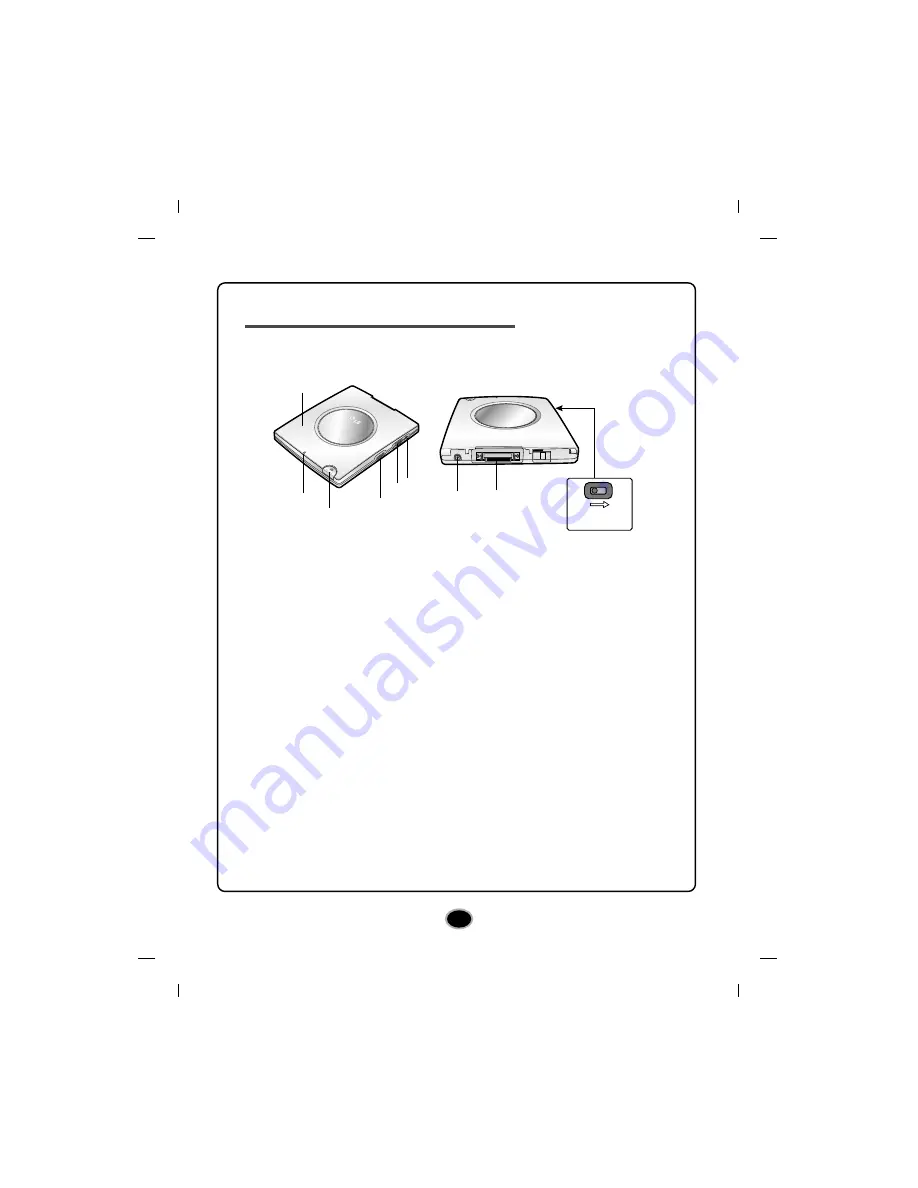
Location and function of controls
This drive should be used only in its current hardware and software configuration.
1.
Top Cover
2.
Power Busy Indicator
– The indicator lights a steady green when the power to
the drive is on, and the Indicator blinks when the disc is being set, or when the
drive is accessing data.
3.
Eject Button
– Press this button to open the top cover. The button works only
when power is applied to the drive. (The AC adapter must be plugged in.)
4.
Power Switch
– Use this switch to turn the drive on and off.
5.
Headphone Volume Control
– Adjusts your headphone sound level.
6.
Headphone Jack
– This jack is used for analog audio playback only.
7.
DC In Jack
– Connect the AC Adapter cable.
8.
Interface Connector
– This Interface connector is used to connect to the USB
2.0 converter cable.
9.
Manual Eject Lever (Bottom side)
– When the power supply of the drive is off,
push this lever in the direction of the arrow to open the top cover.
OF
F
ON
POW
ER B
USY
PUS
H C
LOS
E
1
2
3
4
5
6
POWER
BUSY
PUSH C
LOSE
POWER
BUSY
PUSH C
LOSE
7
8
9
MANUAL
EJECT
(Bottom)


