background image

2

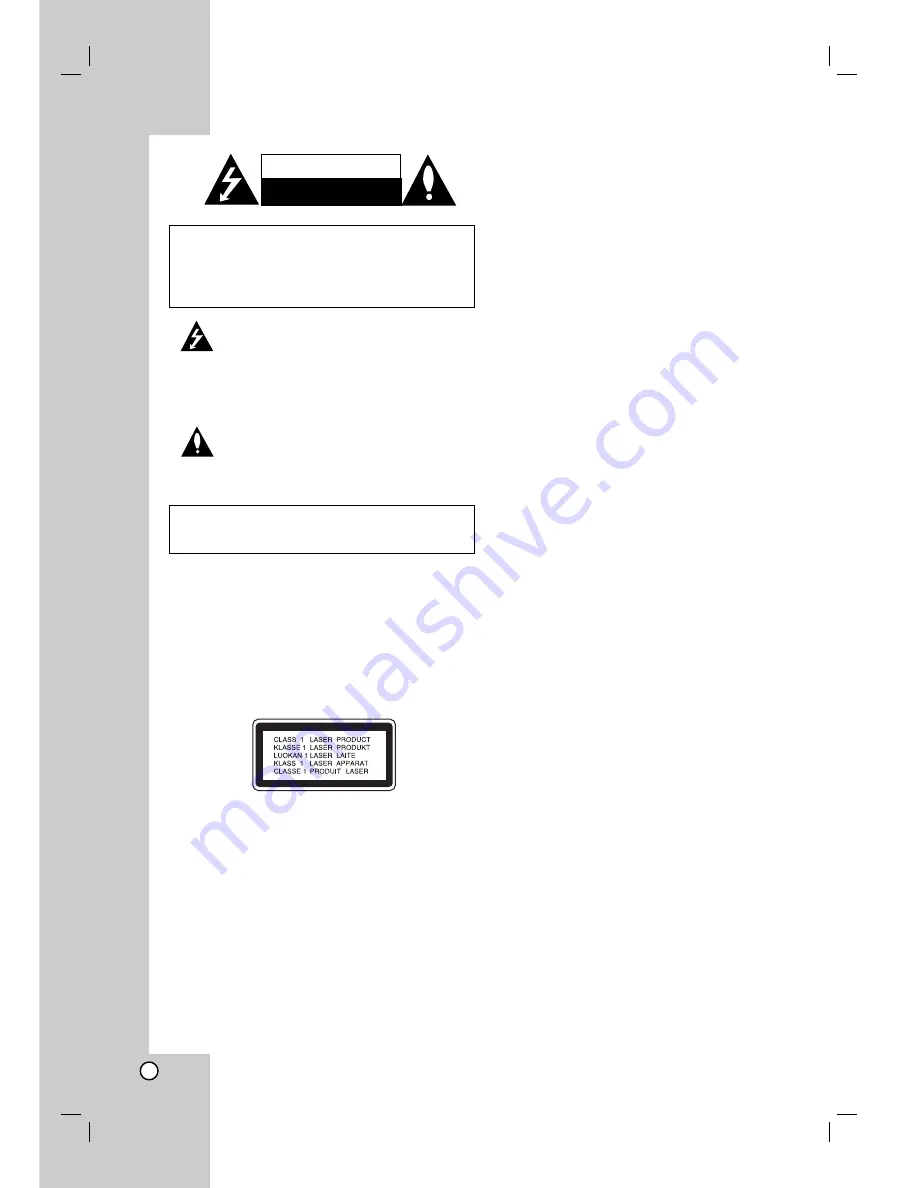
This lightning flash with arrowhead symbol within
an equilateral triangle is intended to alert the user
to the presence of uninsulated dangerous voltage
within the product’s enclosure that may be of
sufficient magnitude to constitute a risk of electric
shock to persons. 

The exclamation point within an equilateral
triangle is intended to alert the user to the
presence of important operating and maintenance
(servicing) instructions in the literature
accompanying the product.

CAUTION: 

Do not block any ventilation openings. Install in

accordance with the manufacturer's instructions.

Slots and openings in the cabinet are provided for ventilation
and to ensure reliable operation of the product and to protect
it from over heating. 
The openings should be never be blocked by placing the
product on a bed, sofa, rug or other similar surface. This
product should not be placed in a built-in installation such as
a bookcase or rack unless proper ventilation is provided or
the manufacturer's instruction have been adhered to.

CAUTION: 

VISIBLE AND INVISIBLE LASER RADIATION

WHEN OPEN AND INTERLOCKS DEFEATED.

CAUTION: 

This product employs a Laser System.
To ensure proper use of this product, please read this
owner’s manual carefully and retain it for future reference.
Should the unit require maintenance, contact an authorized
service center.
Use of controls, adjustments or the performance of
procedures other than those specified herein may result in
hazardous radiation exposure.
To prevent direct exposure to laser beam, do not try to open
the enclosure. Visible laser radiation when open. DO NOT
STARE INTO BEAM.

CAUTION: 

The apparatus should not be exposed to water

(dripping or splashing) and no objects filled with liquids, such
as vases, should be placed on the apparatus.

CAUTION concerning the Power Cord

Most appliances recommend they be placed upon
a dedicated circuit;

That is, a single outlet circuit which powers only that
appliance and has no additional outlets or branch
circuits. Check the specification page of this owner's
manual to be certain.

Do not overload wall outlets. Overloaded wall outlets,
loose or damaged wall outlets, extension cords,
frayed power cords, or damaged or cracked wire
insulation are dangerous. Any of these conditions
could result in electric shock or fire. Periodically
examine the cord of your appliance, and if its
appearance indicates damage or deterioration, unplug
it, discontinue use of the appliance, and have the cord
replaced with an exact replacement part by an
authorized servicer.

Protect the power cord from physical or mechanical
abuse, such as being twisted, kinked, pinched, closed
in a door, or walked upon. Pay particular attention to
plugs, wall outlets, and the point where the cord 
exits the appliance.

To disconnect power from the mains, pull out the
mains cord plug. When installing the product, ensure
that the plug is easily accessible.

CAUTION

RISK OF ELECTRIC SHOCK 

DO NOT OPEN

WARNING:

TO PREVENT FIRE OR ELECTRIC SHOCK

HAZARD, DO NOT EXPOSE THIS PRODUCT TO RAIN
OR MOISTURE.

CAUTION: 

TO REDUCE THE RISK 

OF ELECTRIC SHOCK

DO NOT REMOVE COVER (OR BACK)

NO USER-SERVICEABLE PARTS INSIDE

REFER SERVICING TO QUALIFIED SERVICE 

PERSONNEL.

Summary of Contents for DV130

Page 1: ... OWNER S MANUAL MODEL DV130 DV140 DV160 DV170 Before connecting operating or adjusting this product please read this instruction booklet carefully and completely DV130 140 160 170PD_NA2KHL 8LBL 4MLL 5SAL 4SCL_ENG ...

Page 2: ...ent direct exposure to laser beam do not try to open the enclosure Visible laser radiation when open DO NOT STARE INTO BEAM CAUTION The apparatus should not be exposed to water dripping or splashing and no objects filled with liquids such as vases should be placed on the apparatus CAUTION concerning the Power Cord Most appliances recommend they be placed upon a dedicated circuit That is a single o...

Page 3: ...splaying Disc Information on screen 10 Initial Settings 10 General Operation 10 LANGUAGE 10 Menu Language 10 Disc Audio Subtitle Menu 10 DISPLAY 10 TV Aspect 10 Display Mode 10 Progressive Scan 11 TV Output Select 11 AUDIO 11 Dolby Digital DTS MPEG 11 Sample Freq Frequency 11 Dynamic Range Control DRC 11 LOCK Parental Control 12 Rating 12 Password 12 Area Code 12 OTHERS 13 PBC 13 Auto Play 13 B L ...

Page 4: ...tortion Before playing clean the disc with a clean cloth Wipe the disc from the center out Do not use strong solvents such as alcohol benzine thinner commercially available cleaners or anti static spray intended for older vinyl records Maintenance and Service Refer to the information in this chapter before contacting a service technician Handling the Unit When shipping the unit Please save the ori...

Page 5: ... copyright protection technology must be authorized by Macrovision Corporation and is intended for home and other limited viewing uses only unless otherwise authorized by Macrovision Corporation Reverse engineering or disassembly is prohibited CONSUMERS SHOULD NOTE THAT NOT ALL HIGH DEFINITION TELEVISION SETS ARE FULLY COMPATIBLE WITH THIS PRODUCT AND MAY CAUSE ARTIFACTS TO BE DISPLAYED IN THE PIC...

Page 6: ...hapter or track or go to previous chapter or track e SKIP Go to next chapter or track f Disc Tray Insert a disc here g Z OPEN CLOSE Opens or closes the disc tray h Display window Shows the current status of the unit i Remote Sensor Point the remote control here a b c f g i h a bcde f g h i DV170 a bcde f g h i DV160 a bc f g h i DV140 DV130 ...

Page 7: ...nnel VOL Adjusts TV s volume AUDIO Selects an audio language or an audio channel SUBTITLE Selects a subtitle language ANGLE Selects a DVD camera angle if available SETUP Accesses or removes the Setup menu MARKER Marks any point during playback SEARCH Displays MARKER SEARCH menu PROGRAM Enter to program edit mode ZOOM Enlarges video image REPEAT Repeat chapter track title all A B Repeat sequence fr...

Page 8: ...rresponding in jacks on the TV using an Y Pb Pr cable C Progressive Scan If your television is a high definition or digital ready television you may take advantage of the DVD Player s progressive scan output for the highest video resolution possible If your TV does not accept the Progressive Scan format the picture will appear scrambled if you try Progressive Scan on the DVD Player Notes Set the P...

Page 9: ...gital Multi channel sound A digital multi channel connection provides the best sound quality For this you need a multi channel audio video receiver that supports one or more of the audio formats supported by your DVD player such as MPEG 2 Dolby Digital and DTS Check the receiver manual and the logos on the front of the receiver Notes If the audio format of the digital output does not match the cap...

Page 10: ...ting s 3 Use v V to select the second desired option then press B to move to the third level 4 Use v V to select the desired setting then press ENTER to confirm your selection Some items require additional steps 5 Press SETUP RETURN or PLAY to exit the Setup menu LANGUAGE Menu Language Select a language for the Setup menu and on screen display Disc Audio Subtitle Menu Select the language you prefe...

Page 11: ...layer s AUDIO options according to the type of audio system you use Dolby Digital DTS MPEG Bitstream Select Bitstream if you connect this unit s DIGITAL OUT jack to an amplifier or other equipment with a Dolby Digital DTS or MPEG decoder PCM for Dolby Digital MPEG Select when connected to a two channel digital stereo amplifier DVDs encoded in Dolby Digital or MPEG will be automatically downmixed t...

Page 12: ...change the password When the Old Password section is highlighted enter the 4 digit password you have created then press ENTER The New Password section will be highlighted Enter a new 4 digit password using the numbered buttons then press ENTER Enter the new 4 digit security password again to verify when the Confirm Password section is highlighted The OK will be highlighted 4 Press SETUP to exit th...

Page 13: ...the DVD is inserted If Auto Play mode is set to On this DVD player will search for title that has the longest playback time and then play back the title automatically Note The Auto Play function may not work for some DVDs B L E Black Level Expansion To select the black level of playback pictures Set your preference and monitor s ability On Expanded grey scale 0 IRE cut off Off Standard grey scale ...

Page 14: ...al A B During playback each press of A B button to select point A and point B and repeats a sequence from point A Starting point to point B End point Press CLEAR to exit ZOOM During playback or pause mode press ZOOM to enlarge the video image 4 steps You can move through the zoomed picture using b B v V buttons Press CLEAR to exit RANDOM During playback or in stop mode press RANDOM for random play...

Page 15: ...con appears on the TV screen briefly Repeat to enter up to nine markers To Recall or Clear a Marked Scene 1 During disc playback press SEARCH The marker search menu appears on the screen 2 Within 10 seconds press b B to select a marker number that you want to recall or clear 3 Press ENTER and playback starts from the marked scene Or Press CLEAR and the marker number is erased from the list 4 You c...

Page 16: ...s using software that cannot create a file system eg Direct CD it is impossible to playback MP3 WMA files We recommend that you use Easy CD Creator which creates an ISO 9660 file system File names should have a maximum of 8 letters and must incorporate an mp3 or wma extension They should not contain special letters such as l etc The total number of files on the disc should be less than 648 This DV...

Page 17: ...ress TITLE to move to the previous page Audio CD Menu MP3 WMA Menu 5 Press PLAY or ENTER to start 6 To resume normal playback from programmed playback Press DISPLAY then select a track of list and then press PLAY or ENTER Erasing a Track from program list 1 Use v V to select the track that you wish to erase from the program list 2 Press CLEAR Repeat to erase additional tracks on the list For detai...

Page 18: ...ll now go into PAUSE mode 2 To return to the slide show press PLAY ENTER or press PAUSE STEP again Zoom Use zoom to enlarge the video image 1 Press ZOOM during playback to activate the Zoom function 2 Each press of the ZOOM button changes the screen in the sequence 100 150 200 100 3 Use the b B v V buttons to move through the zoomed picture 4 To resume normal playback press CLEAR or press ZOOM rep...

Page 19: ...2 Bulgarian 6671 Burmese 7789 Byelorussian 6669 Cambodian 7577 Catalan 6765 Chinese 9072 Corsican 6779 Croatian 7282 Czech 6783 Danish 6865 Dutch 7876 English 6978 Esperanto 6979 Estonian 6984 Faroese 7079 Language Code Fiji 7074 Finnish 7073 French 7082 Frisian 7089 Galician 7176 Georgian 7565 German 6869 Greek 6976 Greenlandic 7576 Guarani 7178 Gujarati 7185 Hausa 7265 Hebrew 7387 Hindi 7273 Hun...

Page 20: ...layable disc Check the disc type and regional code Change the rating level Point the remote control at the remote sensor of the DVD player Operate the remote control closer to the DVD player Troubleshooting Specifications General Power requirements AC 200 240 V 50 60 Hz Power consumption 8 W Dimensions Approx DV130 DV140 360 x 35 x 242 mm 14 2 x 1 4 x 9 5 inches W x H x D without foot DV160 DV170 ...

Page 21: ...P NO 3834RD0092X ...

Reviews: