background image

3

1. Read these instructions. - 

All these safety and

operating instructions should be read before the product
is operated.

2. Keep these instructions. - 

The safety, operating and

use instructions should be retained for future reference.

3. Heed all warnings. - 

All warnings on the product and in

the operating instructions should be adhered to.

4. Follow all instructions. - 

All operating and use

instructions should be followed.

5. Do not use this apparatus near water. – 

For example:

near a bath tub, wash bowl, kitchen sink, laundry tub, in
a wet basement; or near a swimming pool; and other
areas located near water.

6. Clean only with dry cloth. – 

Unplug this product from

the wall outlet before cleaning. Do not use liquid
cleaners.

7. Do not block any ventilation openings. Install in

accordance with the manufacturer's instructions. - 

Slots

and openings in the cabinet are provided for ventilation
and to ensure reliable operation of the product and to
protect it from over-heating. The openings should never
be blocked by placing the product on a bed, sofa, rug or
other similar surface. This product should not be placed
in a built-in installation such as a bookcase or rack
unless proper ventilation is provided or the
manufacturer’s instructions have been adhered to.

8. Do not install near any heat sources such as

radiators, heat registers, stoves, or other apparatus
(including amplifiers) that produce heat. 

9. Do not defeat the safety purpose of the polarized or

grounding-type plug. A polarized plug has two blades
with one wider than the other. A grounding type plug
has two blades and a third grounding prong. The
wide blade or the third prong are provided for your
safety. If the provided plug does not fit into your
outlet, consult an electrician for replacement of the
obsolete outlet.

10. Protect the power cord from being walked on or

pinched particularly at plugs, convenience
receptacles, and the point where they exit from the
apparatus.

11. Only use attachments/accessories specified by the

manufacturer.

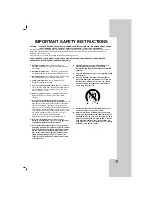
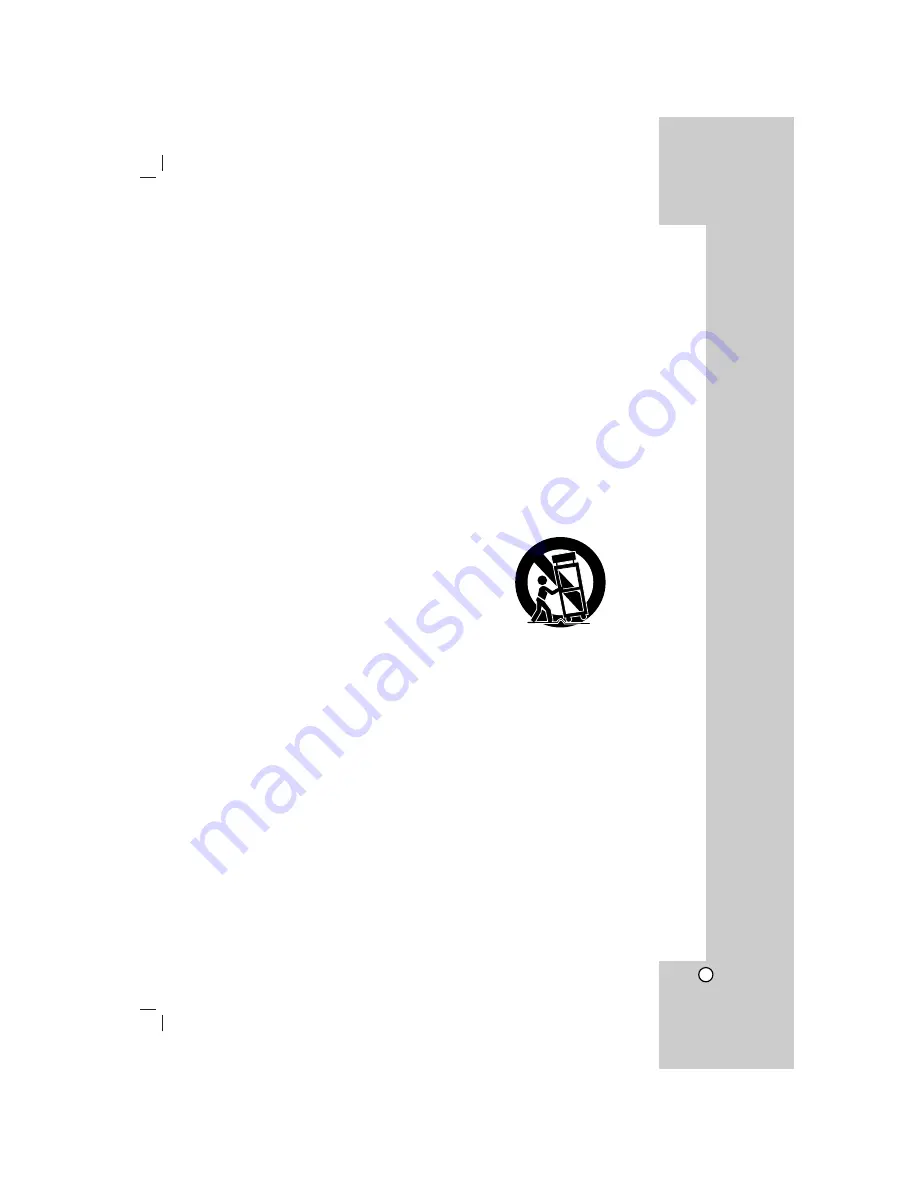
12. Use only with the cart, stand, tripod, bracket, or

table specified by the manufacturer, or sold with
the apparatus. When a cart is used, use caution
when moving the cart/apparatus combination to
avoid injury from tip-over.

13. Unplug this apparatus during lightning storms or

when unused for long periods of time.

14. Refer all servicing to qualified service personnel.

Servicing is required when the apparatus has been
damaged in any way, such as power-supply cord or
plug is damaged, liquid has been spilled or objects
have fallen into the apparatus, the apparatus has
been exposed to rain or moisture, does not operate
normally, or has been dropped.

IMPORTANT SAFETY INSTRUCTIONS

CAUTION:

PLEASE READ AND OBSERVE ALL WARNINGS AND INSTRUCTIONS IN THIS OWNER’S MANUAL. AND
THOSE MARKED ON THE PRODUCT. RETAIN THIS BOOKLET FOR FUTURE REFERENCE.

This product has been designed and manufactured to assure personal safety. Improper use can result in electric shock or
fire hazard. The safeguards incorporated in this product will protect you if you observe the following procedures for
installation, use, and servicing.
This product does not contain any parts that can be repaired by the user.

DO NOT REMOVE THE CABINET COVER, OR YOU MAY BE EXPOSED TO DANGEROUS VOLTAGE. REFER
SERVICING TO QUALIFIED SERVICE PERSONNEL ONLY.

Summary of Contents for DN798 - DVD Player

Page 1: ...N798 Before connecting operating or adjusting this product please read this instruction booklet carefully and completely DV298H NH HA1ULLB Copyright 2007 LG Electronics U S A Inc For service support Call Toll Free Number 1 800 243 0000 ...

Page 2: ...s These limits are designed to provide reasonable protection against harmful interference in a residential installation This equipment generates uses and can radiate radio frequency energy and if not installed and used in accordance with the instructions may cause harmful interference to radio communications However there is no guarantee that interference will not occur in a particular installatio...

Page 3: ...as two blades and a third grounding prong The wide blade or the third prong are provided for your safety If the provided plug does not fit into your outlet consult an electrician for replacement of the obsolete outlet 10 Protect the power cord from being walked on or pinched particularly at plugs convenience receptacles and the point where they exit from the apparatus 11 Only use attachments acces...

Page 4: ... 13 Display Mode 13 AUDIO 13 Dolby Digital DTS MPEG 13 Sample Freq Frequency 13 DRC Dynamic Range Control 13 Vocal 13 LOCK Parental Control 14 Rating 14 Password 14 Area Code 14 OTHERS 14 B L E Black Level Expansion 14 Operations 15 19 General Features 15 Additional Features 16 Playing an Audio CD or MP3 WMA file 17 Programmed Playback 17 Repeat Programmed Tracks 17 Erasing a Track from Program Li...

Page 5: ...is applicable only to the disc represented by the symbol All discs and file listed below DVD and finalized DVD R RW Audio CDs MP3 files WMA files Notes on Discs Handling Discs Do not touch the playback side of the disc Hold the disc by the edges so that fingerprints do not get on the surface Never stick paper or tape on the disc Storing Discs After playing store the disc in its case Do not expose ...

Page 6: ...odes Most DVD discs have a globe with one or more numbers in it clearly visible on the cover This number must match your unit s regional code or the disc cannot play If you try to play a DVD with a different regional code from your player the message Check Regional Code appears on the TV screen Notes on Copyrights It is forbidden by law to copy broadcast show broadcast via cable play in public or ...

Page 7: ...rent chapter or track or go to the previous chapter or track SKIP Go to the next chapter or track c Disc Tray Insert a disc here d Display window Shows the current status of the unit e Remote Sensor Point the Remote Control here f USB Connect an USB Flash Drive g Z OPEN CLOSE Opens or closes the disc tray h RES Sets the output resolution for HDMI and COMPONENT OUTPUT jacks a b c d e f g h ...

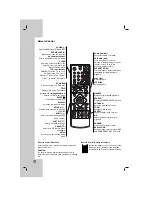
Page 8: ...RKER SEARCH menu PROGRAM Enter the program edit mode ZOOM Enlarges video image REPEAT Repeat chapter track title all A B Repeat sequence from point A to point B RANDOM Plays tracks in random order RESOLUTION Sets the output resolution for HDMI and COMPONENT OUTPUT jacks SCAN m M Search backward or forward SKIP Go to next chapter or track Returns to the beginning of current chapter or track or go t...

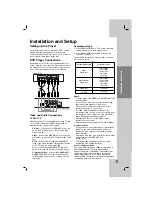
Page 9: ...solution you want The available resolution according to the connections are as shown below Notes The resolution of the VIDEO and S VIDEO OUTPUT is fixed to 480i If your TV does not accept your resolution setting abnormal picture appears on the screen Please read TV s owner s manual then set the resolution that your TV can accept For 720p 1080i and 1080p resolution on the component video out only n...

Page 10: ...o on a single digital connection for use with DVD Players Set Top Boxes and other AV devices HDMI was developed to provide the technologies of HDCP High bandwidth Digital Content Protection HDCP is used to protect digital content transmitted and received HDMI has the capability to support standard enhanced or high definition video plus standard to multi channel surround sound audio HDMI features i...

Page 11: ...digital OPTICAL O or COAXIAL X audio cable Digital Multi channel sound A digital multi channel connection provides the best sound quality For this you need a multi channel audio video receiver that supports one or more of the audio formats supported by your unit such as MPEG 2 Dolby Digital and DTS Check the receiver manual and the logos on the front of the receiver Notes If the audio format of th...

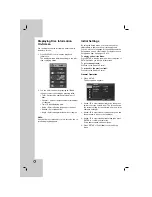
Page 12: ...rious adjustments to items such as picture and sound You can also set a language for the subtitles and the Setup menu among other things For details on each Setup menu item see pages 13 to 14 To display and exit the Menu Press SETUP to display the menu A second press of SETUP will take you back to initial screen To go to the next level Press B on the Remote Control To go back to the previous level...

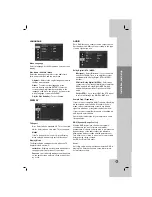
Page 13: ... according to the type of audio system you use Dolby Digital DTS MPEG Bitstream Select Bitstream if you connect this unit s DIGITAL OUT jack to an amplifier or other equipment with a Dolby Digital DTS or MPEG decoder PCM for Dolby Digital MPEG Select when connected to a two channel digital stereo amplifier DVDs encoded in Dolby Digital MPEG will be automatically downmixed to two channel PCM audio ...

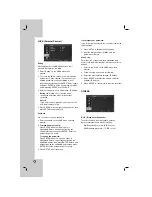
Page 14: ...using the numerical buttons then press ENTER Enter the password again to verify To change the password Press ENTER when the Change option is highlighted Enter a current password using the numbered buttons then press ENTER Enter a new password using the numbered buttons then press ENTER Enter the password again to verify 3 Press SETUP to exit the menu If you forget your password If you forget your ...

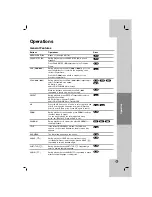
Page 15: ...scs Track All Off A B Press the A B button one at a time to select a point A and point B and repeats a sequence from point A Starting point to point B End point Press A B again to cancel ZOOM During playback or pause mode press ZOOM to enlarge the video image 3 steps You can move through the zoomed picture using b B v V buttons Press CLEAR to exit RANDOM During playback or in stop mode press RANDO...

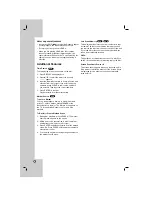
Page 16: ...esired point on the disc The Marker icon appears on the TV screen briefly Repeat to enter up to nine markers To Recall or Clear a Marked Scene 1 During disc playback press SEARCH The marker search menu appears on the screen 2 Within 9 seconds press b B to select a marker number that you want to recall or clear 3 Press ENTER and playback starts from the marked scene Or Press CLEAR and the marker nu...

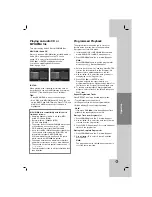
Page 17: ...f the tracks on the Program list have played once 6 To resume normal playback from programmed playback select a track on the list and then press PLAY N Repeat Programmed Tracks Press REPEAT to select a desired repeat mode Track Repeats the current track All Repeats all the tracks on programmed list Off No display Does not play repeatedly Note If you press SKIP once during Repeat Track playback the...

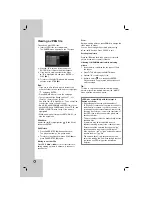
Page 18: ...e the video image 3 steps You can move through the zoomed picture using b B v V buttons Press CLEAR to exit Rotating the picture Press v V during showing a picture to rotate the picture clockwise or counter clockwise Listening to MP3 WMA music while watching picture 1 Insert the disc containing the two types of file in the player 2 Press TITLE to display the PHOTO menu 3 Press v V to select a phot...

Page 19: ...ograms CPRM stands for Content Protection for Recordable Media Playing an USB Flash Drive 1 Connect the USB Flash Drive to the USB port on the front panel 2 In STOP mode press RETURN to display the USB menu on the TV screen Notes Press RETURN when the OUSB icon is displayed on the screen to enter the USB mode If the OUSB icon is not displayed on the screen check the USB connection or the condition...

Page 20: ...ing Set the appropriate code number again Maintenance and Service Refer to the information in this chapter before contacting a service technician Handling the Unit When shipping the unit Please save the original shipping carton and packing materials If you need to ship the unit for maximum protection re pack the unit as it was originally packed at the factory Keeping the exterior surfaces clean Do...

Page 21: ...89 Byelorussian 6669 Cambodian 7577 Catalan 6765 Chinese 9072 Corsican 6779 Croatian 7282 Czech 6783 Danish 6865 Dutch 7876 English 6978 Esperanto 6979 Estonian 6984 Faroese 7079 Language Code Fiji 7074 Finnish 7073 French 7082 Frisian 7089 Galician 7176 Georgian 7565 German 6869 Greek 6976 Greenlandic 7576 Guarani 7178 Gujarati 7185 Hausa 7265 Hebrew 7387 Hindi 7273 Hungarian 7285 Icelandic 7383 ...

Page 22: ...in by pressing POWER Insert a playable disc Check the disc type and regional code Change the rating level Point the Remote Control at the remote sensor of the unit Operate the Remote Control closer to the unit Troubleshooting Specifications General Power requirements AC 120 V 60 Hz Power consumption 8W Dimensions Approx 430 x 35 x 202 mm 17 x 1 4 x 7 9 inches W x H x D without foot Weight Approx 1...

Page 23: ...s or operating problems that result from normal wear and tear misuse abuse operation outside environmental specifications or contrary to the requirements or precautions in the Operating Guide accident lightning strikes or other natural causes unauthorized modification or alteration incorrect electrical current or voltage signal reception or input software not licensed directly by LG software error...

Reviews: