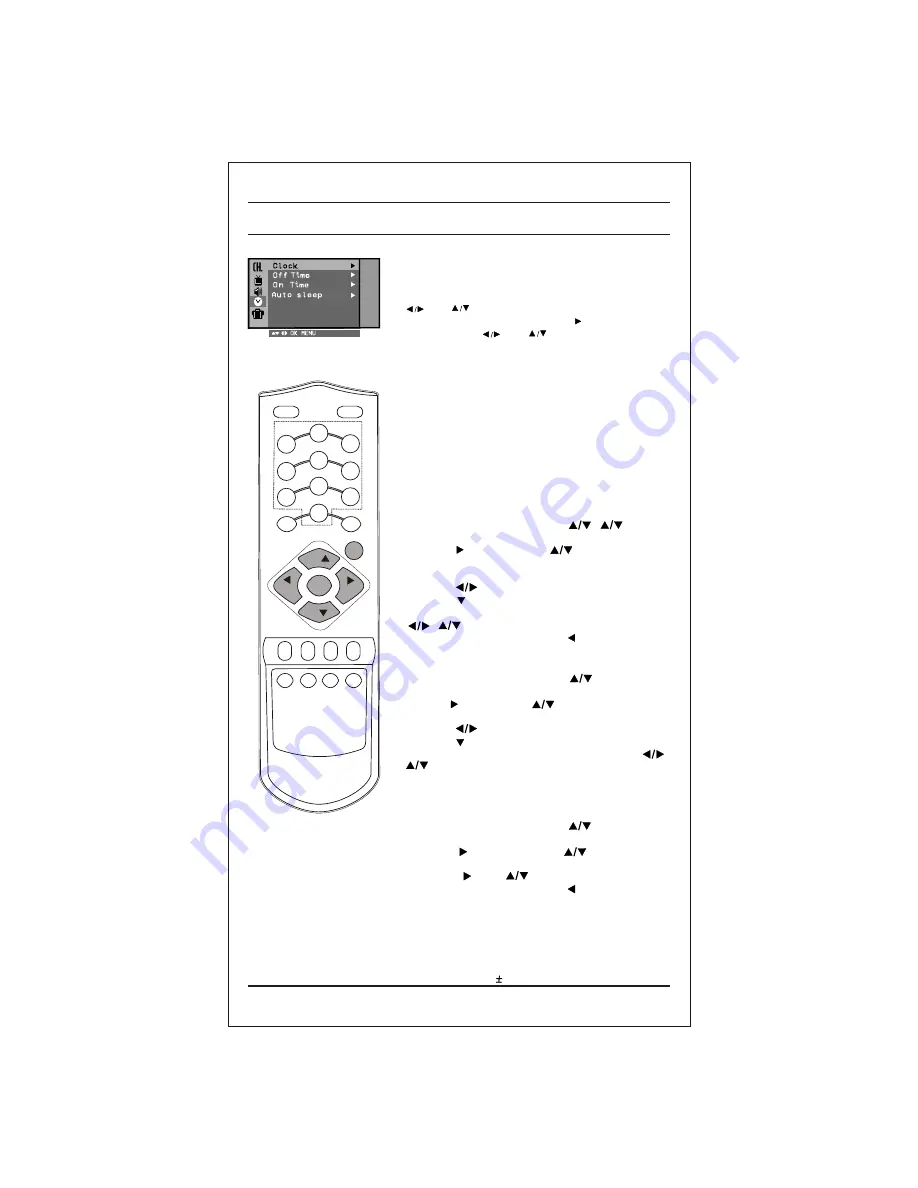
background image

Time functions

On Time

1.  Press the 

MENU

 button and then       


 button to select 

the Time menu.

2.  Press the    button and then   


     button to select 

On Time

.

3.  Press 

OK

4.  Press the         button to select 

On Time


On

 or 

Off

5.  Press the     button.
6. Select and adjust hour and minute by pressing the  


  ,  


button.

Auto sleep

If  you  select 

Auto  Sleep  On

  the  set  will  automatically 

switch


itself to standby mode approximately ten minutes 

after a TV station stops Broadcasting.
1. Press the 

MENU

 button and then        button. to select 

the Time menu.

2.  Press the    


 button  and then   


button to select  

Auto Sleep. 

3. Press the         and       


button to select 

On

.

4. Repeatedly press the 

MENU

 or


button to return to 

normal TV viewing.

Note :

a. 

ON Time

 function works only in standby mode.

b.  To cancel the set On/Off time, set the On/Off timer to --:--.
c  To view the remaining On/Off time select the Time menu. 
d. When you switch the main power Off, the Time is reset 

and the On/Off  time is Off.

e. Timer accuracy is    15 sec.

Time functions

The  time  uses  24  hrs.  system  and  must  be  set  to  the 
correct time before operating the set.
1. Press 

MENU

 to select  Time menu .

2.          and        key select time function.
3.  After selecting ‘Time Function’ press     key to enter ‘Time’.
4.  Set Time using         and         keys.
5.  Press 

OK

 to store.

6.  Repeatedly  press  MENU  to  return  to  normal  TV 

viewing.

Note 

a.   In the event of power interruption, time must be reset.
b.  Time resets if mains is unplugged.
c.  Timer accuracy is    15 sec.

On/Off Time

By using this function in 

On 

mode the set automatically 

switches On or Off at a preset time. You must set the time 
correctly before using 

On

/

Off

 time function.

Off Time

1. Press the 

MENU

 button and then    


,      


button to 

select the Time menu.

2.  Press the  


  button and then          


button to select 

Off 

Time

.

3.  Press 

OK

4.  Press the         button to select 

Off Time


On

 or 

Off

.

5.  Press the      button.
6. Select  and  adjust  hour  and  minute  by  pressing  the       


,


 button. 

7. Repeatedly press the 

MENU

 or


button to return to 

normal


viewing.


± 


Time 

--:--

POWER

MUTE

PSM

TV/AV

MENU

Q-VIEW

ARC/*

LIST

SLEEP FAVOURITE XDP/*

1

3

4

6

7

9

PR

VOL

VOL

PR

5

8

0

2

OK

EYE/*

MM/*

15

Summary of Contents for CP-079C

Page 1: ...www lg com OWNER S MANUAL Colour Television Chassis CP 079C P No MFL61997501 07 ...

Page 2: ...les are not blocked Do not install the product in a confined place such as book case or built in cabinet Do not place any object filled with liquid such as Vases cup glass etc on the TV set Do not place the lighted candles on theTV set This may cause fire or an electric shock hazard This unit has been engineered and manufactured to assure your personal safety however improper use may result in pot...

Page 3: ...omes non functional un repairable so as to prevent its accidental breakage Don t a The product should not be opened by the user himself herself but only by authorized service personnel b The product is not meant for re sale to any unauthorized agencies scrap dealer kabariwalah c The product is not meant for mixing into household waste stream d Do not keep any replaced spare part s from the product...

Page 4: ...kyudjsaA cPpksa dks blds Åij u p us nsaA vxj mRikn fxjrk g tkrk gS rks vkidks pksV yx ldrh gSA Vhoh dSfcusV ds Nsnksa esa dksbZ pht tSls flDds gs jfiu vkfn u fxjk a vkSj u kqlk aA dqN Hkhrjh ikVZ l esa krjukdoksYVstgksrsgSA ikWoj dkWMZ dks khapsa ughaA ges kk ikWoj Iyx dks idM dj khapsA xhys gkFkksa ls Iyx dks u Nq aA ikWoj dkWMZ dks kfr u igqapk aA 4 lqj kk funsZ k ƒ tc g dkVs x s ifg s okys fcu ...

Page 5: ...andby or standby to On 2 NUMBER BUTTONS switches the set On from standby or directly select a Programme number 3 MENU selects a menu 6 Q VIEW returns to the previously viewed programme 7 PSM Picture Status Memory recalls your preferred picture setting 8 XDP Select excellent Digital picture 9 MUTE switches the sound On or Off 10 TV AV selectsTV orAV mode switches the set On from Standby 11 LIST dis...

Page 6: ...ppears You can cancel it by pressing the MUTE button On screen language selection option The menu can be displayed on the screen in desired language First select your language 1 Press the MENU button and then button to select the special menu 2 Press the button after selecting language by pressing button 3 Press the button to selects the desired language All the On screen display will appear in th...

Page 7: ... or the pull down menu 4 Change the setting of an item in the sub or pull down menu with or You can move to the higher level menu with OK button and to move to the lower level menu press the button Note a In the AV mode the Programme Menu is not displayed b In sound menu woofer is optional In some models On screen menus Manual programme Programme edit or CSM Programme 22 Auto programme Picture Tim...

Page 8: ... Auto programme menu 4 Press the button to select Storage from 5 Select the beginning programme number with the button or NUMBER buttons on the Storage from pull down menu Any number under 10 is entered with a numeric 00 in front of it i e 005 for5 6 Press the button to select the start 7 Press the button to begin auto programming All receivable stations are stored To stop auto programming press t...

Page 9: ...with the button or NUMBER buttons on the Storage pull down menu Any number under 10 is entered with a numeric 00 in front of it i e 005 for 5 Press OK button to store the programme 6 Press the button to select System Select a TV system with the button on the System pull down menu BG India New Zealand M East Africa Australia I Hong Kong SouthAfrica DK East Europe China Africa CIS M USA Korea Philip...

Page 10: ...ramme name 1 Repeat the Manual programme tuning steps 1 to 3 2 Press the button to select Name 3 Press the button on the Name pull down menu You can use a blank the numeric 0 to 9 and the alphabetAto Z With the button you can select in the opposite direction 4 Select the next position by pressing the button and then take your choice of the second character then press OK button 5 Repeat the Manual ...

Page 11: ...moved with the or button 2 Press the YELLOW button 3 Move the programme to the desired programme number with the or button 4 Press the YELLOW button again to release this function Skipping a programme number 1 Select a programme number to be skipped with the or button 2 Press the BLUE button The skipped programme turns to blue 3 Press the BLUE button again to release the skipped programme When a p...

Page 12: ...me with the button or NUMBER buttons Any number under 10 is entered with a numeric 00 in front of it i e 005 for 5 6 To store another programme repeat steps 5 to 6 You can store up to 8 programmes 7 Repeatedly press the MENU or button to return to normalTV viewing Repeatedly press the FAVOURITE KEY button to select stored favourite programmes Setting up TV stations Programme G POWER MUTE PSM TV AV...

Page 13: ...ture menu 2 Press the button and then button to select Contrast Brightness Colour Sharpness orTint 3 Press the button to make appropriateadjustments on each sub menu You can also select User or standard PSM setting by directly pressing PSM button 4 Press the OK button to store it for the picture User 5 Repeatedly presstheMENUbuttontoreturntonormal TVviewing CONTRAST CSM Picture Picture adjustment ...

Page 14: ...lume 3 Press the button to select On or Off on the AVL Pull down menu 3 Make desired adjustment with the on the volume OSD 4 Repeatedly press the MENU button to return to normal TV viewing 4 After adjustment the volume OSD will Disappear Music Mode option You can hear music while the TV screen is Off using the function 1 Press the MM button to start the music mode 2 Press any key to exit from Musi...

Page 15: ...Timer accuracy is 15 sec Time functions The time uses 24 hrs system and must be set to the correct time before operating the set 1 Press MENU to select Time menu 2 and key select time function 3 Afterselecting TimeFunction press keytoenter Time 4 SetTime using and keys 5 Press OK to store 6 Repeatedly press MENU to return to normal TV viewing Note a In the event of power interruption time must be ...

Page 16: ... the connection of external equipment section 1 Press the menu button and then button to select the special menu 2 Press the button and then button to select Input 3 Press the and button select TV AV Note Avoid giving input at Lout or R out socket on the back of the set To returnTV mode press the or NUMBER button Alternatively you can select th TV orAV mode by pressing the TV AV button Special Chi...

Page 17: ...s on the screen when there is no signal or poor signal 1 Press the MENU button and then button to select the Special menu 2 Press the button and then button to select Blueback 3 Press the button to select On or Off on the Blue back pull down menu 4 Repeatedly press the MENU button to return to normalTV viewing Note a The blue background automatically appears on the screen when there is no signal i...

Page 18: ...mber using the Manual programme tuning section 4 Select the programme number where the VCR channel is stored 5 Press the PLAYbutton on the VCR Audio Video in out sockets 1 Connect the audio video out sockets of the VCR to audio video in sockets of the set and in sockets of the VCR to out sockets of the set 2 If the VCR is connected to the AV sockets on the set press the TV AV button to selectAV 3 ...

Page 19: ...es not help ii In case of no sound on all channels check for system It should be BG for India In case of some other system select BG and do Auto Programming Remote control does not work Check Audio Video sockets VCR only Check the batteries in remote control Adjust volume Adjust colour Adjust brightness Adjust contrast Check for local interference Check aerial Check aerial plugged into TV Check ae...

Page 20: ......

Reviews: