
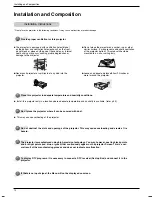


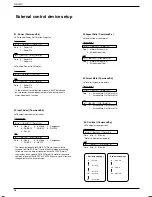


Function
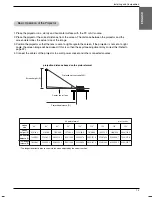
25
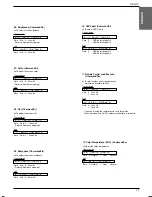
ENGLISH
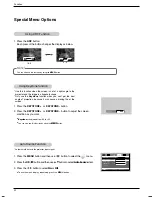
1. Press the
MENU
button and then use
F
,
G
button to select the menu.
2. Press the
OK
(
A
) button and then use
D
,
E
button to select
Horizontal
or
Vertical
item.
3. Press the
F
,
G
button to adjust the screen condition as you want.
●
Horizontal
,
Vertical
are adjusted from -50 to +50.
●
Based on the input mode, the adjustment range may be changed.
●
To exit the menu display, repeatedly, press the
MENU
button.
*If the image size does not fit the screen in accordance with the input
source, set the position of the image by selecting Horizontal / Vertical
position. (RGB mode)
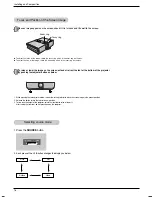
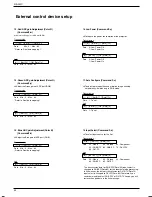
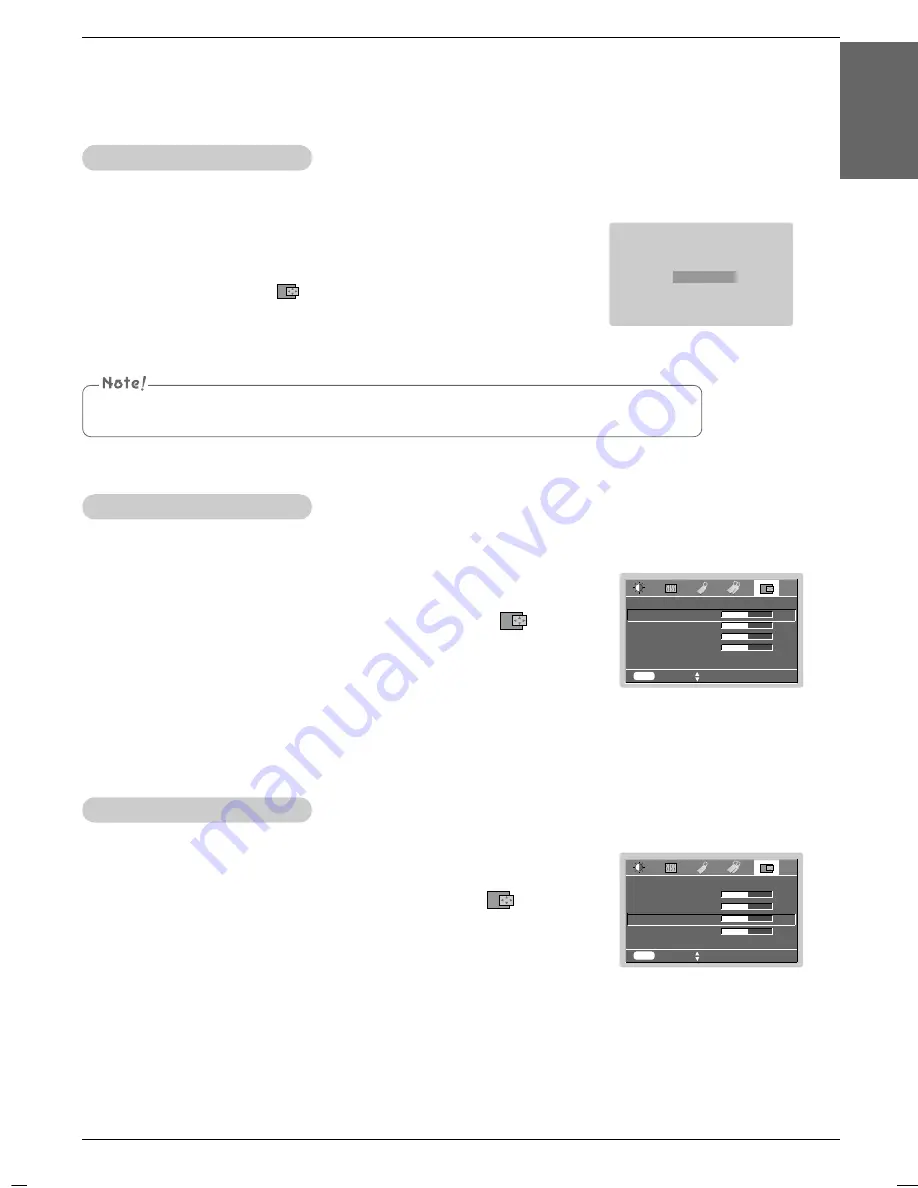
Screen Position
MENU
prev.
move
F G
adjust
Auto Configure
Clock
0
Phase
15
Horizontal
0
Vertical
0
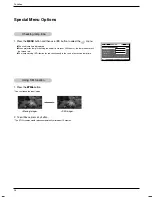
1. Press the
MENU
button and then use
F
,
G
button to select the menu.
2. Press the
OK
(
A
) button and then use
D
,
E
button to select
Clock
or
Phase
item.
3. Press the
F
,
G
button to adjust the screen condition.
●
To exit the menu display, repeatedly, press the
MENU
button.
*
Clock Function
This function adjusts the horizontal width of the projected image to get the
image to fit on the screen size.
*
Phase Function
This function is for the detailed adjustment of the clock function.
* It’s available to adjust [Clock], [Phase] in RGB mode only.
Clock / Phase Function
MENU
prev.
move
F G
adjust
Auto Configure
Clock
0
Phase
15
Horizontal
0
Vertical
0
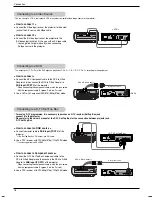
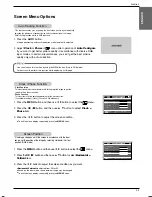
1. Press the
AUTO
button.
●
Image positioning and synchronization are automatically adjusted.
2. Adjust
Clock
or
Phase
in menu after operation of
Auto Configure
if you want to get better picture quality in accordance with diverse RGB
input modes. In certain circumstances, you can’t get the best picture
quality only with auto-correction.
Auto Tracking Function
*This function assures you of getting the best video quality by automatically
adjusting the difference of horizontal size and synchronization of the image.
*Auto Tracking function works in RGB input only.
Auto Configure
You can also use this function by using the MENU button. (Only in RGB mode)
For best results, perform this function while displaying a still image.
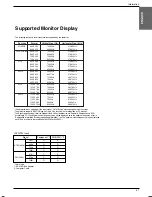
Screen Menu Options


