21
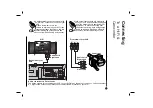
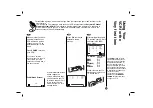
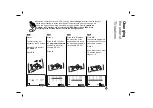
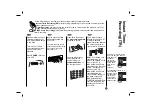
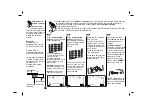
Make sure that you have
correctly installed your
VCR as described earlier
in this book.
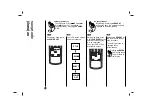
Turn on your TV and
select the channel that
you set up for video
playback.
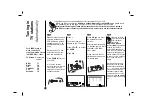
Press
POWER
to turn on
your VCR.
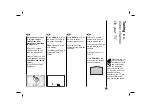
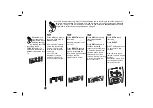
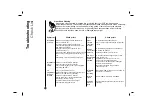
Insert a video cassette
with protection tab into
your VCR.
The video cassette should
have the window side facing
up and the arrow facing
away from you.
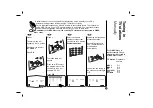
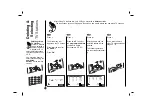
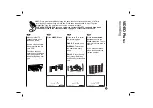
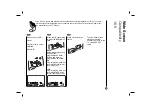
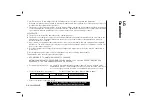
Press
▲
or
▼
to select
the
programme number
you wish to record.
You may also directly
select programme
number using the
numbered buttons
on
the remote control.
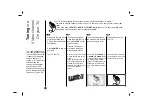
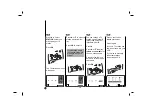
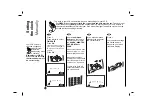
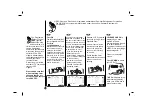
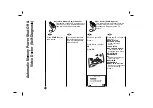
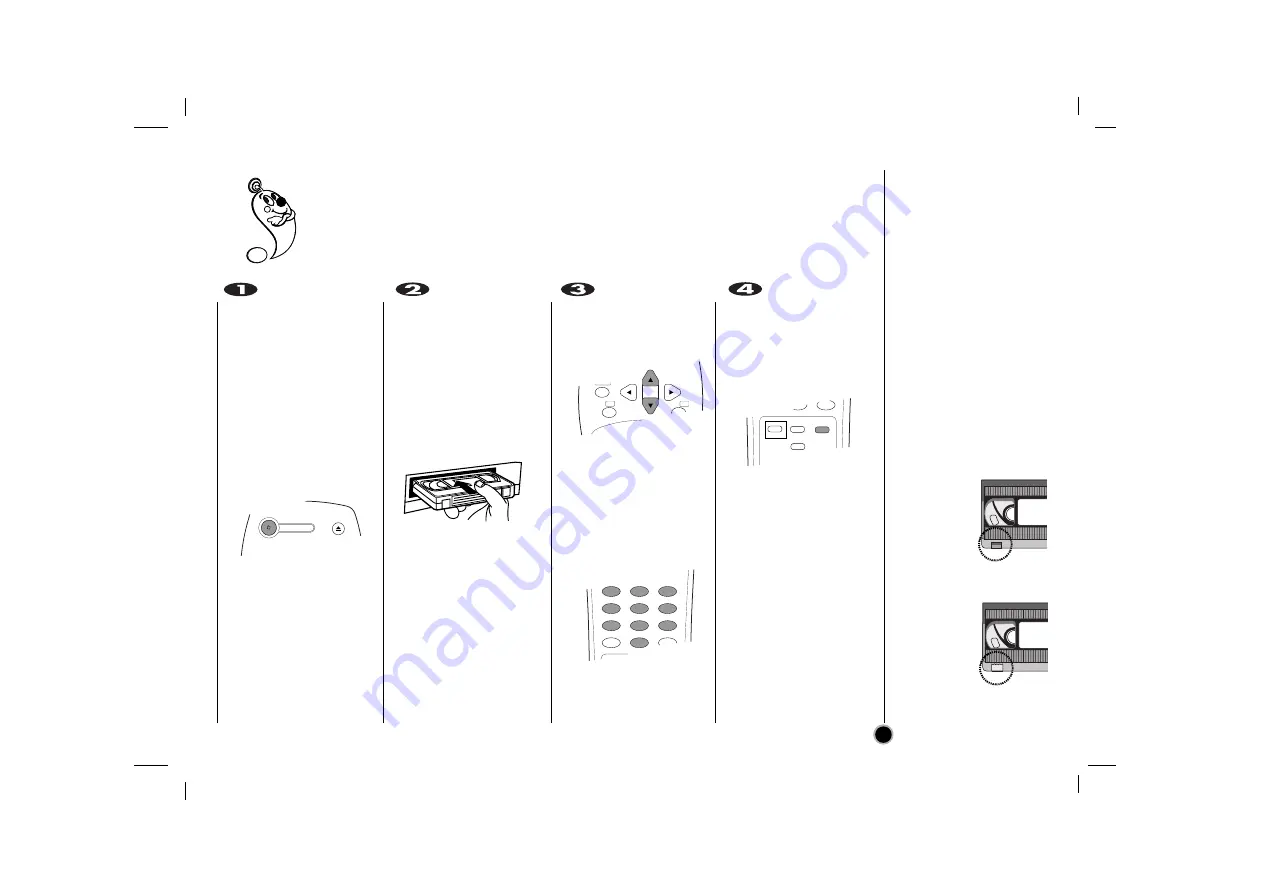
If you wish to record
directly from the SCART
or AUDIO sockets
repeatedly press
AV
until
the socket you wish to
record from is displayed.
SC01
Hi-Fi Sound only
recording using the
AUDIO IN sockets on the
front of your VCR.
AV1
Sound and Picture
recording using the lower
SCART socket on the
back of your VCR.
AV2
Sound and Picture
recording using the
upper SCART socket on
the back of your VCR.
AV3
Recording from
VIDEO IN and AUDIO IN
(Left & Right) using the
sockets on the front of
your VCR.
Instant T
imer
Recording(ITR)
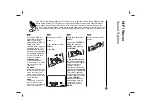
Your VCR allows you to make recordings using a variety of simple methods :
Instant Timer Recording (ITR)
start recording immediately for a set period of time or until the
video cassette runs out.
Timer Recording
you may record at a later time (up to 1 month from the present). Up to 7 of
these automatic recordings may be set.
VIDEO Plus+ Recording
greatly simplifies entering the date, channel, start and end times of a
Timer Recording .
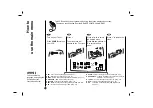
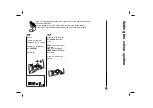
If you do not wish to record
on a tape (this can happen
quite easily by
accident!)
remove the
protection tab
on the back
edge of the
video
cassette.
It is possible to record on a
video cassette
with the record
protection tab
removed by
covering the
hole with self
adhesive tape.
POWER
EJECT
CLK/CNT
CLEAR
OK
i
PAUSE/
ENR/
DEP
1
2
3
4
5
6
7
8
9
TV/VCR
0
CM SKIP
TV/VIDEO
C.LOCK
LP
AV
0
CM SKIP
SHOWVIEW
VIDEO Plus+

