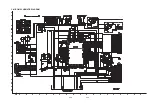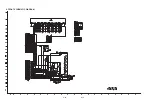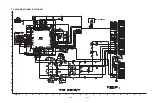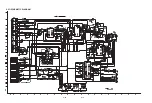
1-3
NOTES REGARDING COMPACT DISC PLAYER REPAIRS
1. Preparations
1) Compact disc players incorporate a great many ICs as well as the pick-up (laser diode). These components
are sensitive to, and easily affected by, static electricity. If such static electricity is high voltage, components
can be damaged, and for that reason components should be handled with care.
2) The pick-up is composed of many optical components and other high-precision components. Care must be
taken, therefore, to avoid repair or storage where the temperature of humidity is high, where strong magnet-
ism is present, or where there is excessive dust.
2. Notes for repair
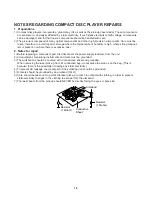
1) Before replacing a component part, first disconnect the power supply lead wire from the unit
2) All equipment, measuring instruments and tools must be grounded.
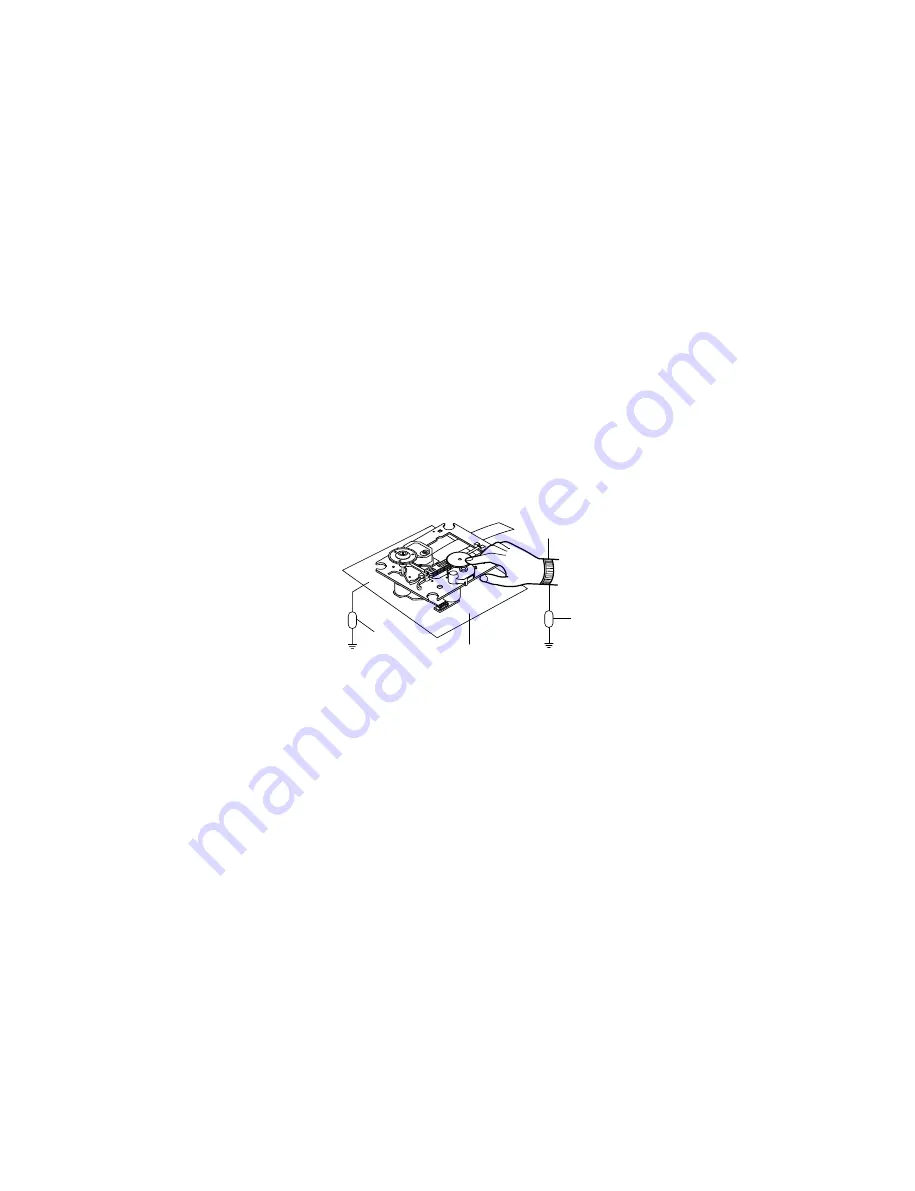
3) The workbench should be covered with a conductive sheet and grounded.
When removing the laser pick-up from its conductive bag, do not place the pick-up on the bag. (This is
because there is the possibility of damage by static electricity.)
4) To prevent AC leakage, the metal part of the soldering iron should be grounded.
5) Workers should be grounded by an armband (1M
Ω
)
6) Care should be taken not to permit the laser pick-up to come in contact with clothing, in order to prevent
static electricity changes in the clothing to escape from the armband.
7) The laser beam from the pick-up should NEVER be directly facing the eyes or bare skin.
Resistor
(1 Mohm)
Conductive
Sheet
Resistor
(1 Mohm)
Armband
Summary of Contents for ACC75T
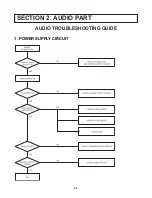
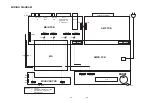
Page 7: ...2 1 SECTION 2 AUDIO PART AUDIO TROUBLESHOOTING GUIDE 1 POWER SUPPLY CIRCUIT ...
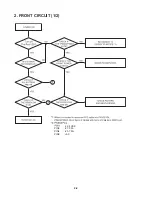
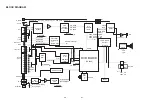
Page 8: ...2 2 2 FRONT CIRCUIT 1 2 PIN3 PIN4 PIN9 27 5 FL 32 4 VKK 23 7 FL 5 0 CN902 CN902 ...
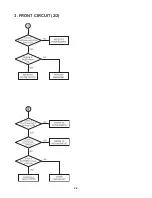
Page 9: ...2 3 3 FRONT CIRCUIT 2 2 ...
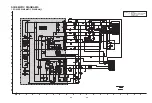
Page 13: ...2 10 2 11 2 POWER SCHEMATIC DIAGRAM_2 A B C D E F G H I J K L M N O P Q R S T ...
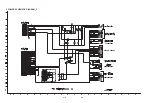
Page 14: ...2 12 2 13 3 MICOM SCHEMATIC DIAGRAM A B C D E F G H I J K L M N O P Q R S T ...
Page 15: ...2 14 2 15 4 FRONT SCHEMATIC DIAGRAM A B C D E F G H I J K L M N O P Q R S T ...
Page 16: ...2 16 2 17 5 DSP AMP SCHEMATIC DIAGRAM A B C D E F G H I J K L M N O P Q R S T ...
Page 17: ...2 18 2 19 6 I O SCHEMATIC DIAGRAM A B C D E F G H I J K L M N O P Q R S T ...
Page 18: ...2 20 2 21 7 MAIN MIC SCHEMATIC DIAGRAM A B C D E F G H I J K L M N O P Q R S T ...
Page 19: ...2 22 2 23 PRINTED CIRCUIT BOARD DIAGRAMS 1 MAIN DVD P C BOARD DIAGRAM TOP VIEW ...
Page 20: ...2 24 2 25 2 MAIN DVD P C BOARD DIAGRAM BOTTOM VIEW ...
Page 21: ...2 26 2 27 3 FRONT MIC P C BOARD 6870R7507AA ...
Page 23: ...2 30 2 31 6 AMP P C BOARD TOP VIEW BOTTOM VIEW ...
Page 26: ...3 3 A 115 ...
Page 27: ...3 4 B 1 2 ...
Page 28: ...3 5 C ES6698 ES6698 ES6698 ...
Page 29: ...3 6 D ...
Page 45: ......
Page 47: ...A B C D E F G H I J K L M N O P Q R S T 3 24 3 25 2 RF SERVO SCHEMATIC DIAGRAM ...
Page 48: ...3 FRONT MIC SCHEMATIC DIAGRAM A B C D E F G H I J K L M N O P Q R S T 3 26 3 27 ...
Page 49: ...3 28 3 29 4 USB CONTROLLER SCHEMATIC DIAGRAM A B C D E F G H I J K L M N O P Q R S T ...
Page 50: ...5 AMP SCHEMATIC DIAGRAM 5TOOL A B C D E F G H I J K L M N O P Q R S T 3 30 3 31 ...
Page 51: ...6 AMP SCHEMATIC DIAGRAM 7TOOL A B C D E F G H I J K L M N O P Q R S T 3 32 3 33 ...
Page 55: ......
Page 59: ...5 6 SUB WOOFER SPEAKER MODEL LHS 75ATW 953 954 961 950 952 955 951 956 957 A900 ...
Page 60: ...5 7 TRANSMITTER MODEL ACC75T 380 382 384 With LENS A80M A300 A80S 480 ...
Page 64: ...5 11 WIRElESS PART 4 SMPS P C BOARD DIAGRAM LOCATION GUIDE ...
Page 65: ...5 12 WIRElESS PART 5 TX P C BOARD DIAGRAM TOP VIEW BOTTOM VIEW ...
Page 66: ...5 13 WIRElESS PART 6 RX P C BOARD DIAGRAM TOP VIEW BOTTOM VIEW ...


