- 11 -
ADJUSTMENT INSTRUCTIONS
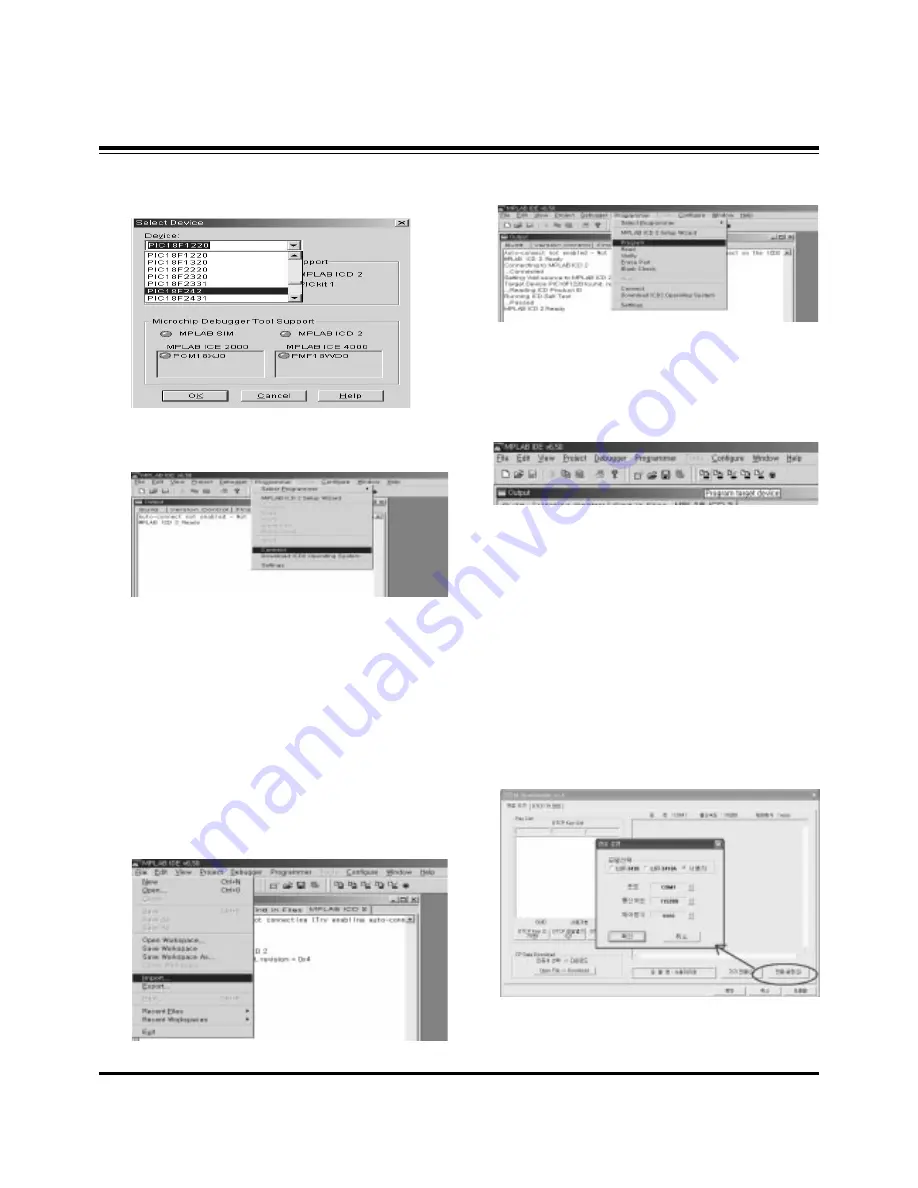
(3) When the "Select Device" window appears, select the
PIC18F242 from "Device" and press OK.
(4) Select "Programmer -> Connect".
When connect with the Micom, the display message on the
Output window appears as below.
(5) Select "File -> Import", select the Work HEX file and open.
(6) Select "Programmer -> Program".
(7) Download is executed and about 3 seconds later, the
"Programming succeeded" message is displayed on the
Output window and the Download process is ended.
(8) The execution of process (6) is convenient when using the
short-cut icon.
6. POD Certificate Download &
IEEE1394(DTCP) Download
6-1. Preparation for Adjustment
(1) Connect the MEMORY JIG and PC.
(2) Turn on the JIG MAIN POWER SWITCH.
(3) After turn on the PC and MONITOR, execute the
‘Certificate Downloader v1.4’ from the screen.
6-2. Adjustment Sequence
(1) After open the ‘Certificate Downloader v1.4’, enter
Connection set and set the as same below.
The port settings are determined by each PC's setup.
Connecting to MPLAB ICD 2
...Connected
Setting Vdd source to MPLAB ICD 2
Target Device PIC18F242 found, revision = 0x7
...Reading ICD Product ID
Running ICD Self Test
...Passed
MPLAB ICD 2 Ready
Summary of Contents for 42PX5D - 42 Plasma Integrated HDTV
Page 18: ... 18 PRINTED CIRCUIT BOARD MAIN DIGITAL TOP ...
Page 19: ... 19 PRINTED CIRCUIT BOARD MAIN DIGITAL BOTTOM ...
Page 20: ... 20 PRINTED CIRCUIT BOARD MAIN ANALOG TOP ...
Page 21: ... 21 PRINTED CIRCUIT BOARD MAIN ANALOG BOTTOM ...
Page 23: ... 23 BLOCK DIAGRAM ...
Page 36: ......
Page 37: ......
Page 38: ......
Page 39: ......
Page 40: ......
Page 41: ......


