PICTURE CONTROL
PICTURE CONTR
OL
36
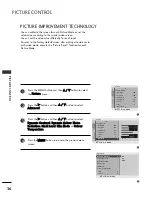
PICTURE IMPROVEMENT TECHNOLOGY
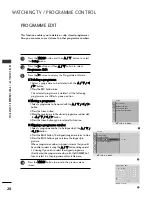
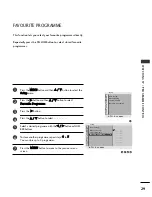
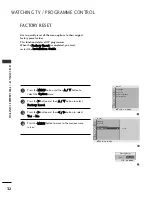
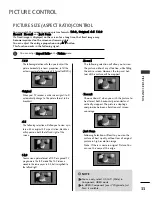
Press the MENU button and then
D
D
//
E
E
button to select
the P
Piiccttu
urree menu.
Press the
G
G
button and then
D
D
//
E
E
button to select
A
Ad
dvvaan
ncceed
d.
Press the
G
G
button and then
D
D
//
E
E
button to select
D
Dy
yn
naam
miicc C
Co
on
nttrraasstt, D
Dy
yn
naam
miicc C
Co
ollo
ou
urr, N
No
oiissee
R
Reed
du
uccttiio
on
n, B
Bllaacckk LLeevveell, FFiillm
m M
Mo
od
dee or C
Co
ollo
ou
urr
T
Teem
mp
peerraattu
urree.
Press the M
ME
EN
NU
U button to move to the previous menu
screen.
You can calibrate the screen for each Picture Mode or set the
video value according to the special video screen.
You can set the video value differently for each input.
To reset to the factory default screen after making adjustments to
each video mode, execute the “Picture Reset” function for each
Picture Mode.
1
2
3
4
1
3
2
Picture Mode
• Backlight
100
• Contrast
100
• Brightness
50
• Sharpness
70
• Colour
70
• Tint
0
• Advanced
Picture
DEF G
OK MENU
E
Advanced
Dynamic Contrast
G
Dynamic Colour
Noise Reduction
Black Level
Film Mode
Colour Temperature
• Red
0
• Green
0
Dynamic Contrast
G
Off
Low
High
Picture
Picture Mode
• Backlight
100
• Contrast
100
• Brightness
50
• Sharpness
70
• Colour
70
• Tint
0
• Advanced
• Advanced
G
To Set
E
E
E
E
DEF G
OK MENU
DEF G
OK MENU

