12
Instruction / Safety Information
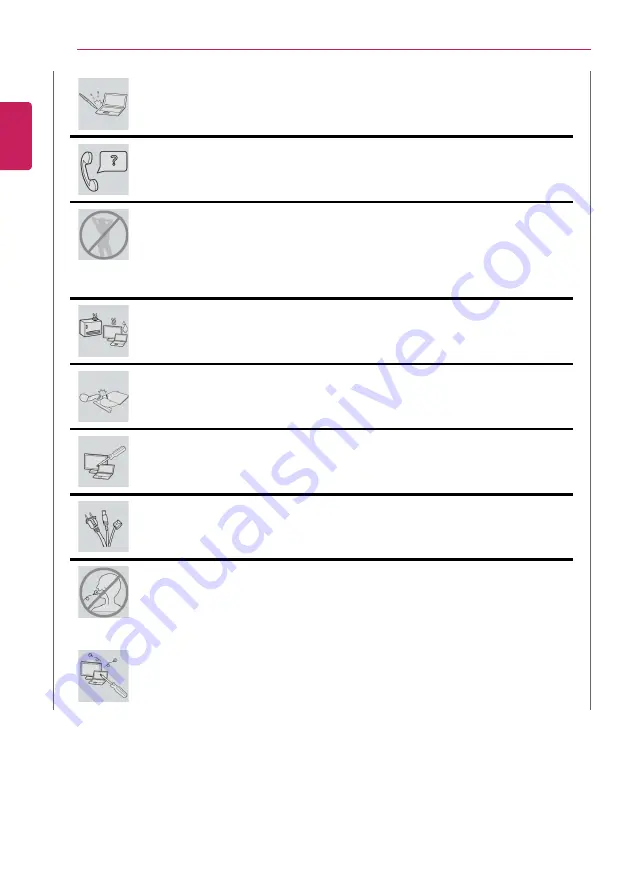
Do not put your finger or an object into PC ports.
•
An injury or electric shock may occur.
Ask one of our engineers to run a safety check after your computer has been
repaired.
•
Otherwise, an electric shock or fire may occur.
For minors, we recommend a program that blocks access to illegal or
pornographic web sites.
•
Minors' exposure to adult-only contents may inflict psychological instability or
even trauma. Take extra precaution for your children if the whole family is
using this machine.
Keep the machine away from heat-emitting devices such as a heater.
•
The product may get deformed or catch on fire.
Prevent children from thrusting their finger into the optical disk drive (CD/
DVD/Blu-ray) tray.
•
The finger may be stuck in the tray and injured.
Do not block the ventilation hole with any object.
•
Otherwise, an electric shock may occur.
When upgrading your PC, turn off the power and disconnect the power
cable, battery, and LAN.
•
There is a risk of electric shock or fire and the product may be damaged.
When you upgrade the PC, ensure that children will not swallow any parts
including bolts.
•
If a child swallows a nut, he or she may suffocate.
•
In that case, seek emergency help immediately.
Do not disassemble or modify the machine arbitrarily.
•
There is a risk of electric shock and the product may be no longer covered by
the warranty.
ENGLISH
Summary of Contents for 17Z990 Series
Page 22: ...22 Instruction Safety Information Regulatory Notices ENGLISH ...
Page 23: ...Instruction Safety Information 23 ENGLISH ...
Page 24: ...24 Instruction Safety Information ENGLISH ...
Page 25: ...Instruction Safety Information 25 ENGLISH ...
Page 26: ...26 Instruction Safety Information ENGLISH ...
Page 27: ...Instruction Safety Information 27 ENGLISH ...
Page 28: ...28 Instruction Safety Information ENGLISH ...
Page 29: ...Instruction Safety Information 29 ENGLISH ...
Page 30: ...30 Instruction Safety Information ENGLISH ...
Page 31: ...Instruction Safety Information 31 ENGLISH ...
Page 32: ...32 Instruction Safety Information ENGLISH ...
Page 33: ...Instruction Safety Information 33 ENGLISH ...
Page 34: ...34 Instruction Safety Information ENGLISH ...
Page 35: ...Instruction Safety Information 35 ENGLISH ...
Page 36: ...36 Instruction Safety Information ENGLISH ...
Page 37: ...Instruction Safety Information 37 ENGLISH ...
Page 38: ...38 Instruction Safety Information ENGLISH ...
Page 39: ...Instruction Safety Information 39 ENGLISH ...
Page 40: ...40 Instruction Safety Information ENGLISH ...
Page 41: ...Instruction Safety Information 41 ENGLISH ...
Page 42: ...42 Instruction Safety Information ENGLISH ...
Page 43: ...Instruction Safety Information 43 ENGLISH ...
Page 44: ...44 Instruction Safety Information ENGLISH ...
Page 45: ...Instruction Safety Information 45 ENGLISH ...
Page 46: ...46 Instruction Safety Information ENGLISH ...
Page 47: ...Instruction Safety Information 47 ENGLISH ...
Page 48: ...48 Instruction Safety Information ENGLISH ...
Page 49: ...Instruction Safety Information 49 ENGLISH ...
Page 50: ...50 Instruction Safety Information ENGLISH ...
Page 51: ...Instruction Safety Information 51 ENGLISH ...
Page 52: ...52 Instruction Safety Information ENGLISH ...
Page 53: ...Instruction Safety Information 53 ENGLISH ...
Page 54: ...54 Instruction Safety Information ENGLISH ...
Page 55: ...Instruction Safety Information 55 ENGLISH ...
Page 56: ...56 Instruction Safety Information ENGLISH ...
Page 101: ...Using the PC 101 3 Go to Keyboard Backlight and select your desired options ENGLISH ...
Page 133: ...Using the PC 133 2 When the Settings screen appears select Devices ENGLISH ...
Page 137: ...Using the PC 137 2 Connect the wired LAN cable to the LAN port ENGLISH ...
Page 139: ...Using the PC 139 4 Select Network Internet Status Change adapter options ENGLISH ...
Page 140: ...140 Using the PC 5 Right click Ethernet and select the Properties menu ENGLISH ...
Page 145: ...Using the PC 145 3 Select the Access Point you want to connect to and press Connect ENGLISH ...
Page 159: ...Using Software 159 1 Select the All List Update needed menu item ENGLISH ...
Page 164: ...164 Using Software 1 Press the icon on the taskbar ENGLISH ...
Page 174: ...174 Restoring the System 1 Select Keep my files ENGLISH ...
Page 175: ...Restoring the System 175 2 Check the current settings ENGLISH ...
Page 178: ...178 Restoring the System 1 Select Remove everything ENGLISH ...
Page 179: ...Restoring the System 179 2 Check the current settings ENGLISH ...
Page 181: ...Restoring the System 181 4 Press Next to proceed with installation as guided ENGLISH ...
Page 206: ...206 Setup and Upgrade 3 Boots using the selected device ENGLISH ...
Page 208: ...208 Setup and Upgrade 2 Select System Display ENGLISH ...
Page 213: ...FAQ 213 2 Select System Display ENGLISH ...
Page 218: ...218 FAQ 1 Select Keep my files ENGLISH ...
Page 219: ...FAQ 219 2 Check the current settings ENGLISH ...
Page 222: ...222 FAQ 1 Select Remove everything ENGLISH ...
Page 223: ...FAQ 223 2 Check the current settings ENGLISH ...
Page 225: ...FAQ 225 4 Press Next to proceed with installation as guided ENGLISH ...
Page 231: ...FAQ 231 3 Select the Access Point you want to connect to and press Connect ENGLISH ...


