Instruction / Safety Information
15
Battery and AC Adapter Precautions
WARNING
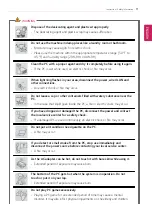
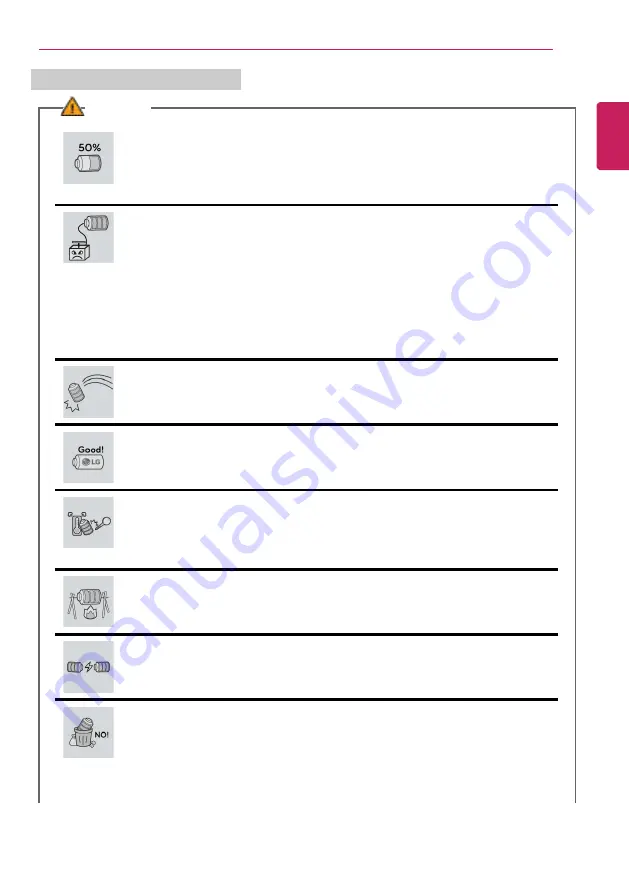
When the PC is not used for an extended period of time, keep the battery
level at about 50%.
•
Do not leave the product with discharged battery for an extended period of
time. It may damage the battery.
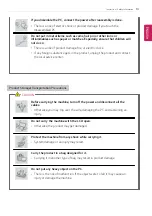
Charge the battery only with the provided instrument.
•
Otherwise, the battery may be damaged presenting a risk of fire.
Do not throw or disassemble the battery.
•
The resulting damage may cause an injury, explosion, or fire.
Use batteries certified and acknowledged by LG Electronics Inc.
•
Otherwise, an explosion or fire may occur.
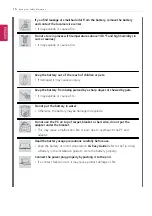
Prevent the battery from being in contact with any metallic object like a car
ignition key or a paper clip.
•
Otherwise, this may cause damage to the battery, a fire or burn due to
overheat in the battery.
Keep the battery away from heat.
•
Otherwise, an explosion or fire may occur.
Do not short-circuit the battery.
•
Otherwise, it may explode.
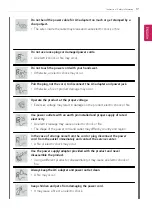
Do not dispose of a spent or backup (standby) battery arbitrarily.
•
It may explode or cause a fire.
•
Disposal methods may differ by country and region. Dispose of spent batteries
in accordance with the laws and safety rules of the country and region you
reside in.
ENGLISH
Summary of Contents for 13Z990 Series
Page 22: ...22 Instruction Safety Information Regulatory Notices ENGLISH ...
Page 23: ...Instruction Safety Information 23 ENGLISH ...
Page 24: ...24 Instruction Safety Information ENGLISH ...
Page 25: ...Instruction Safety Information 25 ENGLISH ...
Page 26: ...26 Instruction Safety Information ENGLISH ...
Page 27: ...Instruction Safety Information 27 ENGLISH ...
Page 28: ...28 Instruction Safety Information ENGLISH ...
Page 29: ...Instruction Safety Information 29 ENGLISH ...
Page 30: ...30 Instruction Safety Information ENGLISH ...
Page 31: ...Instruction Safety Information 31 ENGLISH ...
Page 32: ...32 Instruction Safety Information ENGLISH ...
Page 33: ...Instruction Safety Information 33 ENGLISH ...
Page 34: ...34 Instruction Safety Information ENGLISH ...
Page 35: ...Instruction Safety Information 35 ENGLISH ...
Page 36: ...36 Instruction Safety Information ENGLISH ...
Page 37: ...Instruction Safety Information 37 ENGLISH ...
Page 38: ...38 Instruction Safety Information ENGLISH ...
Page 39: ...Instruction Safety Information 39 ENGLISH ...
Page 40: ...40 Instruction Safety Information ENGLISH ...
Page 41: ...Instruction Safety Information 41 ENGLISH ...
Page 42: ...42 Instruction Safety Information ENGLISH ...
Page 43: ...Instruction Safety Information 43 ENGLISH ...
Page 44: ...44 Instruction Safety Information ENGLISH ...
Page 45: ...Instruction Safety Information 45 ENGLISH ...
Page 46: ...46 Instruction Safety Information ENGLISH ...
Page 47: ...Instruction Safety Information 47 ENGLISH ...
Page 48: ...48 Instruction Safety Information ENGLISH ...
Page 49: ...Instruction Safety Information 49 ENGLISH ...
Page 50: ...50 Instruction Safety Information ENGLISH ...
Page 51: ...Instruction Safety Information 51 ENGLISH ...
Page 52: ...52 Instruction Safety Information ENGLISH ...
Page 53: ...Instruction Safety Information 53 ENGLISH ...
Page 54: ...54 Instruction Safety Information ENGLISH ...
Page 55: ...Instruction Safety Information 55 ENGLISH ...
Page 100: ...100 Using the PC 3 Go to Keyboard Backlight and select your desired options ENGLISH ...
Page 136: ...136 Using the PC 2 When the Settings screen appears select Devices ENGLISH ...
Page 140: ...140 Using the PC 2 Connect the wired LAN cable to the LAN port ENGLISH ...
Page 142: ...142 Using the PC 4 Select Network Internet Status Change adapter options ENGLISH ...
Page 143: ...Using the PC 143 5 Right click Ethernet and select the Properties menu ENGLISH ...
Page 148: ...148 Using the PC 3 Select the Access Point you want to connect to and press Connect ENGLISH ...
Page 163: ...Using Software 163 1 Select the All List Update needed menu item ENGLISH ...
Page 168: ...168 Using Software 1 Press the icon on the taskbar ENGLISH ...
Page 178: ...178 Restoring the System 1 Select Keep my files ENGLISH ...
Page 179: ...Restoring the System 179 2 Check the current settings ENGLISH ...
Page 182: ...182 Restoring the System 1 Select Remove everything ENGLISH ...
Page 183: ...Restoring the System 183 2 Check the current settings ENGLISH ...
Page 185: ...Restoring the System 185 4 Press Next to proceed with installation as guided ENGLISH ...
Page 210: ...210 Setup and Upgrade 3 Boots using the selected device ENGLISH ...
Page 212: ...212 Setup and Upgrade 2 Select System Display ENGLISH ...
Page 217: ...FAQ 217 2 Select System Display ENGLISH ...
Page 222: ...222 FAQ 1 Select Keep my files ENGLISH ...
Page 223: ...FAQ 223 2 Check the current settings ENGLISH ...
Page 226: ...226 FAQ 1 Select Remove everything ENGLISH ...
Page 227: ...FAQ 227 2 Check the current settings ENGLISH ...
Page 229: ...FAQ 229 4 Press Next to proceed with installation as guided ENGLISH ...
Page 235: ...FAQ 235 3 Select the Access Point you want to connect to and press Connect ENGLISH ...


