2
Set the paper size and type.
Updating firmware
Some applications require a minimum device firmware level to
operate correctly.
For more information on updating the device firmware, contact
your sales representative.
1
Open a web browser, and then type the printer IP address in
the address field.
Notes:
•
View the printer IP address on the printer home screen.
The IP address appears as four sets of numbers
separated by periods, such as 123.123.123.123.
•
If you are using a proxy server, then temporarily disable
it to load the web page correctly.
2
Click
Settings
>
Device
>
Update Firmware
.
3
Do either of the following:
•
Click
Check for updates
>
I agree, start update
.
•
Upload the flash file.
a
Browse to the flash file.
b
Click
Upload
>
Start
.
Connecting a mobile device to the
printer
Before connecting your mobile device, make sure to do the
following:
•
Enable Wi
‑
Fi Direct in the printer. From the control panel,
navigate to:
Settings
>
Network/Ports
>
Wireless
>
Enable
Wi
‑
Fi Direct
.
•
Show the preshared key (PSK) on the Network Setup Page.
From the control panel, navigate to:
Settings
>
Network/Ports
>
Wi
‑
Fi Direct
>
Show PSK on Setup Page
.
•
Print the Network Setup Page. From the control panel, navigate
to:
Settings
>
Reports
>
Network
>
Network Setup Page
.
Connecting using Wi
‑
Fi Direct
1
From the mobile device, go to the settings menu.
2
Enable Wi
‑
Fi, and then tap
Wi
‑
Fi Direct
.
3
Select the printer SSID.
4
Confirm the connection on the printer control panel.
Connecting using Wi
‑
Fi
1
From the mobile device, go to the settings menu.
2
Tap
Wi
‑
Fi
, and then select the printer SSID.
Note:
The string
DIRECT-xy
(where
x
and
y
are two
random characters) is added before the SSID.
3
Enter the PSK.
Note:
The PSK is the password.
Notes:
•
You can change the SSID on the control panel. Navigate to:
Settings
>
Network/Ports
>
Wi
‑
Fi Direct
>
SSID
.
•
You can also change the PSK on the control panel. Navigate
to:
Settings
>
Network/Ports
>
Wi
‑
Fi Direct
>
Set PSK
.
Connecting the printer to a Wi
‑
Fi
network
Make sure that Active Adapter is set to Auto. From the home
screen, touch
Settings
>
Network/Ports
>
Network Overview
>
Active Adapter
.
1
From the home screen, touch
Settings
>
Network/Ports
>
Wireless
>
Setup On Printer Panel
>
Choose Network
.
2
Select a Wi
‑
Fi network, and then type the network password.
Note:
For Wi
‑
Fi
‑
network
‑
ready printer models, a prompt for
Wi
‑
Fi network setup appears during initial setup.
Clearing jams
Avoiding jams
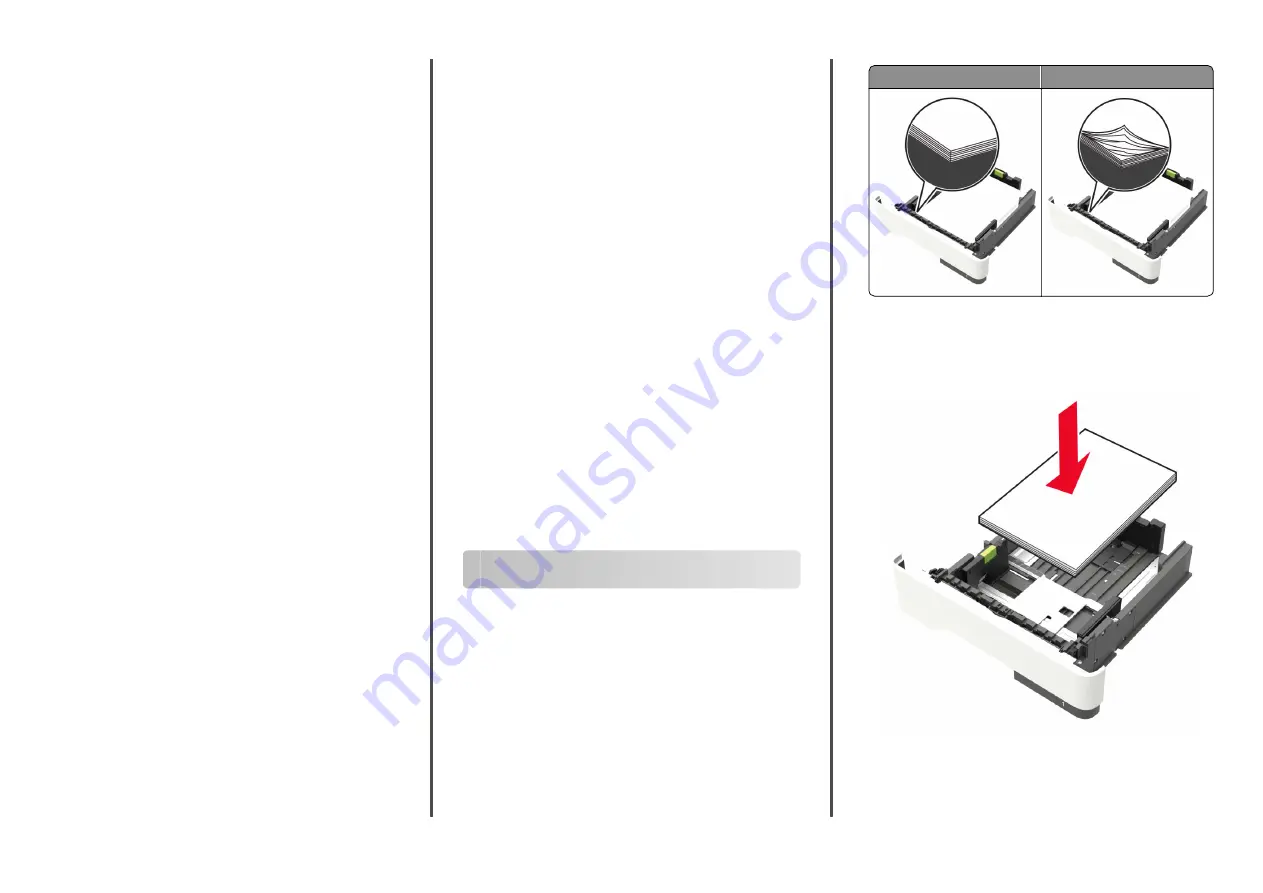
Load paper properly
•
Make sure that the paper lies flat in the tray.
Correct loading of paper
Incorrect loading of paper
•
Do not load or remove a tray while the printer is printing.
•
Do not load too much paper. Make sure that the stack height
is below the maximum paper fill indicator.
•
Do not slide paper into the tray. Load paper as shown in the
illustration.
•
Make sure that the paper guides are positioned correctly and
are not pressing tightly against the paper or envelopes.
•
Push the tray firmly into the printer after loading paper.
5


