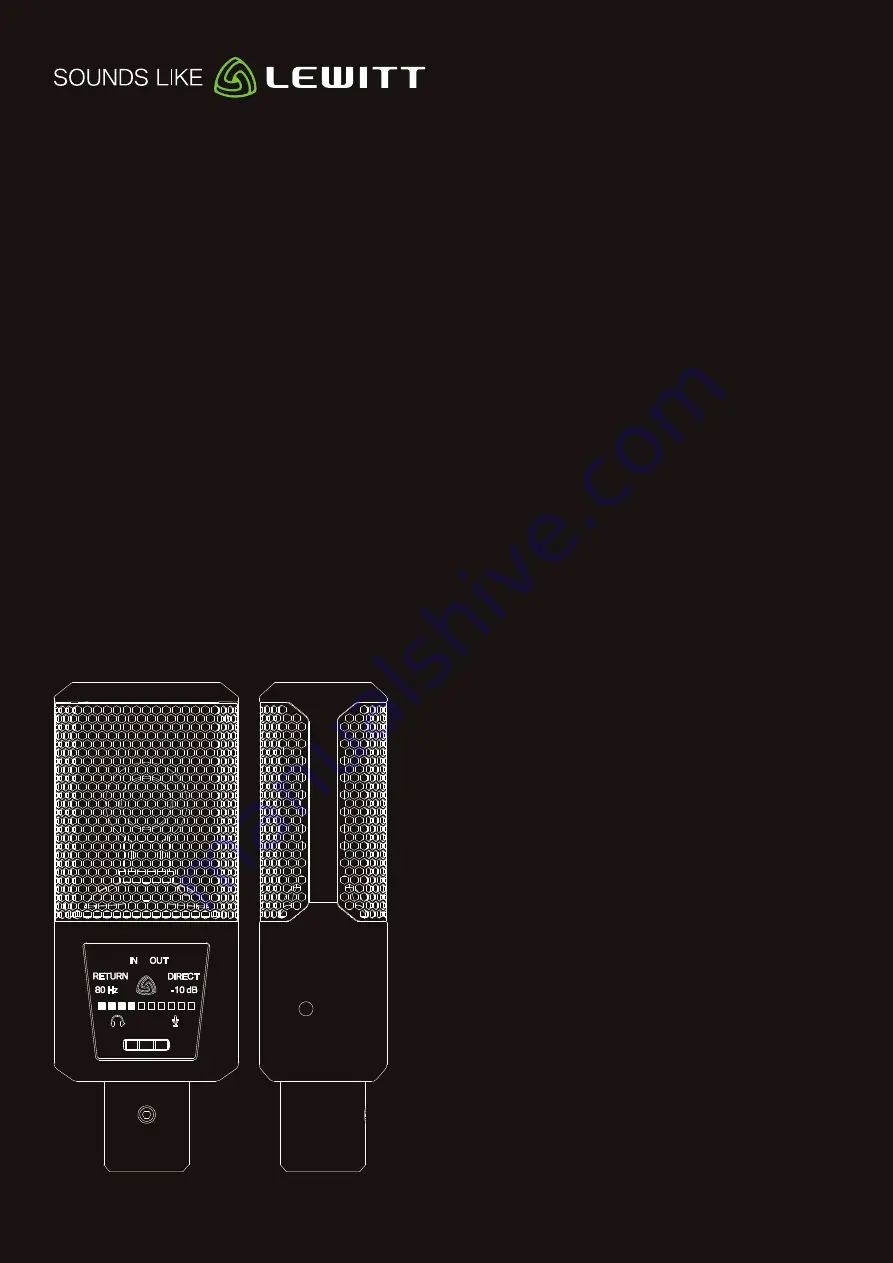
QUICKSTART GUIDE
//
DGT 260
//
How to operate your microphone
Standard mode
//
Status Indicator (1) is illuminated in white. This is the default state of the device - you can quickly access the
headphone volume by turning the jog dial (9) and check metering on the LED graph (6).
Settings mode
//
Enter Settings mode by pushing the jog dial (9) - the status indicator’s (1) illumination will turn off.
In Settings mode you can change all the settings on your DGT 260 including: I/O metering, monitoring options (3),
low-cut filter (4), attenuation (5) and gain (7/8).
Rotate the jog dial (9) to change the selected value.
Push the jog dial (9) to jump to the next setting.
After 10 seconds your device automatically switches back to Standard mode.
//
User interface
1
Status indicator
// White
: normal operation.
Red
: clipping
occurs.
Off
: in Settings mode.
2
Metering
//
Select IN for input or OUT for output metering.
3
Monitoring
//
Mix the playback of your computer with the
input signal of your microphone.
Return
//
Monitor the output of your PC, e.g. playback signal.
Direct
//
The signal of the input is sent directly to the output
of the DGT 260. This way you can monitor the signal without
any latency.
4
Low-cut filter
//
Use to get rid of unwanted low frequencies,
e.g. structure-borne noise.
5
Pre-attenuation
//
Use for loud input signals to prevent
clipping.
6
LED Graph
//
Displays values for settings like headphone gain,
input gain and others.
7
Output gain
//
Set headphone volume.
8
Input gain
//
Set microphone gain.
9
Jog Dial
//
Turn and push to change settings.
10
Headphone jack
//
Connect your 3.5mm headphone plug.
11
Micro-USB port
//
Use the provided USB cable to
connect your DGT 260 to your computer.
1
2
3
3
4
5
6
7
8
9
10
11
//
Getting started
1
Install Lewitt Control Center software.
2
Follow the on screen installation instructions.
3
Connect your microphone to your computer’s USB port using the supplied micro-usb cable.
4
Open the Control Center software.
5
Choose your settings.
6
You are ready to go!
//
DOWNLOAD THE DGT 260 DRIVER AND FULL MANUAL
www.lewitt-audio.com/dgt260/downloads
Figure 1


