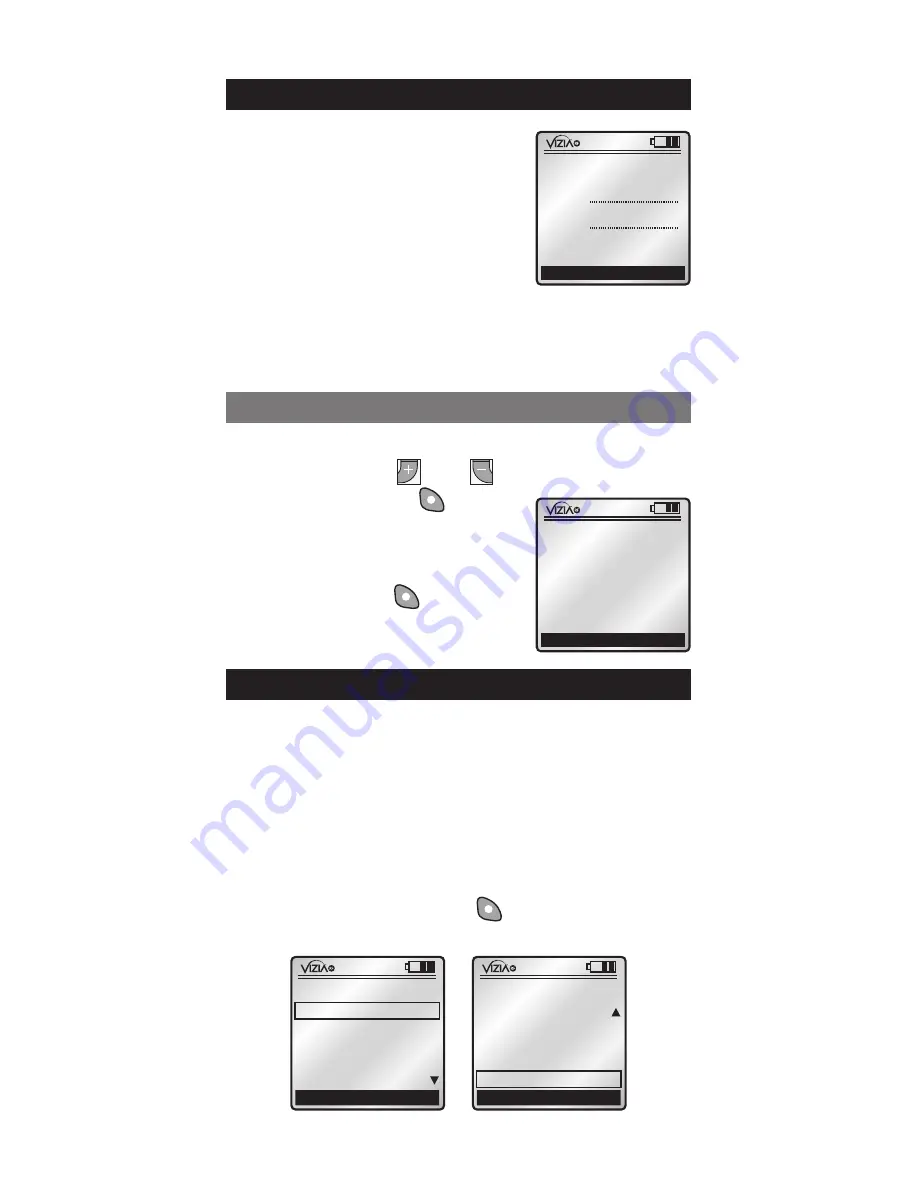
1.
Use the arrow buttons to navigate and set the date
& time using the and buttons.
2.
Press right soft key
(Save)
.
You will be prompted to
START INSTALLATION
CHECKLIST
.
Press right soft key
(YES)
. The
INSTALL CHECKLIST
screen will
appear.
NOTE:
Upon initial power up of
the RZCPG, the VIZIA
TM
RF logo
will appear briefly and then the
DATE & TIME
screen will display,
prompting the user to change
the settings.
NOTE:
Leviton
recommends setting the date and
time before proceeding. Failure to
do so will disable your events
(refer to EVENTS
pg. 15).
Set the date and time for your RZCPG as
follows:
STARTUP
x1
Cancel
DATE & TIME
Time: 09: 00 AM
Date: 06. 07. 2007
Wednesday
Save
INSTALLATION CHECKLIST
x1
Back
INSTALL CHECKLIST
1. Include Dim/Swch
2. Include Controller
3. Update Controller
4. Create Areas
5. Set Associations
Next Step
x1
Back
3. Update Controller
4. Create Areas
5. Set Associations
6. Security
7. Install Complete
Next Step
INSTALL CHECKLIST
5
1
ON
2
ON
3
ON
4
ON
OFF
OFF
OFF
OFF
x1
12:00 PM
Mon 05.01.200 6
Default Pr ofil e
Stand By
Menu
1
ON
2
ON
3
ON
4
ON
OFF
OFF
OFF
OFF
x1
12:00 PM
Mon 05.01.200 6
Default Pr ofil e
Stand By
Menu
Leviton provides the Installation Checklist as a step
by step tool to setup your Vizia
TM
RF network and
recommends following these steps in order, specifically
if you are a first time user. System design will impact
performance, so it is necessary to include and update
your devices in a specific order to ensure overall system
performance and reliability. The Installation Checklist
steps are shown below. When a step is completed,
simply press the right soft key to select
NEXT STEP
and the RZCPG will bring you to the next screen.
DATE & TIME
x1
NO
INSTALL CHEKLIST
YES
START
INSTALLATION
CHECKLIST


