3.4 VIEWING THE TOOLS
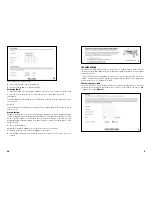
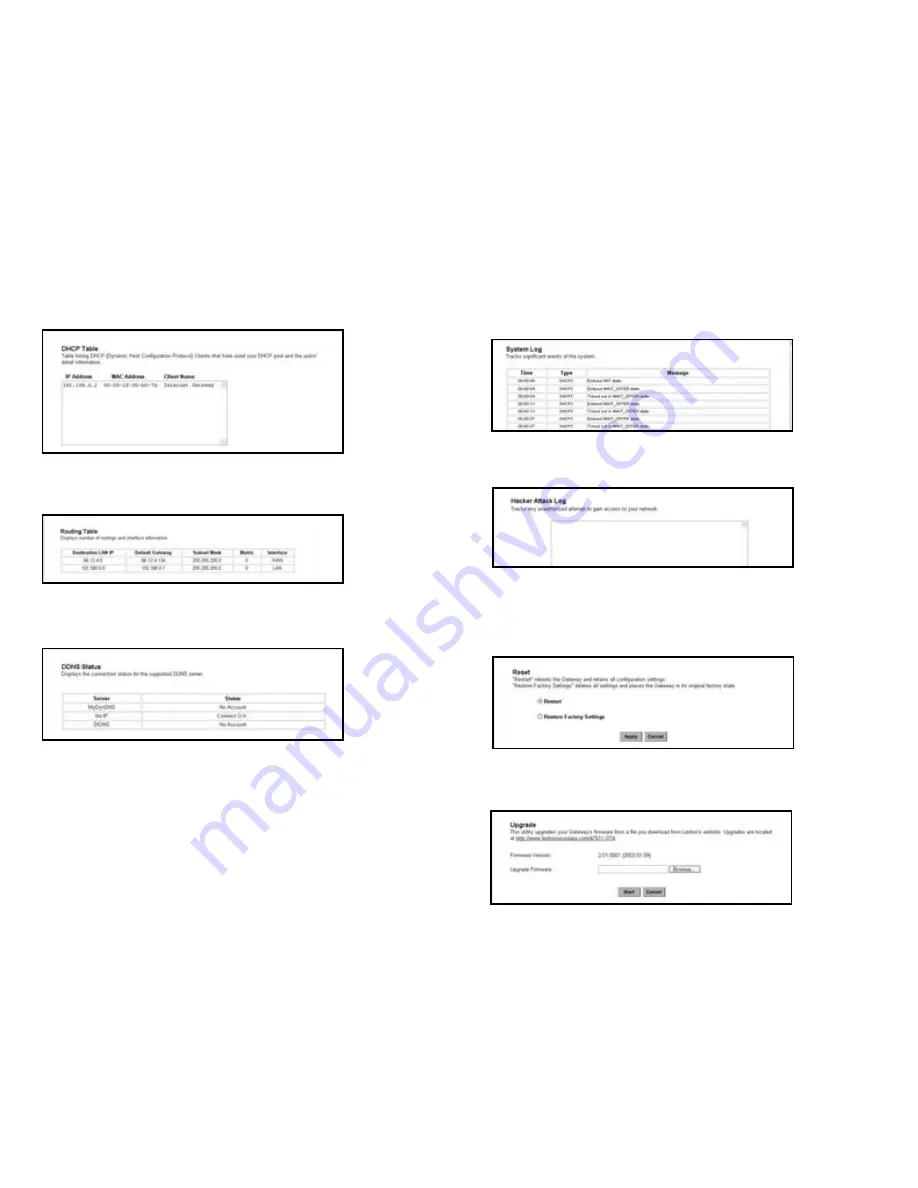
System Log (Figure 20)
You can acquire the information of the system in this screen, including the time, the type and the
message.
Hacker Log (Figure 21)
You can detect the intrusion from this screen. This screen shows the information of the unauthorized
access request to your network.
Reset (Figure 22)
You have two options to reset your Gateway. If you choose “Restart”, the Gateway will reboot yet retain
all the previous configuration settings. On the other hand, if you choose “Restore Factory Settings”, the
Gateway will remove all the previous settings and go back to the factory state.
For more information about “Reset”, see Page 3 Caution: Reset Button.
Upgrade (Figure 23)
You may download the latest firmware version from us. To upgrade Gateway’s firmware, simply click the
“Browse” button on the Upgrade Menu Screen and find the firmware upgrade file that you download from
the our website. Then, click the “Start” button.
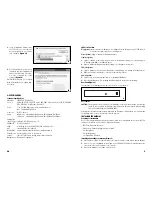
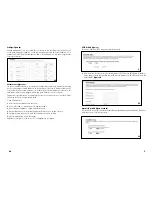
DHCP Table (Figure 17)
This table shows the number of clients who exist on your DHCP pool and their information such as MAC
Address, Computer name and IP Address.
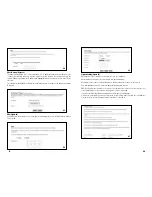
Routing Table (Figure 18)
You will see the current routing configuration such as the address of Destination LAN IP, Default Gateway,
Subnet Mask, Metric and the Interface (LAN or WAN).
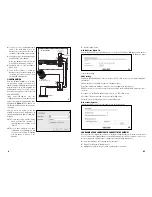
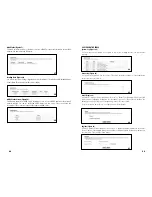
DDNS Status Screen (Figure 19)
This Gateway supports the DDNS service allowing you to use one specific DNS name while the actual IP
address changes. You can see the Dynamic DNS status from this screen. This screen shows the
information of the connection status for the supported DDNS server.
10
11
22
21
20
19
18
17
23


