12
Server
Name:
1.
The
Default Name
is shown.
Change this if you wish.
Workgroup
Name:
2.
Normally, this name should match
the
Workgroup
name used by PCs
on your LAN.
Time Zone
3.
Select your time zone from the list.
Local
Date/Time
4.
Enter the local date (mm/dd/yyyy
format) and time.
Click "Next" to continue. The following screen is displayed.
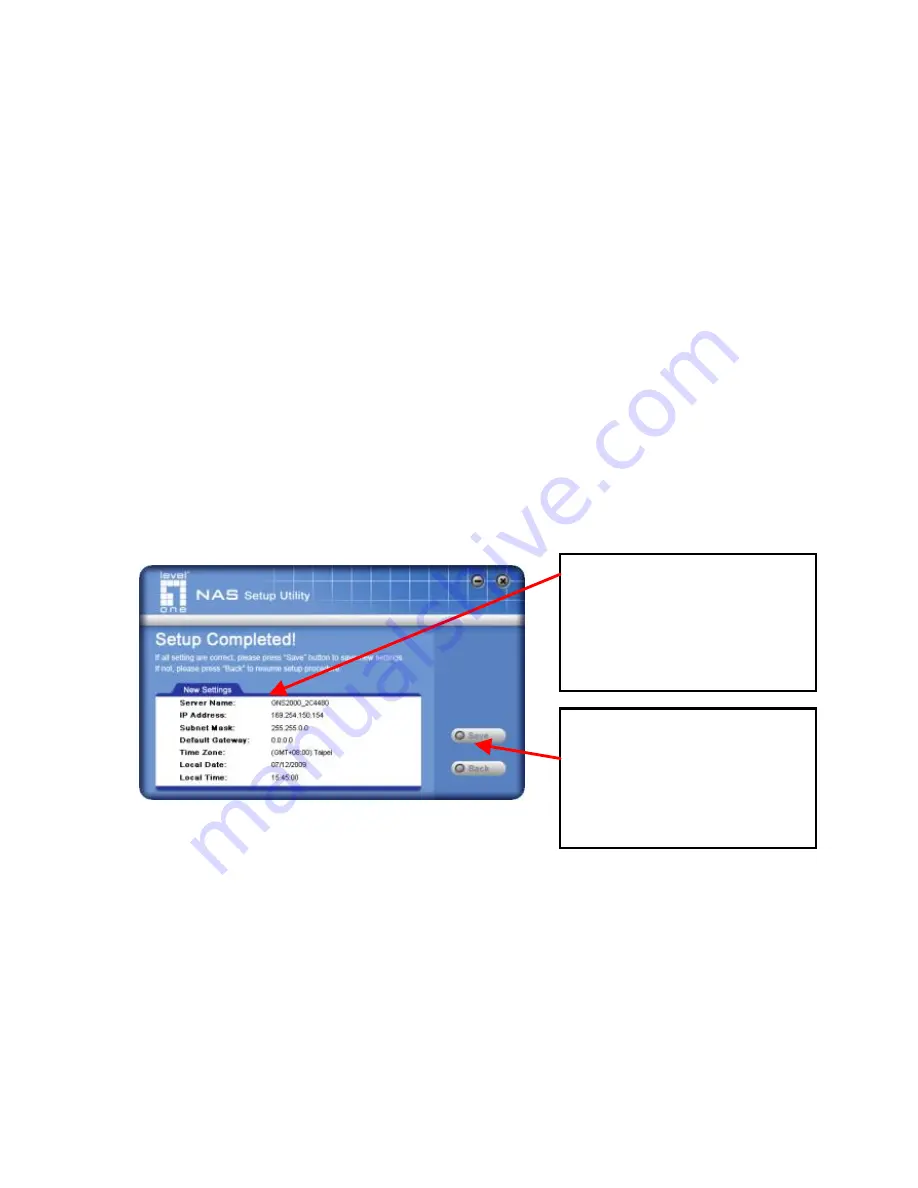
Click "Save" to save your data to the GNS-2000.
On the resulting screen, click "Exit" to close the Setup Utility.
The GNS-2000 is now operational.
All settings are displayed.
Please confirm they are
corrected, then click
“ Save” .
After saving, a final screen
will be displayed.
Click “ Exit” to close the
Setup Utility.
Summary of Contents for GNS-2000
Page 4: ...3 Front Panel Rear Panel...
Page 19: ...18 Vorderseite R ckseite...
Page 34: ...33 Front Panel Bag Panel...
Page 49: ...48 Framifr n Bakifr n...
Page 64: ...63 Pogled spredaj Pogled zadaj...
Page 78: ...77...
Page 80: ...79 5 2 Nas Server 6 NAS Server...
Page 83: ...82 2 NAS USB 3 USB 4 USB USB USB...
Page 85: ...84 NAS IP NAS Server NAS Server 4 DHCP DHCP Server DHCP server IP IP...
Page 86: ...85 IP 5...
Page 87: ...86 Server 6 NAS Server...
Page 88: ...87 GNS 2000 7 GNS 2000...
Page 90: ...89 Windows NAS 1 2 3 OK 4 Windows Explorer CD ROM 1 Share Folder Mapping...
Page 92: ...91 GNS 2000 2 GNS 2000 3...
Page 94: ...93 Panel frontal Panel posterior...


