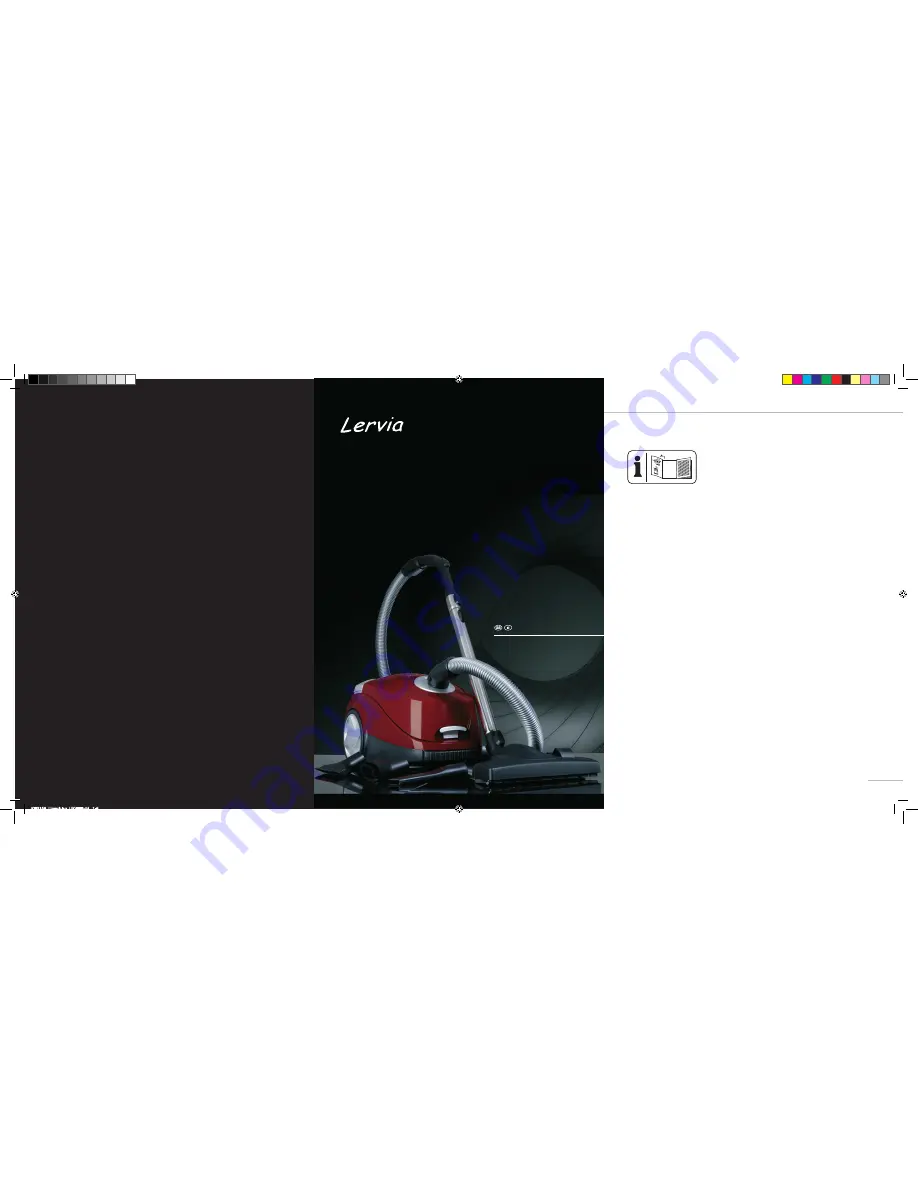
Lervia 1500 AM KH 3158
Floor Vacuum Cleaner
Operation and Safety Notes................................................................................ Page
5 - 11
8
KH3158_Umschlag_UK/IE.indd 1-3
05.07.2006 10:47:19 Uhr
Page 1: ...Lervia 1500 AM KH 3158 Floor Vacuum Cleaner Operation and Safety Notes Page 5 11 8 KH3158_Umschlag_UK IE indd 1 3 05 07 2006 10 47 19 Uhr ...
Page 2: ...1 D 44867 Bochum Germany Last Information Update 07 2006 Ident No KH3158 072006 1 UK IE A Q W E R T Y I O P q w e r t u p S F G C B E P U F D W R T Y u i p F U y i o p A o D KH3158_Umschlag_UK IE indd 4 6 05 07 2006 10 47 38 Uhr ...
Page 3: ...Use Assembly Page 8 Adjusting the Telescopic Suction Tube Page 8 Using the Suction Nozzles Page 8 Operation Mains Connection Page 9 Switching On and Off Page 9 Selecting the Suction Power Page 9 Transportation and Storage Page 9 Maintenance and Cleaning Maintenance Page 10 Changing the Dust Bag Page 10 Changing the Filter Page 10 Thread Catcher Page 10 Cleaning Page 10 Disposal Page 11 Information...
Page 4: ...egulator E Suction hose R Stainless steel telescopic suction tube T Release button Y Height adjuster for telescopic suction tube U Wheel I Floor nozzle with brush strip and thread catcher O Changeover switch for the floor nozzle P Retractable carrying handle Cover release Suction hose connector rotating q Filling level indicator for the dust bag w Exhaust air opening e Holder for additional nozzle...
Page 5: ...e vacuum cleaner Please ensure that no people or animals are hit by the vacuum cleaner Before connecting the vacuum cleaner to the mains power supply you should ensure that the mains supply is 230V 50Hz and is correctly equipped with a 16 Ampere fuse The device must only be assembled maintained and serviced when it is not connected to the power supply Do not allow the device to come into contact w...
Page 6: ...d by authorised and trained specialists A Initial Use A Assembly Press the cover release of the dust coll ection container and then open the cover Remove the dust bag holder u together with the dust bag i and ensure that the motor protection filter o and the exhaust air filter p are assembled as shown in illustration B Then reinsert the dust bag holder u together with the dust bag i Close the cove...
Page 7: ...switched on for approximately 3 more seconds Otherwise not all of the last dust that was vacuumed up will reach the dust bag A Selecting the Suction Power The indentation on the control S points to the selected suction power of the vacuum cleaner on the scale D see illustration C Turn the control S clockwise along the scale D in order to increase the suction power Turn the control S anticlockwise ...
Page 8: ...he holder Replace the filter insert by another one Then reinsert the motor protection filter o in the holder Exhaust Air Filter The exhaust air filter p collects fine dusts which would otherwise be given off to the surrounding air The exhaust air filter should be changed after a visual check see illustration F If a replacement is needed this can be purchased from our service addresses Remove the e...
Page 9: ...l authority A Information A Service Please see the attached guarantee card for the respective service address for your country A Manufacturer s Certificate Declaration of Conformity We Kompernass GmbH Burgstrasse 21 44867 Bochum Germany hereby declare that this product conforms to the following EC directives Low Voltage Directive 73 23 EEC 93 68 EEC Electromagnetic Compatibility 89 336 EEC 93 68 E...
Page 10: ...12 KH3158_Inhalt_UK_IE indd 12 05 07 2006 10 46 08 Uhr ...