Lenox DVDHD3470 Instructions Manual Download Page 3

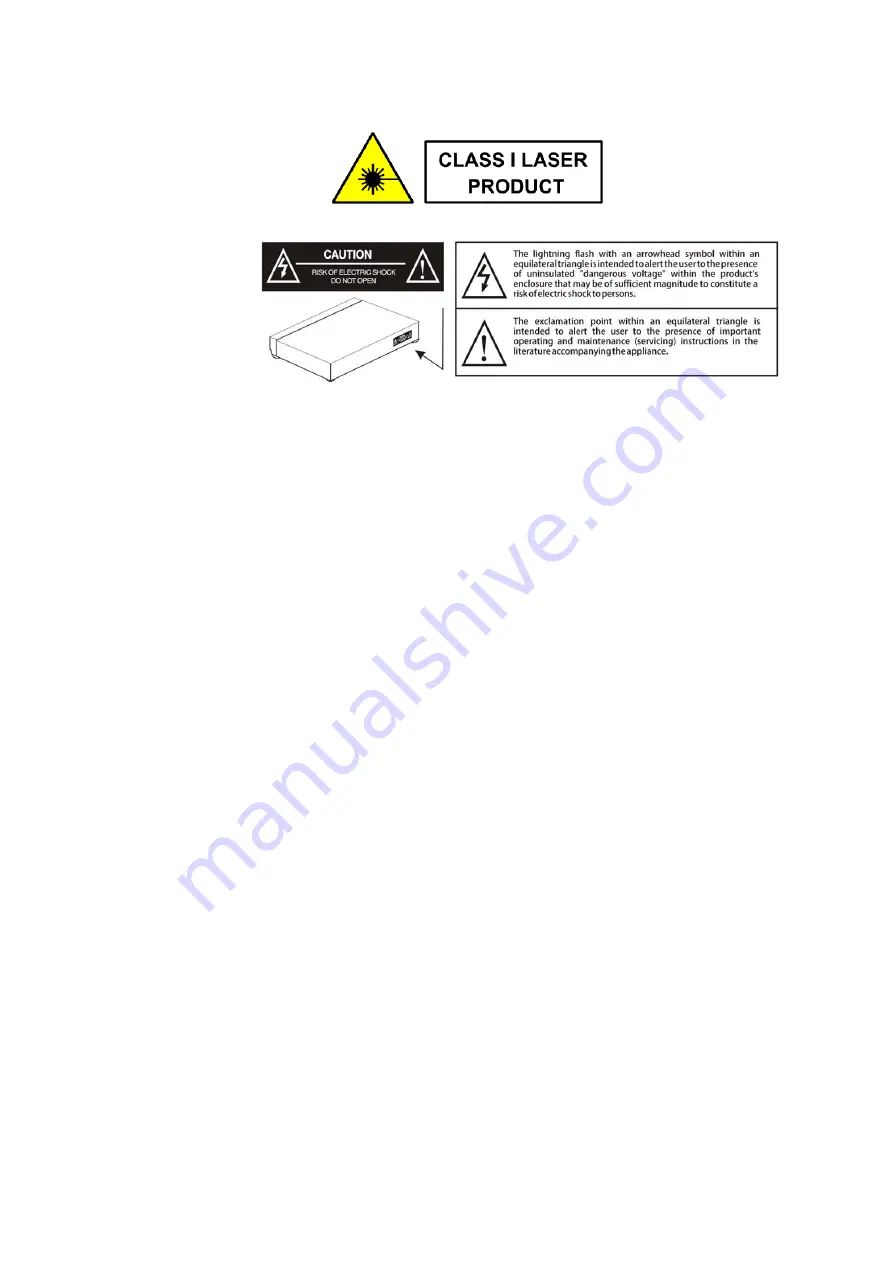
CAUTION: 


WARNING: DO 
NOT EXPOSE THIS 
APPLIANCE TO 
RAIN OR 
MOISTURE, DUE 
TO THE HIGH RISK 
OF FIRE OR 
ELECTRIC SHOCK, 
DO NOT OPEN THE CABINET DANGEROUS HIGH VOLTAGES ARE PRESENT INSIDE THE 
ENCLOSURE. ONLY QUALIFIED SERVICE PERSONNEL SHOULD ATTEMPT THIS. 
 

• 

This unit utilises a laser. 

• 

The use of optical instruments with the unit will increase eye hazard, as the laser used in 

the DVD player is harmful to eyes. 

• 

Use of controls, adjustments or performance of procedures other than those specified 

herein may result in hazardous radiation exposure. 

• 

Do not attempt to disassemble or repair the unit; refer servicing to qualified personnel 

only. 

• 

This unit is classified as a class 1 laser product. 

• 

The class 1 laser product marking is located on the laser protective housing inside the 

enclosure. 
 

BOX CONTENTS: 
 

1 x Lenoxx DVD PLAYER 
1 x Remote control 
1 x AV cable 
1 x Instruction manual 


Summary of Contents for DVDHD3470

Page 1: ...Model no DVDHD3470 Batch no PR3868 PLEASE READ AND RETAIN THESE INSTRUCTIONS FOR FUTURE REFERENCE ...

Page 2: ... any other liquid Do not immerse the unit in water or any other liquid Do not operate the unit with wet hands Do not operate the unit if it has been exposed to water moisture or any other liquid to prevent against electric shock explosion and or injury to yourself and damage to the unit Do not remove the appliance from the mains power supply by pulling on the cord switch it off and remove the plug...

Page 3: ... eye hazard as the laser used in the DVD player is harmful to eyes Use of controls adjustments or performance of procedures other than those specified herein may result in hazardous radiation exposure Do not attempt to disassemble or repair the unit refer servicing to qualified personnel only This unit is classified as a class 1 laser product The class 1 laser product marking is located on the las...

Page 4: ...NS FRONT PANEL 1 DVDTray 2 Remote Sensor 3 Display 4 USB Port 5 Open Close 6 Play Pause 7 Stop 8 Power ON OFF REAR PANEL 9 Y Pb Cb Pr Cr Output 10 Power cable outlet 11 HDMI output 12 2 x Audio Outputports 13 Video Output ...

Page 5: ...ed Point the remote at the remote sensor in front of the player and make sure there are no obstacles in the way between the remote and the player The distance between the remote and the sensor must not exceed 3m To prevent damage to the remote control please remove the batteries when not in use for long periods of time ...

Page 6: ...se volume NEXT I In DVD mode press to go to next chapter With SVCD VCD CD MP3 discs press to go to next track PLAY PAUSE Press once to pause press again to play VIDEO Switch to video output mode cvbs yuv rgb PROGRAMME If the disc has two or more tracks chapters or titles set up playing order preference Press the button to then input the number of the track title or chapter If the programmed tracks...

Page 7: ......

Page 8: ...ts can be played DVD DVD R RW CD Video Mpeg4 and DivX must be converted to AVI format Please complete the following guidance to complete the set up of the DVD player Ensure that your TV is set to the correct mode for DVD playback Plug in the DVD player and press the Power button to turn the unit on You can do this on the unit Ref 8 or via the remote Rem 1 Whenthe machine is switched on pressingthe...

Page 9: ...select the desired picture to view To access instructions menu use the on the remote control to PROG Select to change picture transform mode STOP Entering picture preview mode PREV Previous picture NEXT Next picture PLAY Play picture UP Mirror image in vertical DOWN Mirror image in horizontal LEFT Rotate 90 degrees anticlockwise RIGHT Rotate 90 degrees clockwise ZOOM Change zoom mode FAST FORWARD ...

Page 10: ...Follow the below guidance for General Audio Dolby Video and Preference settings MENU 1 GENERAL SET UP Press the buttons on the remote control to open the General menu Rem 7 24 25 28 Seven submenus will appear that you can select between Press the buttons on the remote control to scroll between the sub menus TV Display Different values will show here depending on your TV set 4 3 PS When the unit co...

Page 11: ...ons on the remote control to open the Audio menu Rem 7 24 25 28 Two submenus will appear that you can select between Press the buttons on the remote control to scroll between the sub menus to select the stereo output LT RT The audio output is Left and Right channels format Switch between left right audio channels Stereo Select to play the audio via the two front speakers of the TV MENU 3 Dolby Set...

Page 12: ...t will depend on the video source and the TV set Quality You can set the sharpness brightness and contact according to your preference MENU 5 PREFERENCE SET UP 2 Two different submenus will appear on the menu Press the buttons on the remote control to scroll browse between the sub menus to select the menu options a TV Type This unit is suitable for all makes for TV s You can select PAL or NTSC if ...

Page 13: ... player Check that the input selection on the TV is correct No audio Make sure that the audio cables are connected correctly Make sure that the coaxial connected stereo is powered on Reset the setups of the DVD player Distorted video Clean DVD disc from dust dirt The playback is fast winding backward forward Unable to play Place a DVD disc in the disc tray Place the disc in on the correct side up ...

Page 14: ...cy Response so 6oHz Power Consumption 6W Compatible Connections HDMI AN RCA Output USB Input Y Pb Cb Pr Cr R L Video Compatible Formats DVD DVD DVD R RW CD Video Mpeg4 and DivX in AVI format AUDIO Mp3 WMA CD Audio CD R RW CD PHOTO Jpg Jpeg CD Photo ...

Reviews: