©Copyright Lenovo 2020
ThinkSystem RAID 940-16i 8GB Flash PCIe Gen4 12Gb Adapter Installation and User Guide
7
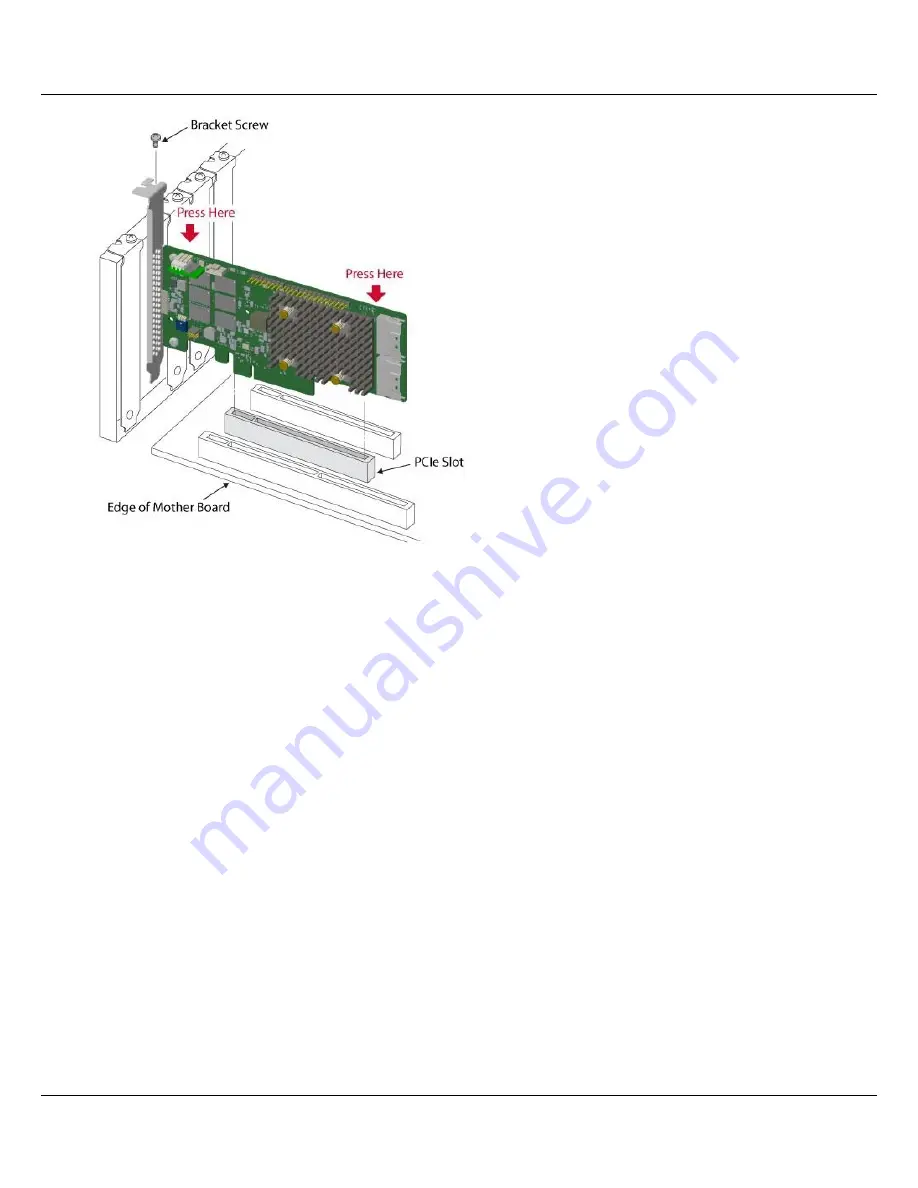
Figure 2
Installing an Adapter in a PCIe Slot
6. Configure and install the SAS, SATA, and PCIe (NVMe) devices in the host computer case.
Refer to documentation for the devices for any pre-installation configuration requirements.
7. Connect the adapter to the devices. Connect the appropriate cable with the connectors on one end to connect to the
adapter and the appropriate connector on the other end to attach to the backplane connector.
The maximum cable length is 1 meter (39.37 in.). A single wide-port SAS or multi-lane PCIe (NVMe) device cannot
connect to phys controlled by different SAS cores or PDBs.
Refer to
ThinkSystem Server Documentation Center
, select your product, and review the internal cable routing section
for detailed instructions.
8. Provide the required airflow for the installed adapter.
9. Turn on the power to the system. Reinstall the computer cover, and reconnect the AC power cords. Make sure that the
power is turned on to the storage devices before or at the same time that the power is turned on to the host computer.
Turn on power to the host computer. If the computer is powered on before these devices, the devices might not be
recognized.
During boot, a BIOS message appears. The firmware takes several seconds to initialize. The configuration utility prompt
times out after several seconds. The second portion of the BIOS message shows the adapter controller number,
firmware version, and cache SDRAM size. The numbering of the adapters follows the PCIe slot scanning order used by
the host motherboard.
10. Choose the correct storage profile.
11. Install the operating system driver. The adapters can operate under various operating systems. To operate under these
operating systems, you must install the software drivers.
The hardware installation of your adapter is complete.


