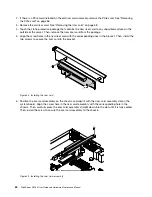
3. Loosen the thumbscrew
1
that secures the slim-optical-drive retainer and then remove the retainer from
the chassis. Then, slide the slim optical drive out of the front of the server.
Note:
The thumbscrew is an integrated part of the slim-optical-drive retainer. Do not try to remove the
thumbscrew from the retainer.
Figure 36. Removing the slim optical drive
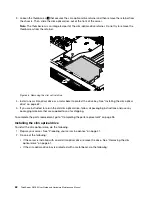
4. Install a new slim optical drive or a metal bezel to protect the drive bay. See “Installing the slim optical
5. If you are instructed to return the old slim optical drive, follow all packaging instructions and use any
packaging materials that are supplied to you for shipping.
To complete the parts replacement, go to “Completing the parts replacement” on page 95.
Installing the slim optical drive
To install the slim optical drive, do the following:
1. Prepare your server. See “Preparing your server in advance” on page 47.
2. Do one of the following:
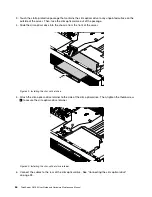
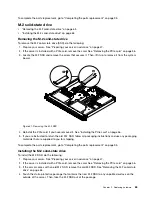
• If the server is installed with an old slim optical drive, remove the drive. See “Removing the slim
• If the slim-optical-drive bay is protected with a metal bezel, do the following:
62
ThinkServer RS160 User Guide and Hardware Maintenance Manual
Summary of Contents for ThinkServer RS160
Page 14: ...xii ThinkServer RS160 User Guide and Hardware Maintenance Manual ...
Page 18: ...4 ThinkServer RS160 User Guide and Hardware Maintenance Manual ...
Page 42: ...28 ThinkServer RS160 User Guide and Hardware Maintenance Manual ...
Page 58: ...44 ThinkServer RS160 User Guide and Hardware Maintenance Manual ...
Page 118: ...104 ThinkServer RS160 User Guide and Hardware Maintenance Manual ...
Page 130: ...116 ThinkServer RS160 User Guide and Hardware Maintenance Manual ...
Page 141: ......
Page 142: ......


