


Notes:
• The default function of each barrel button might vary in different apps.
• To customize the barrel button functions, use Lenovo Pen Settings. If Lenovo Pen Settings is not installed
on your computer, download and install the latest WinTab driver from
Pair the pen
1. Enable Bluetooth pairing on the pen by pressing and holding the top of the pen for at least three
seconds until the LED indicator flashes in green.
2. Enable Bluetooth pairing on your computer to discover and pair the pen. See “Set up a Bluetooth
connection” on page 24. The pen is discoverable as Lenovo Pen Pro.
After pairing, press or double-press the top pen button to access more functions. To customize the top pen
button functions, use Lenovo Pen Settings or open the Start menu and click
Settings
➙
Devices
➙
Pen &
Windows Ink
➙
Pen shortcuts
.
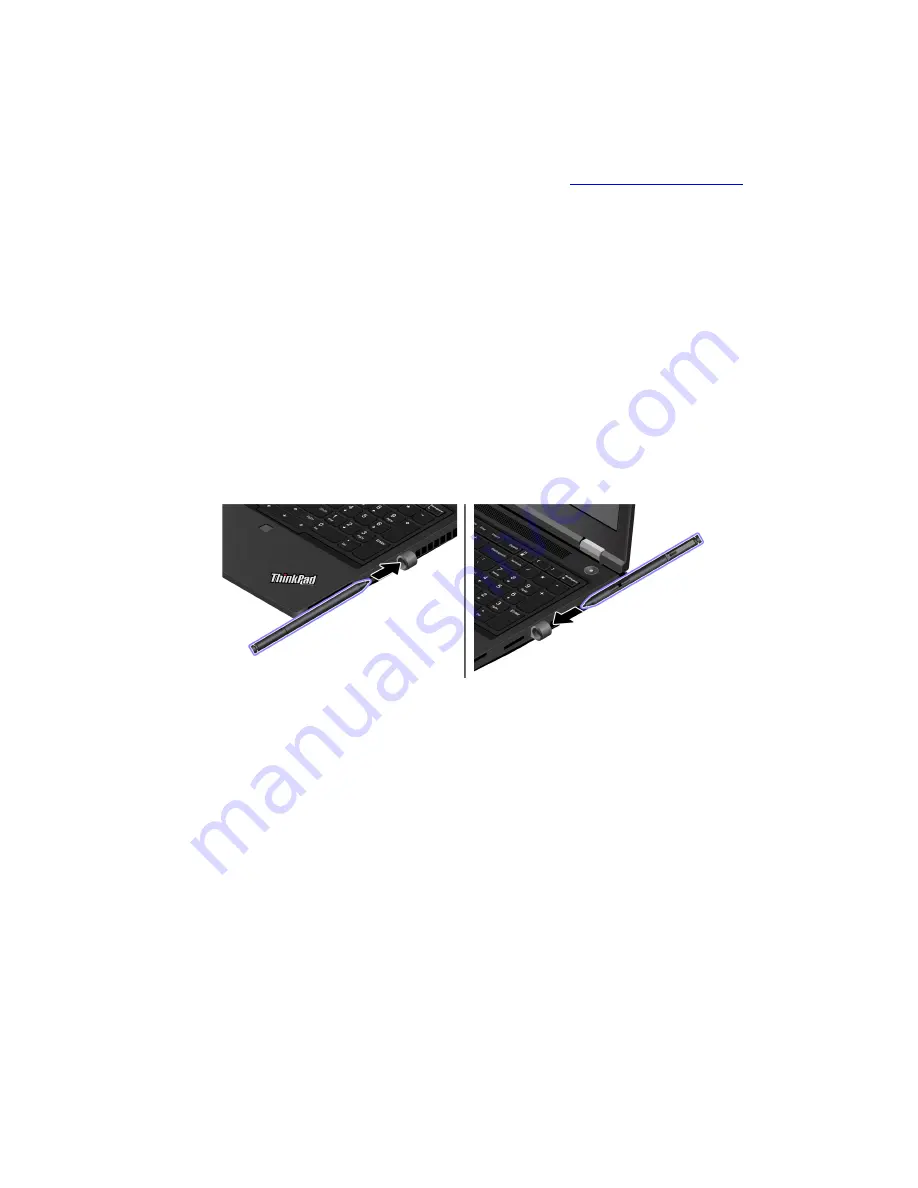
Store the pen
The pen is delivered with a pen holder. To store the pen on the computer:
1. Insert the pen holder into the USB connector on the computer.
2. Insert the pen into the pen holder in any ways as shown.
Maintenance tips
• The pen is not waterproof. Keep the pen away from water and excessive moisture.
• The pen contains pressure sensors. Apply an appropriate amount of pressure when writing on the screen.
Do not subject the pen to shock or vibration.
• If possible, place your pen in a well-ventilated and dry area without direct exposure to sunshine.
• Do not use or store the pen in a place where excessive changes in temperature may occur such as in a
car.
20
P15 Gen 2/T15g Gen 2/P17 Gen 2 User Guide
Summary of Contents for ThinkPad P17 Gen 1
Page 1: ...P15 Gen 2 T15g Gen 2 P17 Gen 2 User Guide ...
Page 4: ...Appendix B Notices and trademarks 63 ii P15 Gen 2 T15g Gen 2 P17 Gen 2 User Guide ...
Page 6: ...iv P15 Gen 2 T15g Gen 2 P17 Gen 2 User Guide ...
Page 16: ...10 P15 Gen 2 T15g Gen 2 P17 Gen 2 User Guide ...
Page 32: ...26 P15 Gen 2 T15g Gen 2 P17 Gen 2 User Guide ...
Page 42: ...36 P15 Gen 2 T15g Gen 2 P17 Gen 2 User Guide ...
Page 55: ...Removal procedure Installation procedure Chapter 6 CRU replacement 49 ...
Page 56: ...50 P15 Gen 2 T15g Gen 2 P17 Gen 2 User Guide ...
Page 64: ...58 P15 Gen 2 T15g Gen 2 P17 Gen 2 User Guide ...