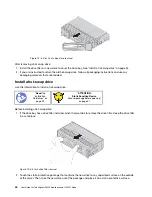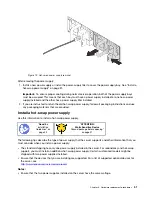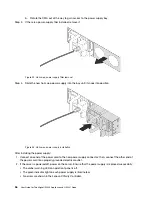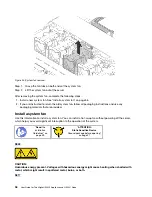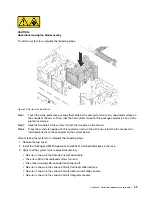
Figure 14. 3.5-inch hot-swap drive removal
After removing a hot-swap drive:
1. Install the drive filler or a new drive to cover the drive bay. See “Install a hot-swap drive” on page 44.
2. If you are instructed to return the old hot-swap drive, follow all packaging instructions and use any
packaging materials that are provided.
Install a hot-swap drive
Use this information to install a hot-swap drive.
Ground package before opening”
Before installing a hot-swap drive:
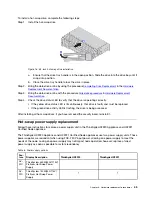
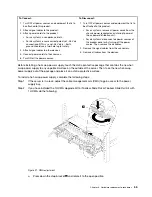
1. If the drive bay has a drive filler installed, pinch the two tabs to remove the drive filler. Keep the drive filler
in a safe place.
Figure 15. 3.5-inch drive filler removal
2. Touch the static-protective package that contains the new drive to any unpainted surface on the outside
of the server. Then, take the new drive out of the package and place it on a static-protective surface.
44
User Guide for ThinkAgile HX2320 Appliance and HX2321 Node
Summary of Contents for ThinkAgile HX2320 Appliance
Page 4: ...ii User Guide for ThinkAgile HX2320 Appliance and HX2321 Node ...
Page 16: ...12 User Guide for ThinkAgile HX2320 Appliance and HX2321 Node ...
Page 32: ...28 User Guide for ThinkAgile HX2320 Appliance and HX2321 Node ...
Page 38: ...34 User Guide for ThinkAgile HX2320 Appliance and HX2321 Node ...
Page 86: ...82 User Guide for ThinkAgile HX2320 Appliance and HX2321 Node ...
Page 90: ...86 User Guide for ThinkAgile HX2320 Appliance and HX2321 Node ...
Page 92: ...88 User Guide for ThinkAgile HX2320 Appliance and HX2321 Node ...
Page 94: ...90 User Guide for ThinkAgile HX2320 Appliance and HX2321 Node ...
Page 96: ...92 User Guide for ThinkAgile HX2320 Appliance and HX2321 Node ...
Page 99: ......
Page 100: ......


