Lenovo TAB 2 A10-70 Hardware Maintenance Manual
66
6.
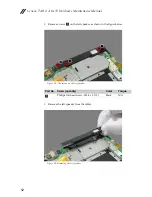
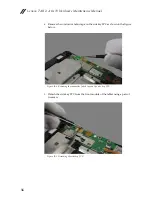
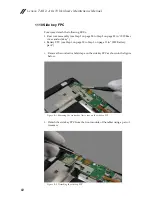
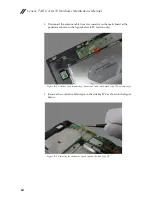
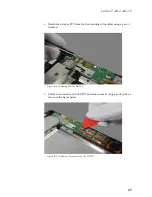
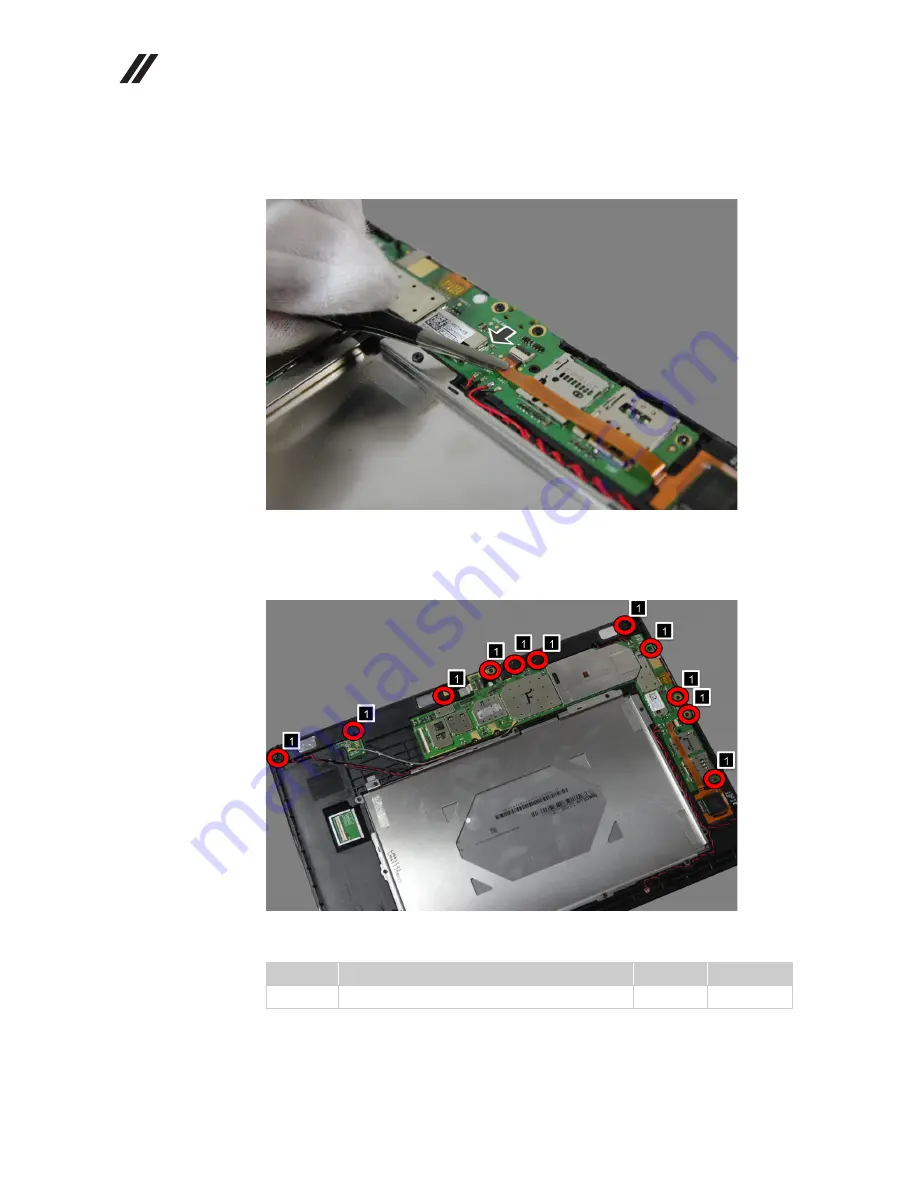
Pull out the TP FPC from its unlocked connector using a pair of tweezers as
shown in the figure below.
Figure 12-6. Pulling out the TP FPC
7.
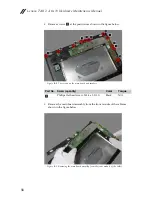
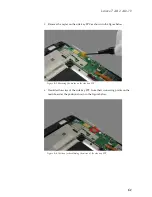
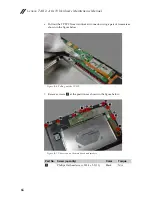
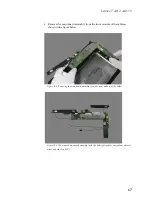
Remove screws
at the positions as shown in the figure below.
Figure 12-7. The screws on the main board and speakers
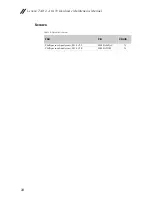
Part No.
Screw (quantity)
Color
Torque
Phillips flat head screw, M1.4 x 3.5 (11)
Black
N/A
a
a
Summary of Contents for TAB 2 A10-70
Page 1: ...Lenovo TAB 2 A10 70 Hardware Maintenance Manual ...
Page 4: ......
Page 5: ......
Page 43: ...Lenovo TAB 2 A10 70 37 Figure 3 3 The removed rear camera ...
Page 51: ...Lenovo TAB 2 A10 70 45 Figure 6 3 The removed vibrator motor ...
Page 53: ...Lenovo TAB 2 A10 70 47 Figure 7 3 The removed microphone ...
Page 59: ...Lenovo TAB 2 A10 70 53 Figure 9 4 The removed left speaker ...
Page 68: ...Lenovo TAB 2 A10 70 Hardware Maintenance Manual 62 Figure 11 5 The removed side key FPC ...
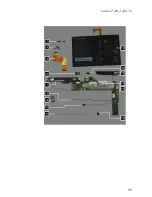
Page 77: ...Lenovo TAB 2 A10 70 71 ...
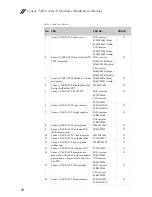
Page 79: ...Lenovo TAB 2 A10 70 73 17 Lenovo TAB 2 A10 70 battery pack SB18C00020 SB18C00021 N ...

