22
Lenovo System x3850 X6 and x3950 X6 Quick Start Guide
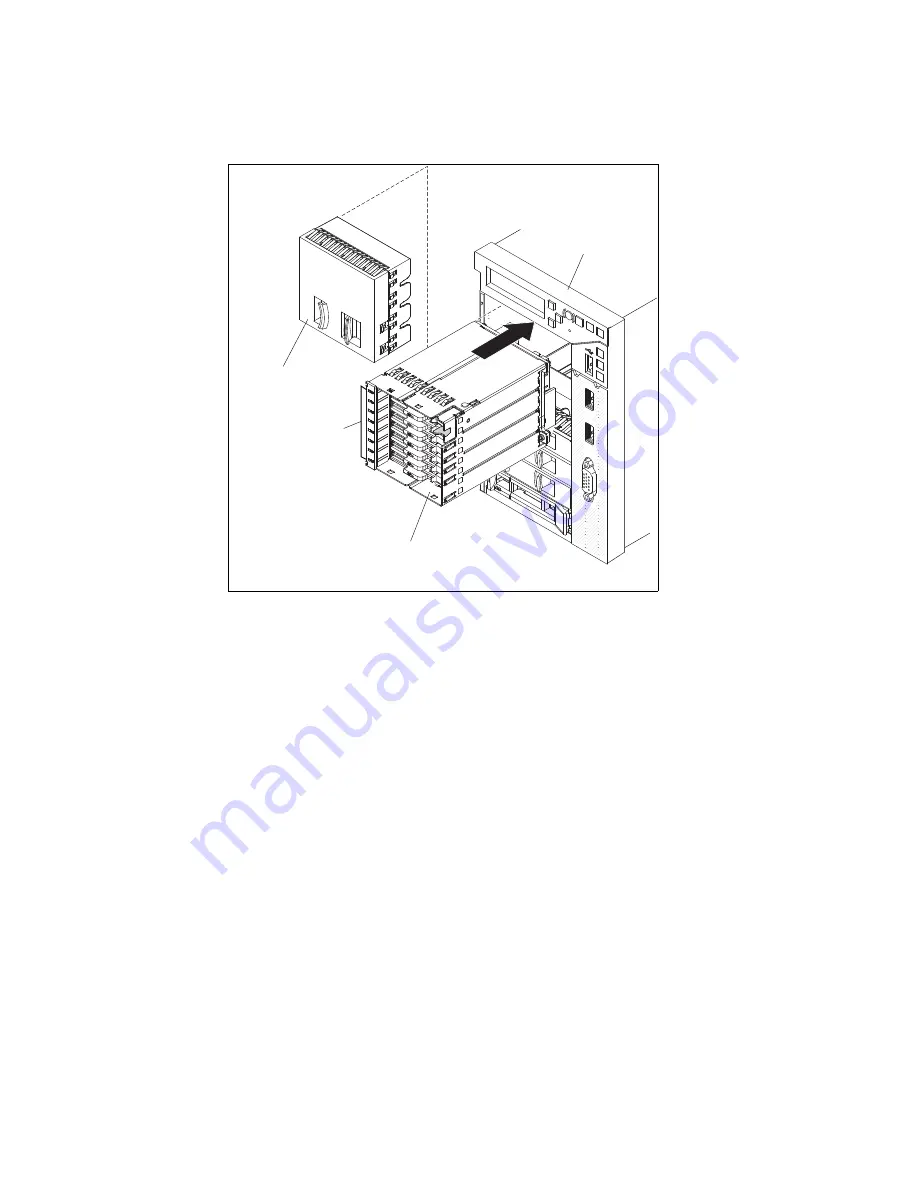
With only four drives installed, it is mandatory to leave the top filler (Figure 21) in place for
cooling and EMC reasons.
Figure 21 Drive filler
Pre-installation checklist
Before you install the server and get it up and running, complete the following steps:
1. Validate the type of power feeds for the system. Make sure that both the number and types
of power supplies are present to support the level of PSU redundancy required.
2. Prior to installing any additional hardware, apply AC power and log into the IMM. Update
the base system firmware (IMM/UEFI/Dynamic System Analysis (DSA)) via the IMM.
Update the firmware in the following order:
a. Update both IMM banks and restart the IMM, which can take up to 15 minutes.
b. Update both UEFI banks and start the system. (This process can take up to 30 minutes
for the firmware update to complete.) The F1 screen displays when UEFI has
completed the update.
c. Press F1, go into UEFI, and load the defaults. This process can also be done via the
ASU tool by entering:
/asu64 loaddefaults UEFI --host xxx.xxx.xxx.xxx --user USERID --password
PASSWORD
d. After the IMM and UEFI have been updated via the IMM interface, we recommend
using Bootable Media Creator™ (BoMC) to update the system to the current versions
of firmware.
8x1.8-inch
drive filler
8x1.8-inch
drive backplane
assembly
Storage book
Drive
LEDs


