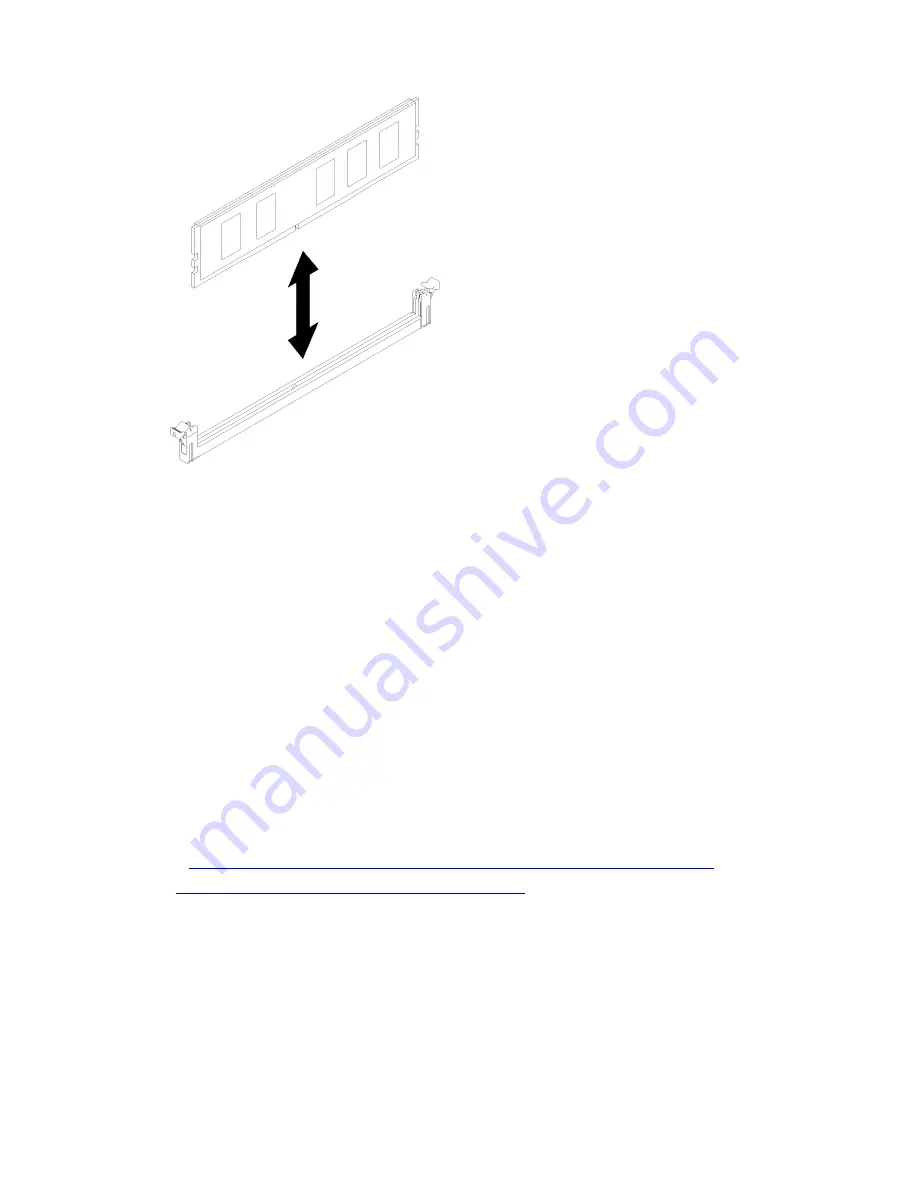
Figure 21. DIMM removal
If you are instructed to return the component or optional device, follow all packaging instructions, and use
any packaging materials for shipping that are supplied to you.
Remove a drive
Use this information to remove a drive.
Before you remove a drive:
1. Read the following section(s) to ensure that you work safely.
• “Installation Guidelines” on page 30
2. Turn off the corresponding DWC tray that you are going to perform the task on.
3. Remove the tray (see “Remove a DWC tray from the enclosure” on page 32).
4. Remove the tray cover (see “Remove the tray cover” on page 34).
Complete the following steps to remove a drive.
Watch the procedure
. A video of the installation process is available:
• Youtube:
https://www.youtube.com/playlist?list=PLYV5R7hVcs-BHNs9o9uS9u93aeU5BCI8I
• Youku:
http://list.youku.com/albumlist/show/id_51372950.html
Step 1. Squeeze the spring steel latches on sides while lifting up on the top portion of drive cage.
Chapter 3
.
Solution hardware setup
37
Summary of Contents for 5468
Page 4: ...ii ThinkSystem SD650 Dual Node DWC Tray and NeXtScale n1200 DWC Enclosure Setup Guide ...
Page 18: ...14 ThinkSystem SD650 Dual Node DWC Tray and NeXtScale n1200 DWC Enclosure Setup Guide ...
Page 32: ...28 ThinkSystem SD650 Dual Node DWC Tray and NeXtScale n1200 DWC Enclosure Setup Guide ...
Page 70: ...66 ThinkSystem SD650 Dual Node DWC Tray and NeXtScale n1200 DWC Enclosure Setup Guide ...
Page 78: ...74 ThinkSystem SD650 Dual Node DWC Tray and NeXtScale n1200 DWC Enclosure Setup Guide ...
Page 82: ...78 ThinkSystem SD650 Dual Node DWC Tray and NeXtScale n1200 DWC Enclosure Setup Guide ...
Page 86: ...82 ThinkSystem SD650 Dual Node DWC Tray and NeXtScale n1200 DWC Enclosure Setup Guide ...
Page 89: ......
Page 90: ...Part Number SP47A36229 Printed in China 1P P N SP47A36229 1PSP47A36229 ...


