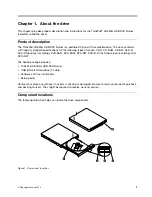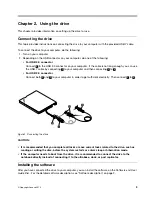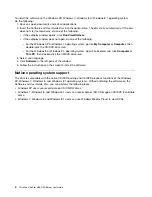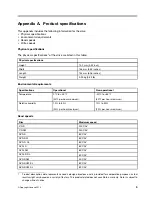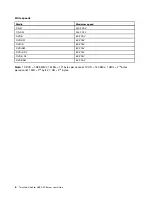
Component
Function
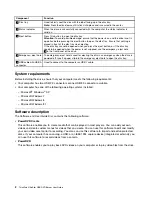
1
Disc tray
Used to firmly seat the disc with the label facing up in the disc tray.
Note:
Press the disc down until it clicks into place and is secured in the center.
2
Status indicator
When the drive is successfully connected with the computer, the status indicator is
solid on.
3
Eject button
Press this button to open the disc tray.
Attention:
To avoid possible damage, ensure that the power is on and the drive is not in
operation before pressing the eject button to open the disc tray. Ensure that nothing is
placed in front of the disc tray when ejecting.
If the disc tray cannot be opened when you press the eject button, or if the disc tray
needs to be opened when the power is not supplied, use the emergency- eject hole
4
in the front panel of the drive.
4
Emergency- eject hole
The emergency-eject hole is used for ejecting the disc in an emergency when the drive is
powered off. Insert a paper clip into the emergency eject hole to open the disc tray.
5
USB cable with USB A
connector
Used to connect to the computer or USB Y cable.
System requirements
Before installing the drive, ensure that your computer meets the following requirements:
• Your computer has two USB 2.0 connectors or one USB 3.0 connector available.
• Your computer has one of the following operating systems installed:
– Microsoft
®
Windows
®
XP
– Microsoft Windows 7
– Microsoft Windows 8
– Microsoft Windows 8.1
Software description
The
Software and User Guide Disc
contains the following software:
•
PowerDVD Create
This software enables you to create media that can be played in most players. You can add your own
videos and create custom menus for videos that you create. You can use this software to edit and modify
your own video assets prior to recording. You also can use this software to import and edit unprotected
discs. If your computer has an analog, a USB, or an IEEE 1394 capture device (integrated or external), you
can use this software to record videos from a camera.
•
PowerDVD
This software enables you to play back DVD videos on your computer or to play video files from the drive.
2
ThinkPad UltraSlim USB DVD Burner User Guide
Summary of Contents for 40AC0135AR
Page 1: ...ThinkPad UltraSlim USB DVD Burner User Guide ...
Page 4: ...ii ThinkPad UltraSlim USB DVD Burner User Guide ...
Page 12: ...8 ThinkPad UltraSlim USB DVD Burner User Guide ...
Page 23: ...Eurasian compliance mark Ukraine compliance mark Appendix D Electronic emission notices 19 ...
Page 24: ...20 ThinkPad UltraSlim USB DVD Burner User Guide ...
Page 28: ...24 ThinkPad UltraSlim USB DVD Burner User Guide ...
Page 29: ......
Page 30: ...Part Number SR30E97777 Printed in China 1P P N SR30E97777 1PSR30E97777 ...

