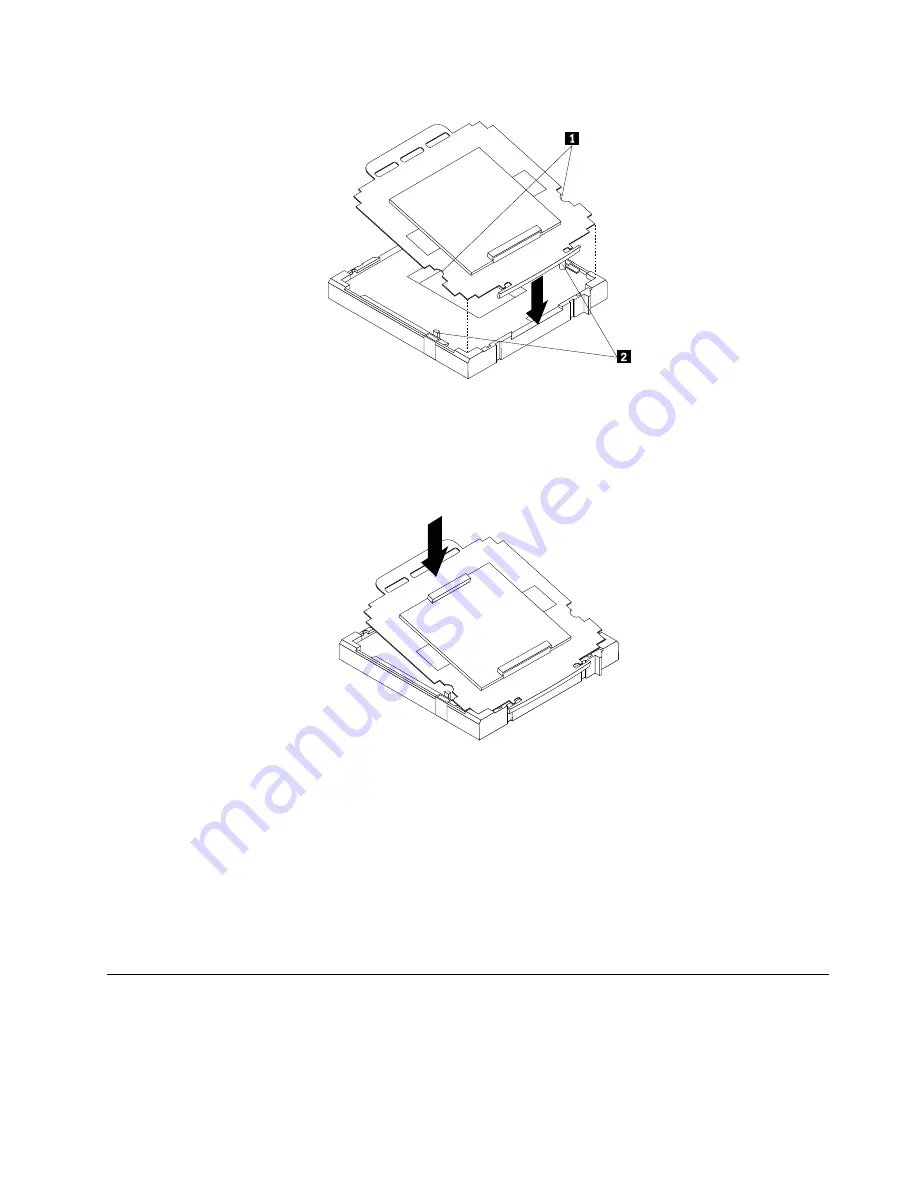
Figure 13. Installing the socket cover
Note:
Your microprocessor socket and cover might look slightly different from the illustration.
5. Carefully press the other side of the socket cover downwards until the socket cover snaps into place.
Figure 14. Securing the socket cover
6. Carefully check the four corners of the socket cover to make sure that the cover is secured in the
microprocessor socket.
7. Lower the microprocessor retainer and then lower the lever to secure the retainer. Make sure the lever
is locked into position.
8. Follow any additional instructions included with the replacement part you received.
Note:
If your system board has two microprocessor sockets, be sure to install a socket cover for each
microprocessor socket.
Replacing the battery
Attention
Do not open your computer or attempt any repair before reading and understanding the “Important safety
information” in the
ThinkCentre Safety and Warranty Guide
that came with your computer. To obtain a copy
Chapter 8
.
Replacing FRUs (Machine Types: 3029, 3054, 3139, 3219, 3246, 3282, 3349, 3421, 3544, 3652, 3769, 3934,
4992, 5206, 5267, 5325, 5384, 5450, 5474, 5498, 5554, 5852, 6232, and 6590.)
77
Summary of Contents for 3699
Page 2: ......
Page 15: ...Chapter 2 Safety information 9 ...
Page 19: ...Chapter 2 Safety information 13 ...
Page 20: ...1 2 14 ThinkCentre Hardware Maintenance Manual ...
Page 21: ...Chapter 2 Safety information 15 ...
Page 27: ...Chapter 2 Safety information 21 ...
Page 31: ...Chapter 2 Safety information 25 ...
Page 46: ...40 ThinkCentre Hardware Maintenance Manual ...
Page 68: ...62 ThinkCentre Hardware Maintenance Manual ...
Page 102: ...96 ThinkCentre Hardware Maintenance Manual ...
Page 572: ...566 ThinkCentre Hardware Maintenance Manual ...
Page 576: ...570 ThinkCentre Hardware Maintenance Manual ...
Page 577: ......
Page 578: ...Part Number Printed in USA 1P P N ...


