


2012-06-14
Page 15
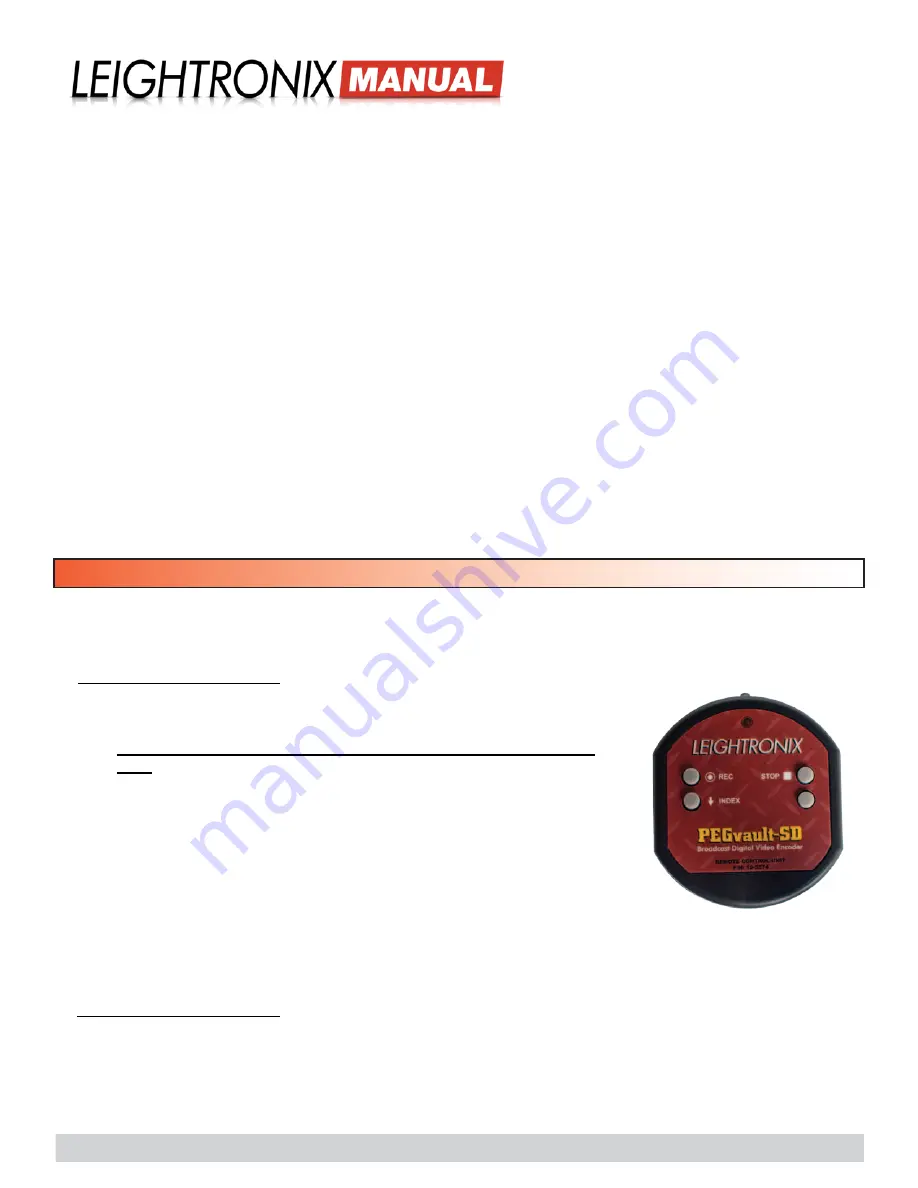
PEGvault-SD
Digital Video Encoder
6. Record!
Start/Stop recording from the wireless remote control, front panel, or PEGvault-SD Web interface
according to the following steps:
a.
Ensure the PEGvault-SD has been turned on.
b.
Push the “REC” button on the wireless remote to start recording.
c.
LEIGHTRONIX LGX-SVOD and Internet VOD Streaming Service Users
Only
: add video index points for use in PEG Central or other LEIGHTRONIX
VOD streaming application. Index points appear as links next to the pub-
lished video in the streaming application’s player window, allowing viewers to
quickly move to points of interest within the video.
To create an index point, press the the “INDEX” button on the remote con-
trol. The PEGvault-SD will name the index point with the current date/time
and the hours:minutes:seconds into the video that the index point marks.
Create additional index points at key intervals in the recording with each
push of the “INDEX” button.
d.
When you want to end the recording session, push the “STOP” button on the wireless remote. If a file destina-
tion was configured and enabled in the Web interface, your recorded file will be automatically transferred to the
destination.
Record with Remote Control
RECORDING
b.
In the “File Name” field, enter up to 14 characters (letters, numbers, and underscores only—no spaces). If you use
the same filename for more than one recording session, the record date and start time will be appended to the name
of each additional recorded file as “yy/mm/dd-hh/mm/ss” (year/month/day-hours/minutes/seconds).
NOTE:
Alternatively, you may enter the new filename into the “File Name” box in the lefthand column of the
PEGvault-SD Web interface. Click the “Save” button to make the change. The new name will appear in the
“File Name” field on the “File Settings” tab.
c.
Select a “File Quality” recording preset for your files. Each recording quality preset represents a range of bit rates
within which the file will be recorded.
NOTE:
If you selected a LEIGHTRONIX streaming Web site (“Internet VOD Streaming”) as an auto-
matic file transfer destination, your files will be recorded
at the “Streaming” setting
for all
selected file destinations. The “Good,” “Better,” and “Best” file record quality settings will
be ignored.
d.
If you want your PEGvault-SD files to be transferred to your NEXUS series server 15 seconds after the files begin re-
cording, select the “Enable” “PEGcasting” option. To use the PEGcasting Next to Live autoplay feature for simulated
live broadcasting, you must still complete the “PEGcasting N2L” configuration settings on the “NEXUS/UltraNEXUS”
tab.
e.
If you want your recorded files deleted from the PEGvault’s internal hard drive after each transfer, select the “En-
able” “Automatic Delete” option. The “Disable” option will cause your recorded files to stay on the hard drive until you
manually delete them from the “File Management” screen.
f.
Click the “Apply Changes” button to make the changes or “Cancel” to abort.
Record from the Front Panel
On your PEGvault-SD’s front panel, press the green check push button to begin recording. To stop the recording
session, press the red “X” button on the front panel.


