Leica DM750 P User Manual
Get Set! 34
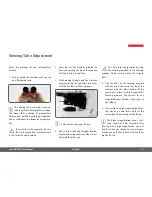
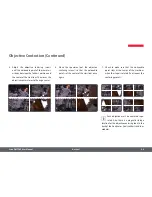
5. Adjust the objective centering screws
until the noticeable point of the sample is
midway between the furthest position and
the center of the crosslines. This moves the
objective center closer to the stage center.
6. Move the specimen (not the objective
centering screws!) so that the noticeable
point is at the center of the crosslines once
again.
7. Check to make sure that the noticeable
point stays at the center of the crosslines
when the stage is rotated. If not, repeat the
centering process.
Each objective must be centered sepa-
rately. Also, there is a magnetic storage
location for the objective centering tools in the
back of the Analyzer or Analyzer/Bertrand Lens
modules.
Objective Centration (Continued)
Summary of Contents for DM750 P
Page 1: ...Leica DM750 P User Manual...
Page 5: ...Leica DM750 P User Manual Safety Regulations 5 Safety Regulations...
Page 16: ...Leica DM750 P User Manual The Leica DM750 P 16 The Leica DM750 P...
Page 19: ...Leica DM750 P User Manual Get Ready 19 Get Ready...
Page 25: ...Leica DM750 P User Manual Get Set 25 Get Set...
Page 37: ...Leica DM750 P User Manual Go 37 Go...
Page 39: ...Leica DM750 P User Manual Care of the Microscope 39 Care of the Microscope...
Page 42: ...Leica DM750 P User Manual Dimensions 42 Dimensions...
Page 43: ...Leica DM750 P User Manual Dimensions 43...


