

PXC_PXO Quick Setup Guide
3
PXC_PXO_QSG_0B_3.5.10_E
255-80-0059-00 RoHS
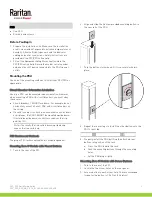
4.
Press the PDU forward, pushing the mounting buttons
through the mounting holes, then letting the PDU drop
slightly.
Mounting 1U or 2U Models
Using the appropriate brackets and tools, fasten the 1U or 2U
PXC PDUs to the rack or cabinet.
To mount 1U/2U device:
1.
Attach a rackmount bracket to both sides of the PXC with
the provided screws.
2.
Attach PXC to the rack. Fasten the rackmount brackets'
ears to the rack using your own fasteners.
PXO Rackmount Method
You can place PXO in any appropriate location with or without
fastening it. To fasten it, simply screw up fasteners to screw
holes on two sides of PXO.
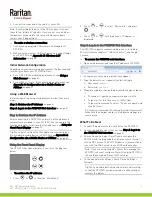
QS Rule
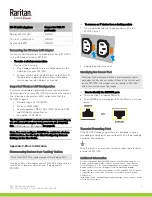
Connecting the PDU to a Power Source
The distance between a PDU and its power source must be
SHORTER than the PDU's line cord to avoid stretching out the
cord. A locking connector used at the power source is highly
recommended for a secure connection.
To connect a PDU to the power source:
1.
Verify that all circuit breakers on the PXC/PXO are set to
ON. If not, turn them ON.
Or make sure that all fuses are inserted and seated
properly. If there are any fuse covers, ensure that they
are closed.
Note: Not all models have overcurrent protectors.
2.
Connect each PXC/PXO to an appropriately rated branch
circuit. Refer to the label or nameplate affixed to your
PXC/PXO for appropriate input ratings or range of ratings.
Note: When a PXC/PXO powers up, it proceeds with the
power-on self test and software loading for a few
moments.
3.
When the software has completed loading, the outlet LEDs
show a steady color and the front panel display
illuminates. Note that outlet LEDs are only available on
some PDU models.
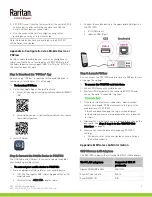
QS Rule
Connecting the PDU to Your Network
PXC/PXO can be connected to a wired or wireless network.
To make a wired connection:
1.
Connect a standard network patch cable to either or both
Ethernet ports on the PXC/PXO.