62
2 - “Backup” button
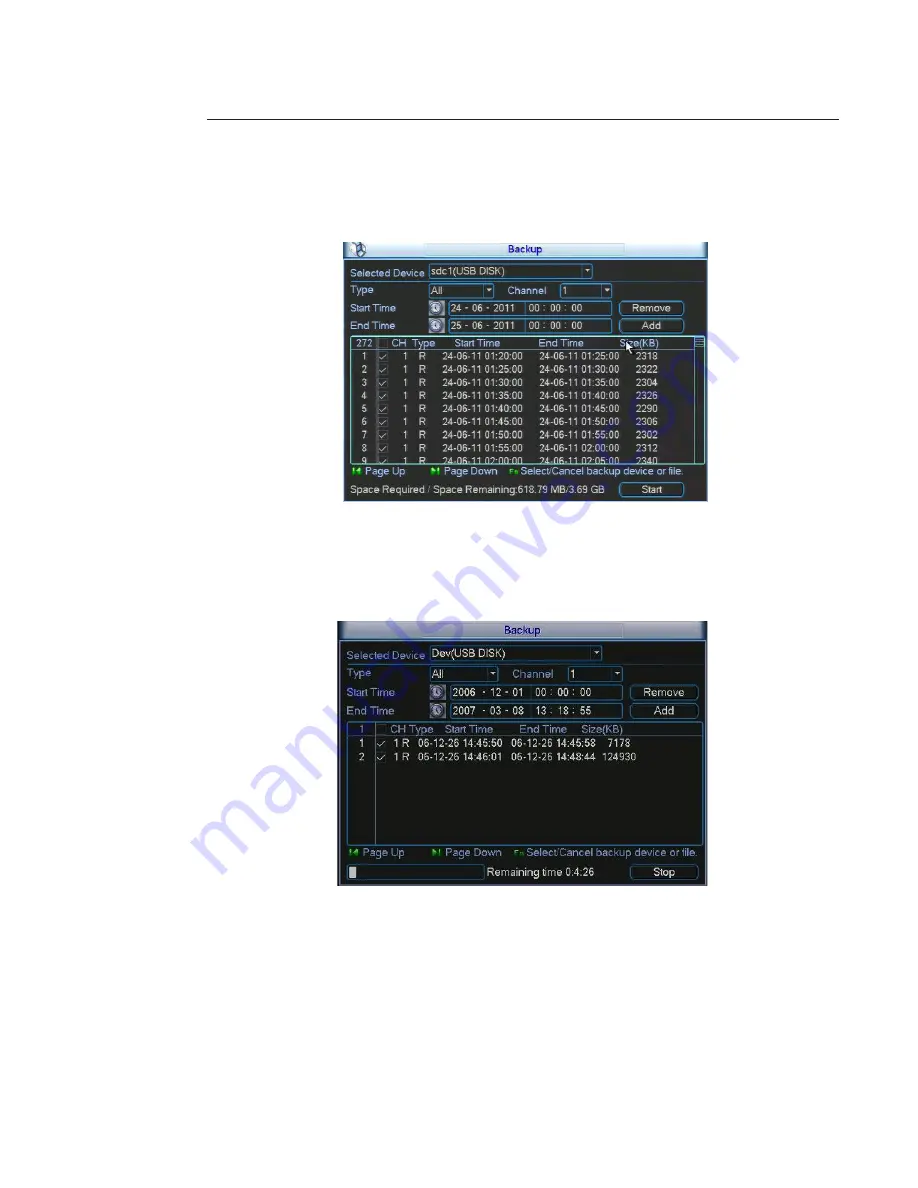
Select backup device and then select channel, file start time and end time. Click on “Add” button, system begins
to search. All matched files are listed below.
System automatically calculates the needed and remained capacities.
System only backups files with a
√
before record name. You can use “Fn“ button and Up/Down arrow on the
remote control or on the front panel to select and deselect a record.
The “Remove” button cancels all the listed records.
Click on “Start” button the system begins to backup. The “Start” button backups all the selected files. You can
see the remaining time and process bar at the left bottom.
When the system completes backup, you can see a dialogue box prompting successful backup. See below.
The file name format usually is: file index + channel type + time (Y + M + D + H + S). In the file name,
the YDM format is the same as you set in general interface in MAIN MENU -> SETTING -> GENERAL. File
extension name is .dav.
Tips:
During backup process, you can use the “ESC” button on the front panel to exit current interface for other
operation. The system will not terminate backup process.
Note:
When you click on “Stop” button during the backup process, the stop function is activated immediately. For
example, if there are ten files, when you click on “Stop” the system don’t save all the files on the device.
3 - “Erase” Button
The Erase Button allows you to format the selected device.
Summary of Contents for NVR 4 306 80
Page 121: ...121...


