
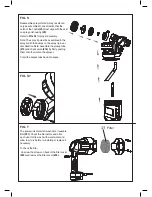
FIG. E
FIG. D
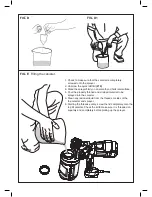
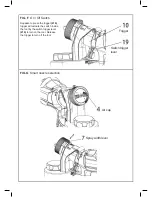
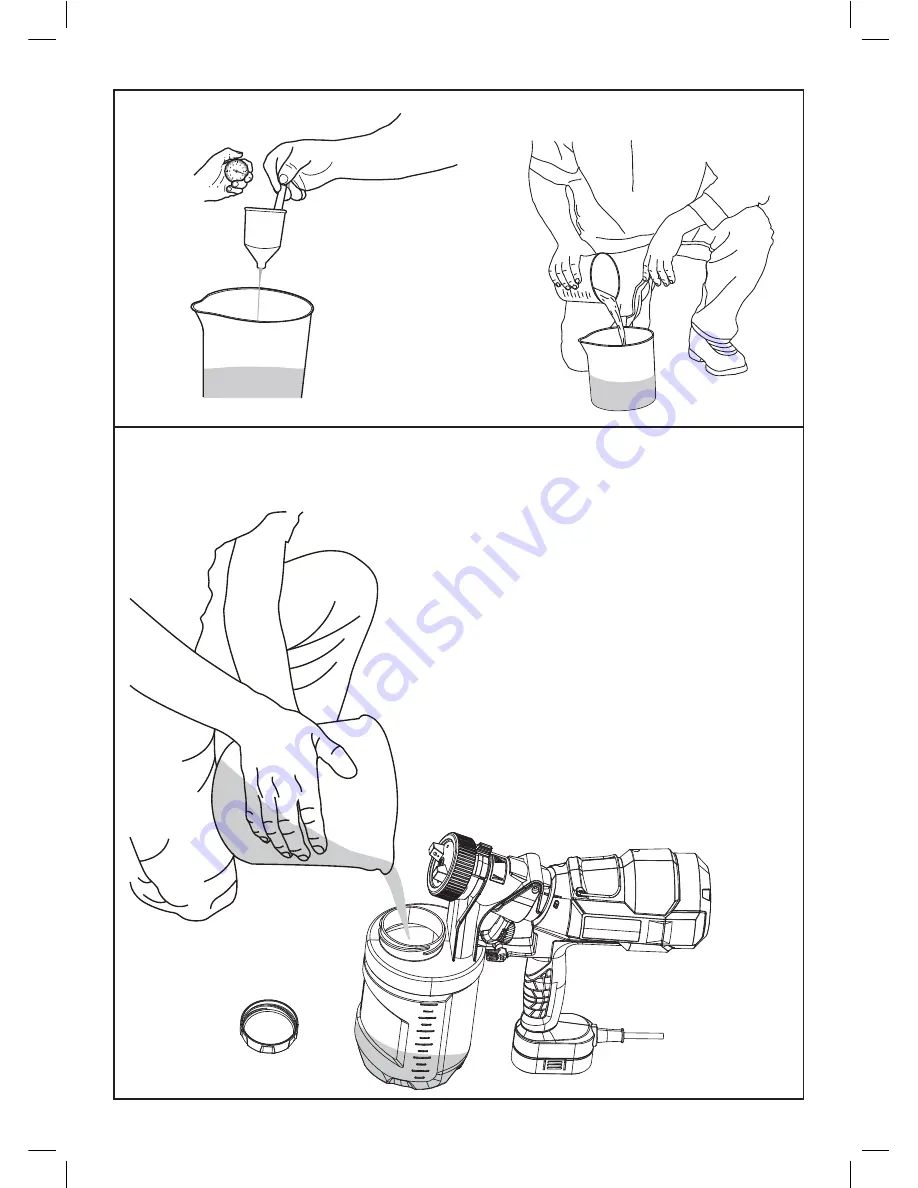
Filling the canister
1.Check to make sure that the canister is completely screwed
onto the sprayer.
2.Unscrew the quick refill lid ( #12 )
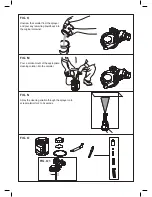
3.Stand the sprayer firmly on an smooth andhorizontal surface.
4.Pour the properly thinned and strained material to be sprayed
into the canister.
5.Clean any residual liquid from the threads or sides of the
the canister and sprayer.
6.Starting the threads evenly, screw the lid completely onto
the top fill canister. Check the lid to make sure it is threaded
on squarely and completely before picking up the sprayer.
FIG.D1
FIG. D
FIG. D1
FIG. E
Filling the canister.
1. Check to make sure that the canister is completely
screwed onto the sprayer.
2. Unscrew the quick refill lid (#12)
3. Stand the sprayer firmly on an smooth and horizontal surface.
4. Pour the properly thinned and strained material to be
sprayed into the canister.
5. Clean any residual liquid from the threads or sides of the
the canister and sprayer.
6. Starting the threads evenly, screw the lid completely onto the
top fill canister. Check the lid to make sure it is threaded on
squarely and completely before picking up the sprayer.