


EVDK GigE Vision Demo
User Guide
© 2020 Lattice Semiconductor Corp. All Lattice trademarks, registered trademarks, patents, and disclaimers are as listed at
All other brand or product names are trademarks or registered trademarks of their respective holders. The specifications and information herein are subject to change without notice.
FPGA-UG-02100-1.0
9
3.
Configuring and Running the GigE Video Streaming Demo
The GigE video streaming demo consists bit-streams for the ECP5 FPGA. This demo has its own bit-stream file for
Ethernet. It is assumed that the board setup is configured with bitstream for CrossLink and ECP5 as illustrated in the
The following sections describe the demo.
3.1.
Configuring the GigE Demo
To configure the GigE demo:
1.
Ensure that you have a video viewer installed on your PC which supports GigE video streaming. This demo uses
eBUS Player by Pleora Technologies, which is a Windows based video capture software. Any other software
supporting GigE video streaming can be used.
2.
Ensure that power is connected to the board.
3.
Configure the network parameters of the destination PC with static IP address of 169.254.18.198 and subnet mask
255.255.0.0, as described in Appendix A. The default source IP address of the USB3-GigE VIP IO Board is hard coded
in the RTL code to 169.254.0.2.
Note: It is recommended to write down your original settings so you can restore your PC to its normal settings
afterward.
4.
Connect the Ethernet cable between the USB3-GigE VIP IO Board and the PC.
3.2.
Running the GigE Demo
To set up the board for camera streaming:
1.
Power cycle the EVDK
2.
Press the reset button on the Crosslink board (SW3).
To set up the eBUS Player for camera streaming:
1.
Turn off firewall of the computer.
2.
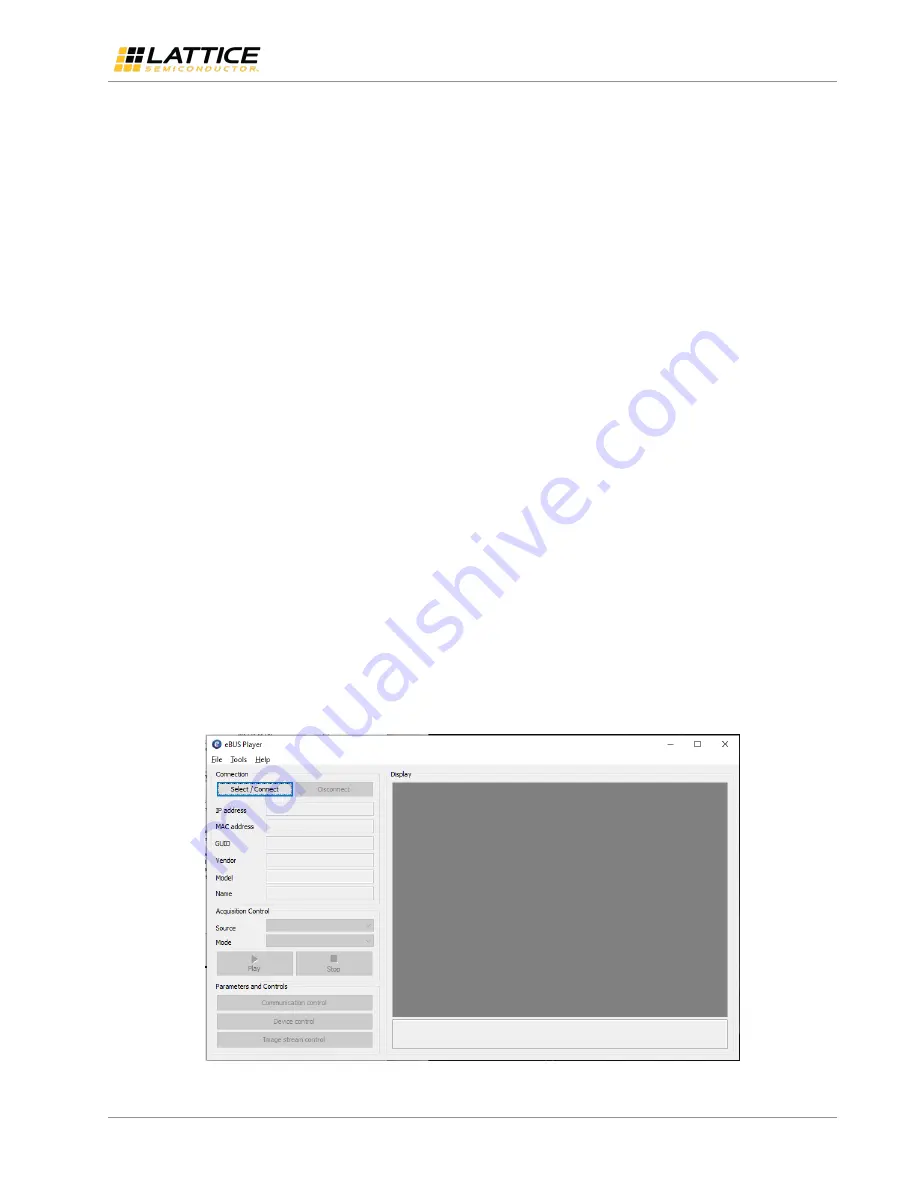
Open the eBUS Player software.
Figure 3.1. eBUS Player GUI


