Page 50
Step 7.
Measure the length and diameter of your object. Make a note of these measurements as you will need to input them at a later stage into your printer driver.
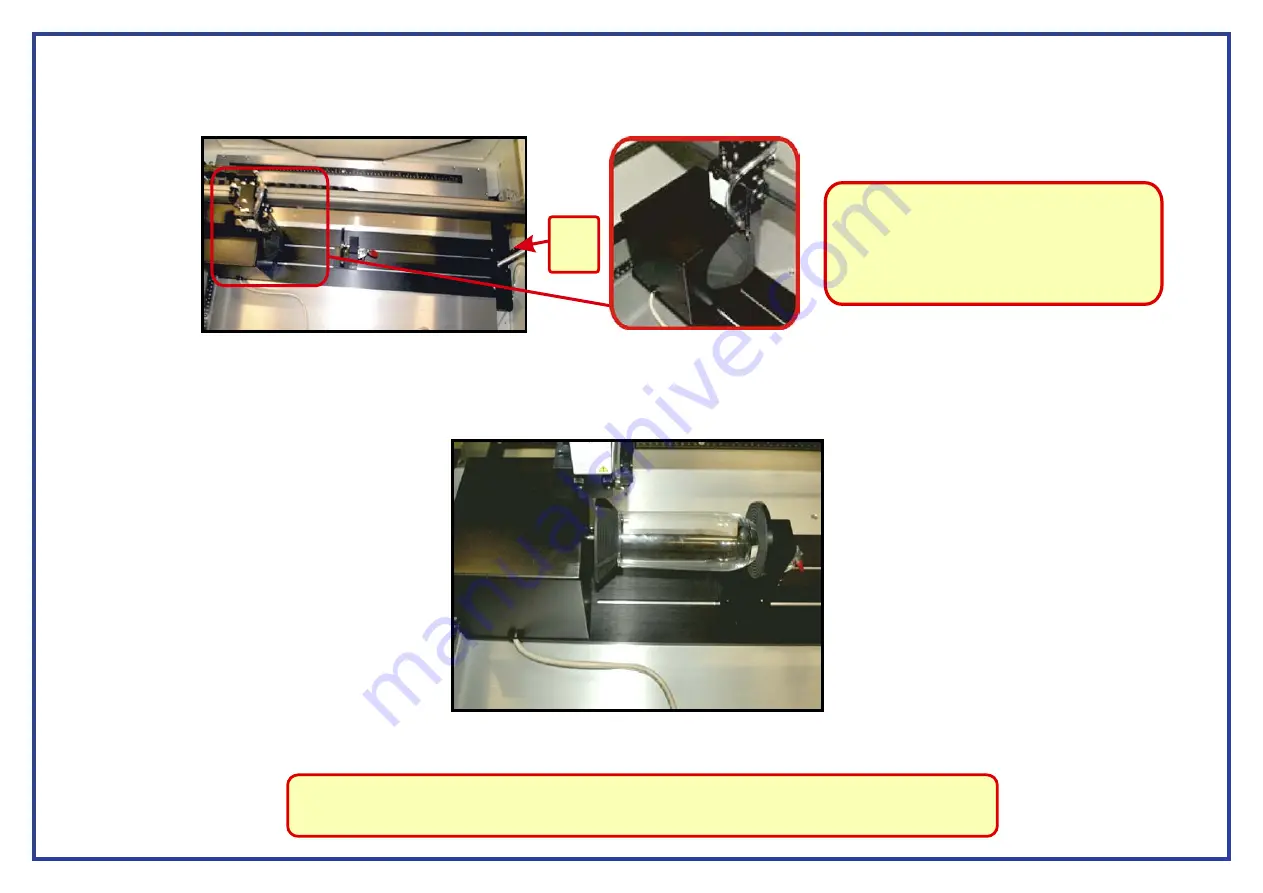
Insert your glass/cylindrical object into the rotary attachment. Insert the hollow end of the object over the rubber cone on the rotary attachment then clamp
Step 8.
it into position.
Step 6.
ON.
lower
Turn the power to the laser back
The laser will now go through a different initialisation process which will involve the laser bed lowering to activate the
Trip Switch.
The laser head will move along its X and Y axis before centering over the cone on the rotary attachment, the Y axis will now be locked. The left and
right directional arrows on the control panel will move the laser head along the X axis and the up and down arrows will now rotate the cone on the rotary attachment.
Note:
not
If the laser does
activate the lower
trip switch then turn the laser power
This
OFF.
will mean that the laser cutter has not recognised
the rotary attachment. Simply make sure the
cable from the attachment is correctly connected
and restart the laser cutter.
Step 9.
Using the directional arrows on the laser control panel, rotate the rotary attachment to check that your object is centred. To return the rotary attachment to its
“Home” position simply press F4 twice from the main screen. If your object is spinning unevenly then make the necessary adjustments until the object is centred.
Note:
Cheap/lesser quality glass may have been manufactured in such a way that you will never get it completely
centred. This will mean that you may have to refocus and engrave a glass numerous times to get it to complete
your job. This will also be the case with any object that has a tapered edge (eg; wine and pint glasses).
Lower
Trip
Switch


