


Larson Electronics, LLC
Phone: (877) 348-9680
Fax: (903) 498-3364
www.larsonelectronics.com
10 of 11
1.
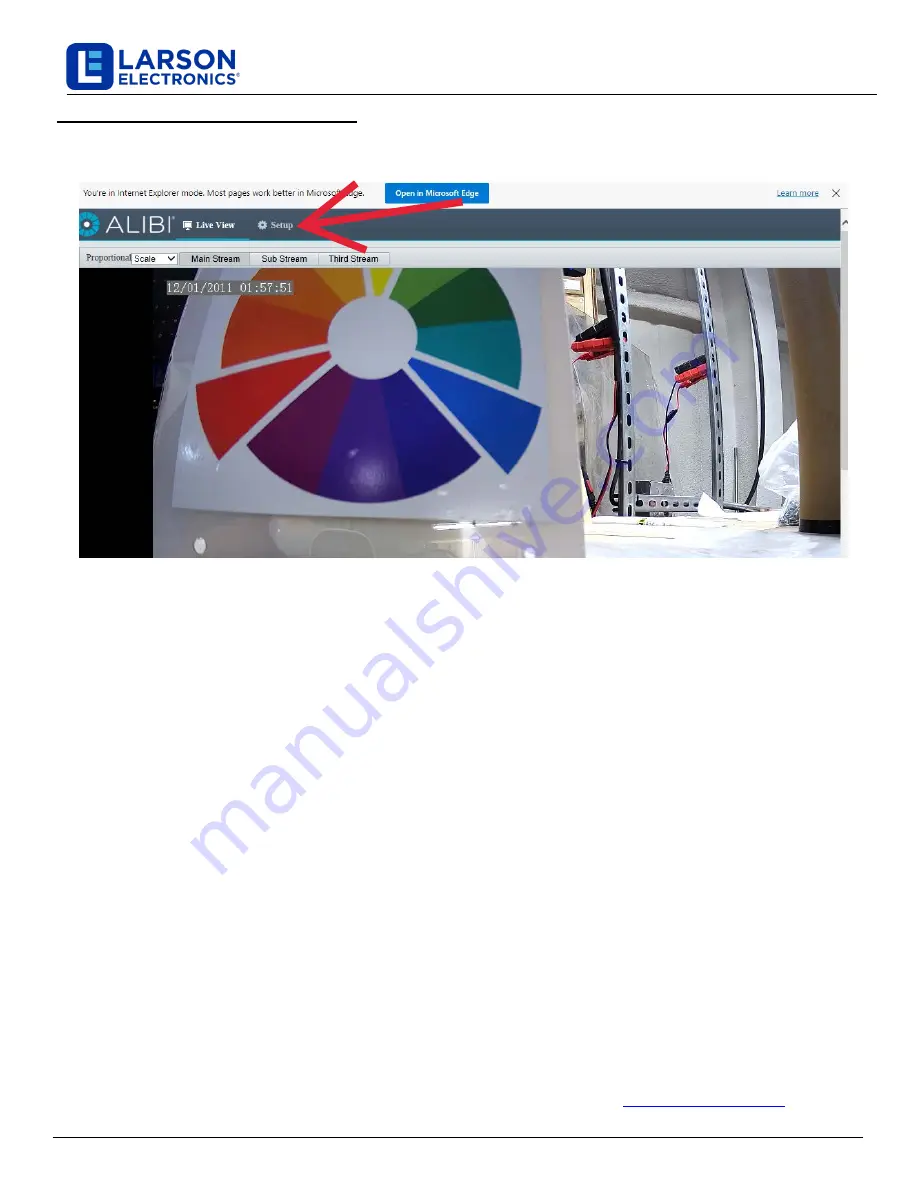
Once you have logged into the device with your new password you will see the live view.
Click on Setup to
change the parameters of the device. (See below)
2.
In
the Setup screen you will have many different options listed on the left side. Click on the Network tab, or click
Network in the Common tab that is already expanded.
(Fig. I)
a.
Enable DHCP
:
You can select
DHCP
to acquire compatible network settings from a DHCP server
installed on the LAN. However, these settings can be changed by the DHCP server. Since it is
recommended to use
a static
IP address, you can use DHCP to acquire compatible network
settings, and
then
select
Static
and save that configuration to retain the new network
parameters.
(Fig. J)
b.
Static:
If you were using a static IP address in Step 2, Section 2, part C, then you can input an unused
static IP address here for your new device (not the same as the one used for your PC or other devices on
your network
, consult with your network administrator if you are unsure what IP addresses are available
).
c.
After inputting the new IP address for your device, click the Save button. (
NOTE: After saving your
settings you will need to return the IPv4 settings of your PC back to the original settings. To do
this simply follow
Step 2, Section 2 as done previously)
NOTE: If you have set your camera to DHCP, you can run the Vigilant Toolbox again after
returning your PC IPv4 settings to the previous settings, to get the new IP address of your camera.
d.
To login to your camera again, input the new IP address into the search bar and press enter. Use
"admin" as the Username and
your new
ly created
password that you set in the previous step.
Step 3. Modify Network Parameters
IP Camera Network Setup Guide
NOTE
:
Most IP cameras have a
Reset
button for returning the camera configuration to its factory settings.
The reset
button needs to be pressed with the camera disconnected from power. Continue holding the reset button down and plug
the camera back into power and continue to hold the reset button for an additional 30 - 45 seconds.
NOTE:
For more details on using the functions of this camera, refer to the instruction manual for the Camera Management
Software (CMS) you are using.
THESE INSTRUCTIONS MAY NOT COVER ALL DETAILS OR VARIATIONS OF THIS PRODUCT FOR YOUR EQUIPMENT OR INSTALLATION REQUIREMENTS. SHOULD FURTHER
INFORMATION NOT COVERED BY THESE INSTRUCTIONS BE REQUIRED, PLEASE CONTACT LARSON ELECTRONICS BY EMAIL AT
OR BY PHONE AT
1
-877-348-9680
FOR FURTHER ASSISTANCE.
PLEASE VISIT LARSONELECTRONICS.COM FOR WARRANTY AND RETURN INFORMATION.


