

ON OFF
FLASH
RECORD
Hold the
FLASH &
RECORD
buttons
together
FLASH
RECORD
ON OFF
Press and
hold the
large square
button
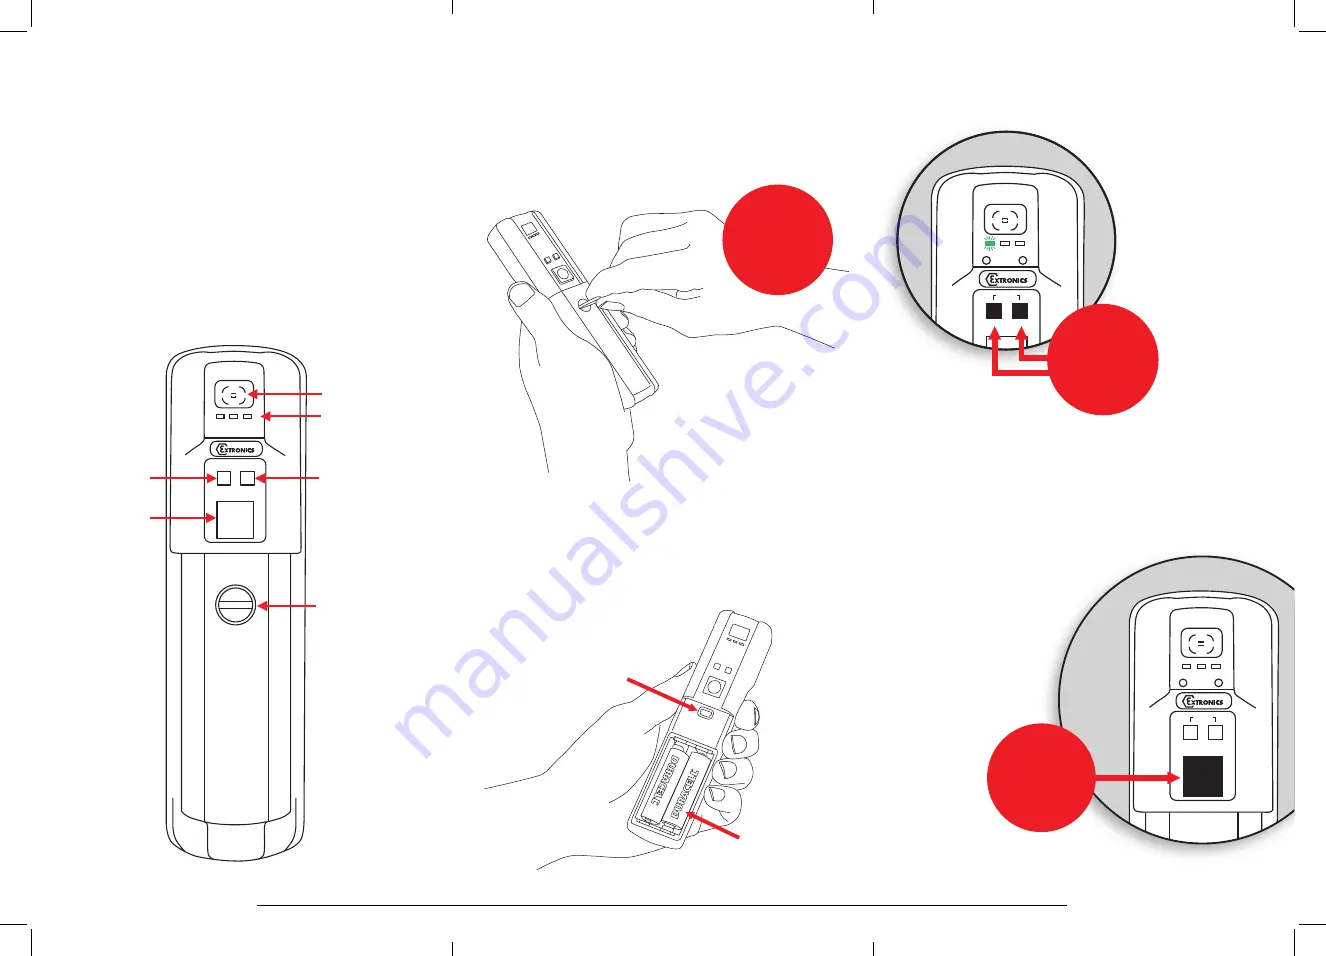
Inserting the battery
To change or install the batteries,
turn the screw as indicated below
to remove the cover
Install the batteries in the correct
orientation (indicated on the
enclosure) and close the lid
again.
PLEASE NOTE:
Only those
batteries listed in the Safety
Instructions can be used.
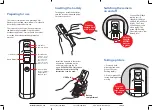
Switching the camera
on and off
Green LED will flash
rapidly for ~10
seconds & the Blue
and Red LED will flash
briefly. The Green
LED then goes solid
when ready. The
green LED flashing
slowly indicates a low
battery level
Taking a picture
1. Press and hold
picture button until
green LED starts
flashing rapidly.
2. Wait for green LED
to stop flashing before
moving
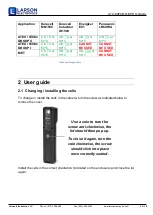
Viewfinder
Function Lights
Record Button
Coin operated
access to battery
compartment
and USB port
Flash Button
Shutter Button
NB. When pressed
simultaneously the
Record and Flash
Buttons are also
used to switch the
camera on and off.
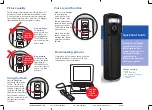
Preparing for use
The
camera
is shipped with a protective film
fitted to the front and rear windows. This should
be carefully removed before use.
The
camera
may be used with the protective
rubber overboot supplied. Only the rubber
overboot supplied by
Larson
should be used as
it is made from electrostatically-dissipative
material.
Open the
camera back
with a coin
USB Port
Battery
compartment
Picture Button
Larson Electronics, LLC
Phone: (877) 348-9680
Fax: (903) 498-3364
www.larsonelectronics.com
1
0
of
10