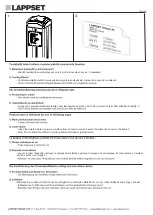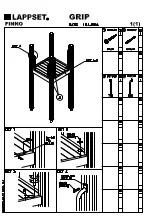
-Entfernen Sie zunächst Schmutz und Feuchtigkeit vom lackierten Metall bzw. von der Holzoberfläche und bringen Sie den
16.2.2021
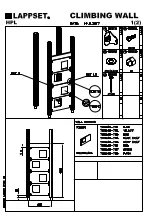
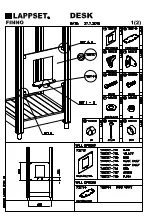
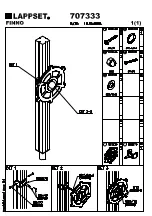
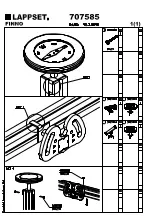
- Kiinnitä tuotekyltti ruuveilla tolppaan noin 2 metrin korkeuteen kuvan 1 mukaisesti.
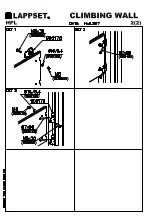
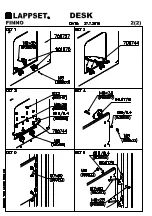
- Puhdista maalattu metalli- tai vaneripinta pölystä ja kosteudesta. Liimaa tarra kuvan 2 mukaisesti.
- Rengör den pulverlackerade metallytan eller laminatytan så att den blir fri från smuts och fukt. Fäst etiketten enligt fig. 2.
- Clean the painted metal or plywood surface from dirt and moisture. Fasten the sticker as shown in the figure 2.
- Avant de coller l’étiquette, nettoyez le composant métallique peint ou la plaque de contreplaqué, de toute saleté. La surface
doit être sèche (voir image 2).
Summary of Contents for NCLUSIVE PLAY TOWERS
Page 1: ......
Page 2: ......
Page 3: ......
Page 4: ......
Page 5: ......
Page 6: ......
Page 7: ......
Page 8: ...LAPPSET Q13383 FINNO 5A...
Page 9: ......
Page 10: ......
Page 11: ......
Page 12: ......
Page 13: ......
Page 14: ...LAPPSET Q13383 FINNO 7c TOWER B...
Page 15: ......
Page 16: ......
Page 17: ......
Page 18: ......
Page 19: ......
Page 25: ......
Page 26: ......
Page 27: ......
Page 28: ......
Page 29: ......
Page 30: ......
Page 31: ......
Page 32: ......
Page 33: ......
Page 34: ......
Page 35: ......
Page 36: ......
Page 37: ......
Page 38: ......
Page 39: ......
Page 40: ......
Page 41: ......
Page 42: ......
Page 43: ......
Page 44: ......
Page 45: ......
Page 46: ......
Page 47: ......
Page 48: ......
Page 49: ......
Page 50: ......
Page 51: ......
Page 53: ......
Page 54: ......
Page 55: ......
Page 56: ......
Page 57: ......
Page 58: ......
Page 59: ......

