


16
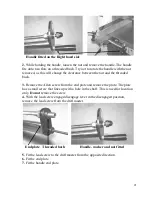
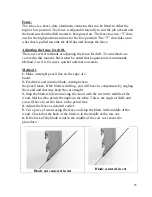
Using an engineer’s square, check that the fence is square to the table.
If the fence needs adjustment, tap the universal mounting bracket either up or
down until the fence is square. Fully tighten the lock nut and the mounting bolt.
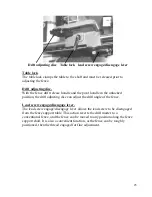
Drift master assembled
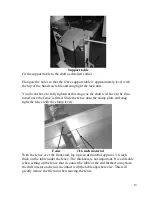
Mounting without the use of brackets.
The drift master can be mounted directly to the side of the band saw table with
mounting studs. This will eliminate the use of the universal mounting brackets.
It will require that two holes be drilled in the side of the table to match the hole
centers on in the drift master shaft.
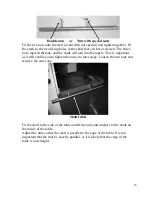
Fixing holes
The 1/2-inch minimum diameter holes need to be drilled 38 mm from the top of
the table. The centers of the holes will depend on the holes that you select on
the shaft, which will, in turn, depend on the band saw that you have and the
coverage required.
Summary of Contents for DriftMaster
Page 6: ...7 Parts of the drift master 4 9 12 13 10 8 7 6 5 4 3 2 1 11...
Page 28: ......


