LaCie Ethernet Big Disk
User Manual
Fig. ...C.
5.5. Disk Menu
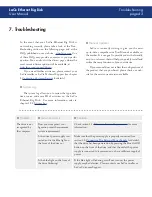
From this window you can see details about your
LaCie Ethernet Big Disk’s interface, volume size, used
and free space and file system being used (Fig. 5.5.A.).
Using the NAS Administration Page
page
5.5.1.Reformatting the Disk
■
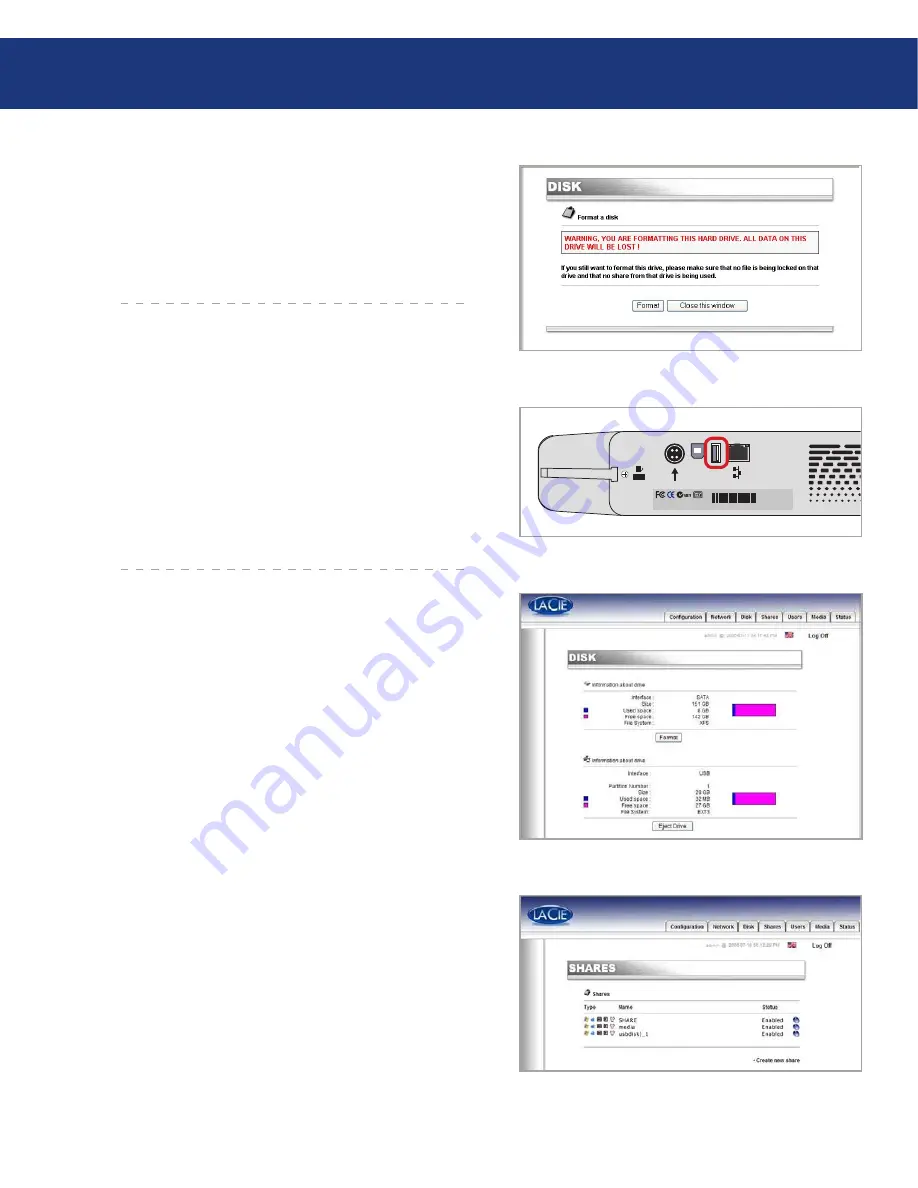
By clicking on the
Format
button, you will launch
the
Format a disk
window, where you will be issued a
warning about the formatting process. Read the warn-
ing before continuing.
Click the
Format
button to continue, or the
Close
this window
button to quit the process (Fig. 5.5.1.A.).
Keep in mind that the file system format cannot be
changed.
Fig. ...A.
5.5.2.Adding Additional Storage Space
■
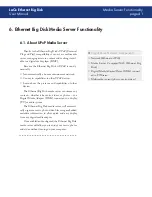
You can add additional storage space to your LaCie
Ethernet Big Disk by connecting an external hard drive
using the Hi-Speed USB 2.0 port.
Connect the hard drive to the LaCie Ethernet
Big Disk using the Hi-Speed USB 2.0 port (Fig.
5.5.2.A.).
In the Web Administration Page, click on the Disk
tab.
One volume is automatically created that you can’t re-
format from the Administration page (Fig 5.5.2.B.).
Refresh the page if necessary (under Windows in ei-
ther Internet Explorer or Netscape Navigator, right-
click in the frame and click on Refresh or Reload).
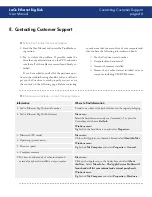
A share has been added in the list on the share page
called
usbdisk0_1
(Fig. 5.5.2.C.).
1.
2.
3.
4.
5.
Fig. ...B.
Mac Address: 00D04B801220 SN:XXXXXXXXXX
USB 2.0
USB
Fig. ...A.


