8
Installation Process
There are two steps to installing your LaCie USB 2.0 PCI Card. First
(
Hardware Installation
), you must insert the PCI card into a PCI slot inside
your computer. Second (
Software Installation
), you must install the
necessary software drivers for the card.
2.2 Hardware Installation
Tools: Philips-head and/or flat-head screw driver
Computer System Manual
1) Turn off your computer and disconnect all external peripheral devices and
cables, i.e. power cord, modem/fax line, monitor, etc.
2) Remove your computer’s cover. For most computers, there are screws that
will need to be unseated before you can remove the computer’s cover, and
these screws are usually located at the rear of the computer, along the edge
of the cover. However, placement of these screws and cover attachment may
vary by manufacturer, so please refer to your computer system’s manual for
specific details.
3) Once you have removed the cover, you will need to locate the PCI slots on
the motherboard. The PCI slots are generally located in the back of the
computer, with the slots built into the side-wall of the computer (please refer
to your computer system’s manual for the exact location of your PCI slots). If
necessary, you may need to remove the expansion slot cover, and you may
also need to remove any add-in boards which block access to the PCI slots.
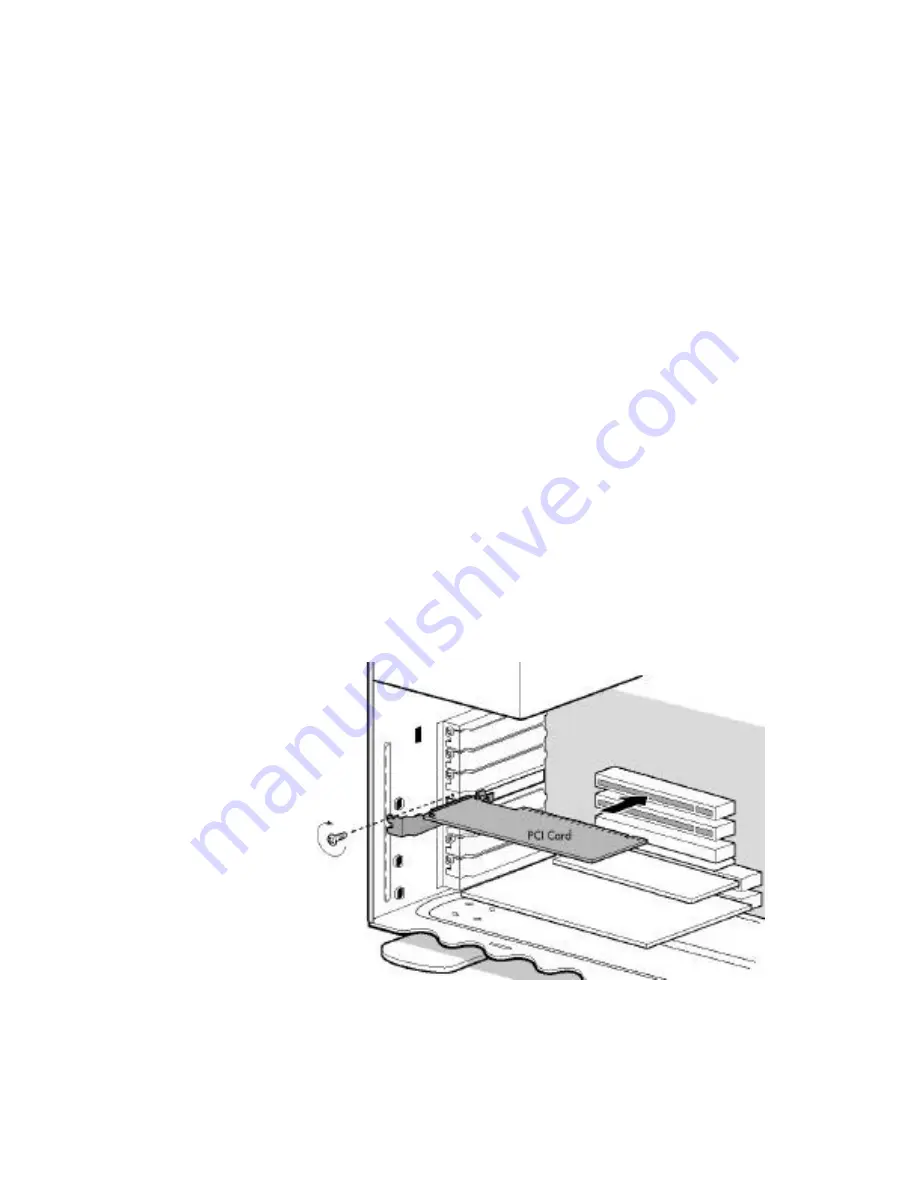
4) Take the LaCie
USB 2.0 PCI Card
out of its anti-
static bag and
push the card into
the empty PCI
card slot. The card
should be
mounted with the
circuitry and four
USB connectors
facing down.


