4
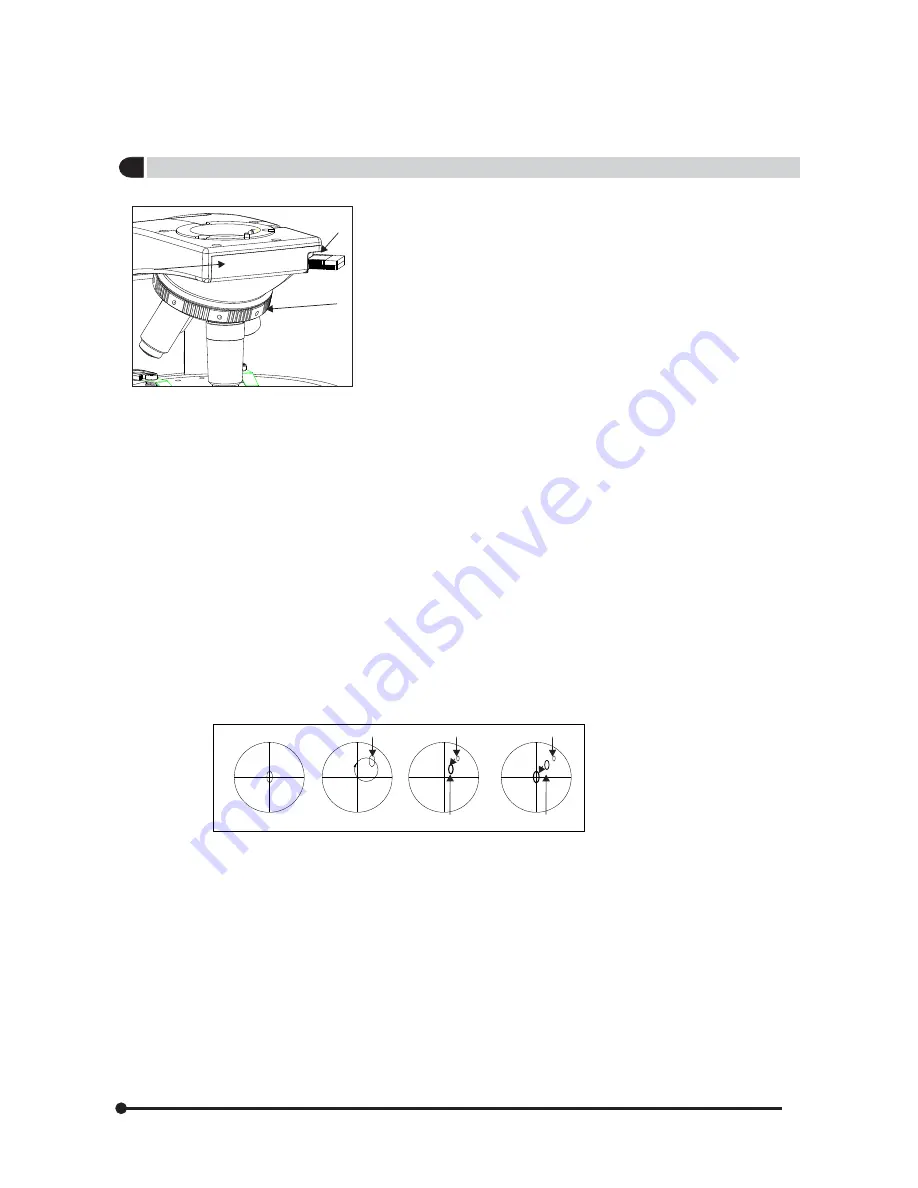
Objective Centration
Swing in 10x objective in the light path. Adjust the condenser aperture
diaphragm. Retrieve the two centering keys (Ref Fig 13 Part 5) and insert
them in the centering holes (Ref Fig 10 Part 1) above the objective you
want to center. Focus the POL sample.
I) Bring some prominent point of the specimen to the center of the Eye
Piece crossline (Fig 24 (a))
ii) Loosen the stage locking thumb screw which will allow the Round
Stage to rotate 360 degree horizontally. Rotate the round stage 360
degree until the prominent point of the specimen is furthest away from
the center of the Eye Piece crossline, it may even be outside the field
of view. (Fig 24 (b))
iii) Adjust the image with the centering screws over the objective until the
prominent point of the specimen is midway between the center of the
Eye Piece crossline. (Fig 24 (c))
iv) Adjust the specimen so that the prominent point is at the center of the
Eye Piece crossline. (Fig 24 (d)) Check that it stays at the center of the
Eye Piece crossline when the stage is rotated 360 degree. Repeat the
centering process if necessary.
Note: Each objective must be centered separately.
18
(a)
Position 1
Position 1
Position 1
Position 2
Position 2
(b)
c)
(d)
24
24
24
24
1
3
2
Lx POL


